How I Edit My Blog and Instagram Photos
This has been one of my most popular posts in the past, as well as one of my most highly requested ones to do an update on. As a blogger with an ever-developing brand, I find value in making sure my photo editing is consistent and high-quality. This helps me book work while presenting a digital space that is professional and put-together. And would you believe me if I said you don’t need a DSLR camera or expensive editing programs to have a killer Instagram feed? You probably would because I think I was the last person to jump on that train, but I digress. If you’re looking for ways to change how you edit your photos or you’re wanting to try out some new apps, keep reading for the scoop on how I edit my blog and Instagram photos!
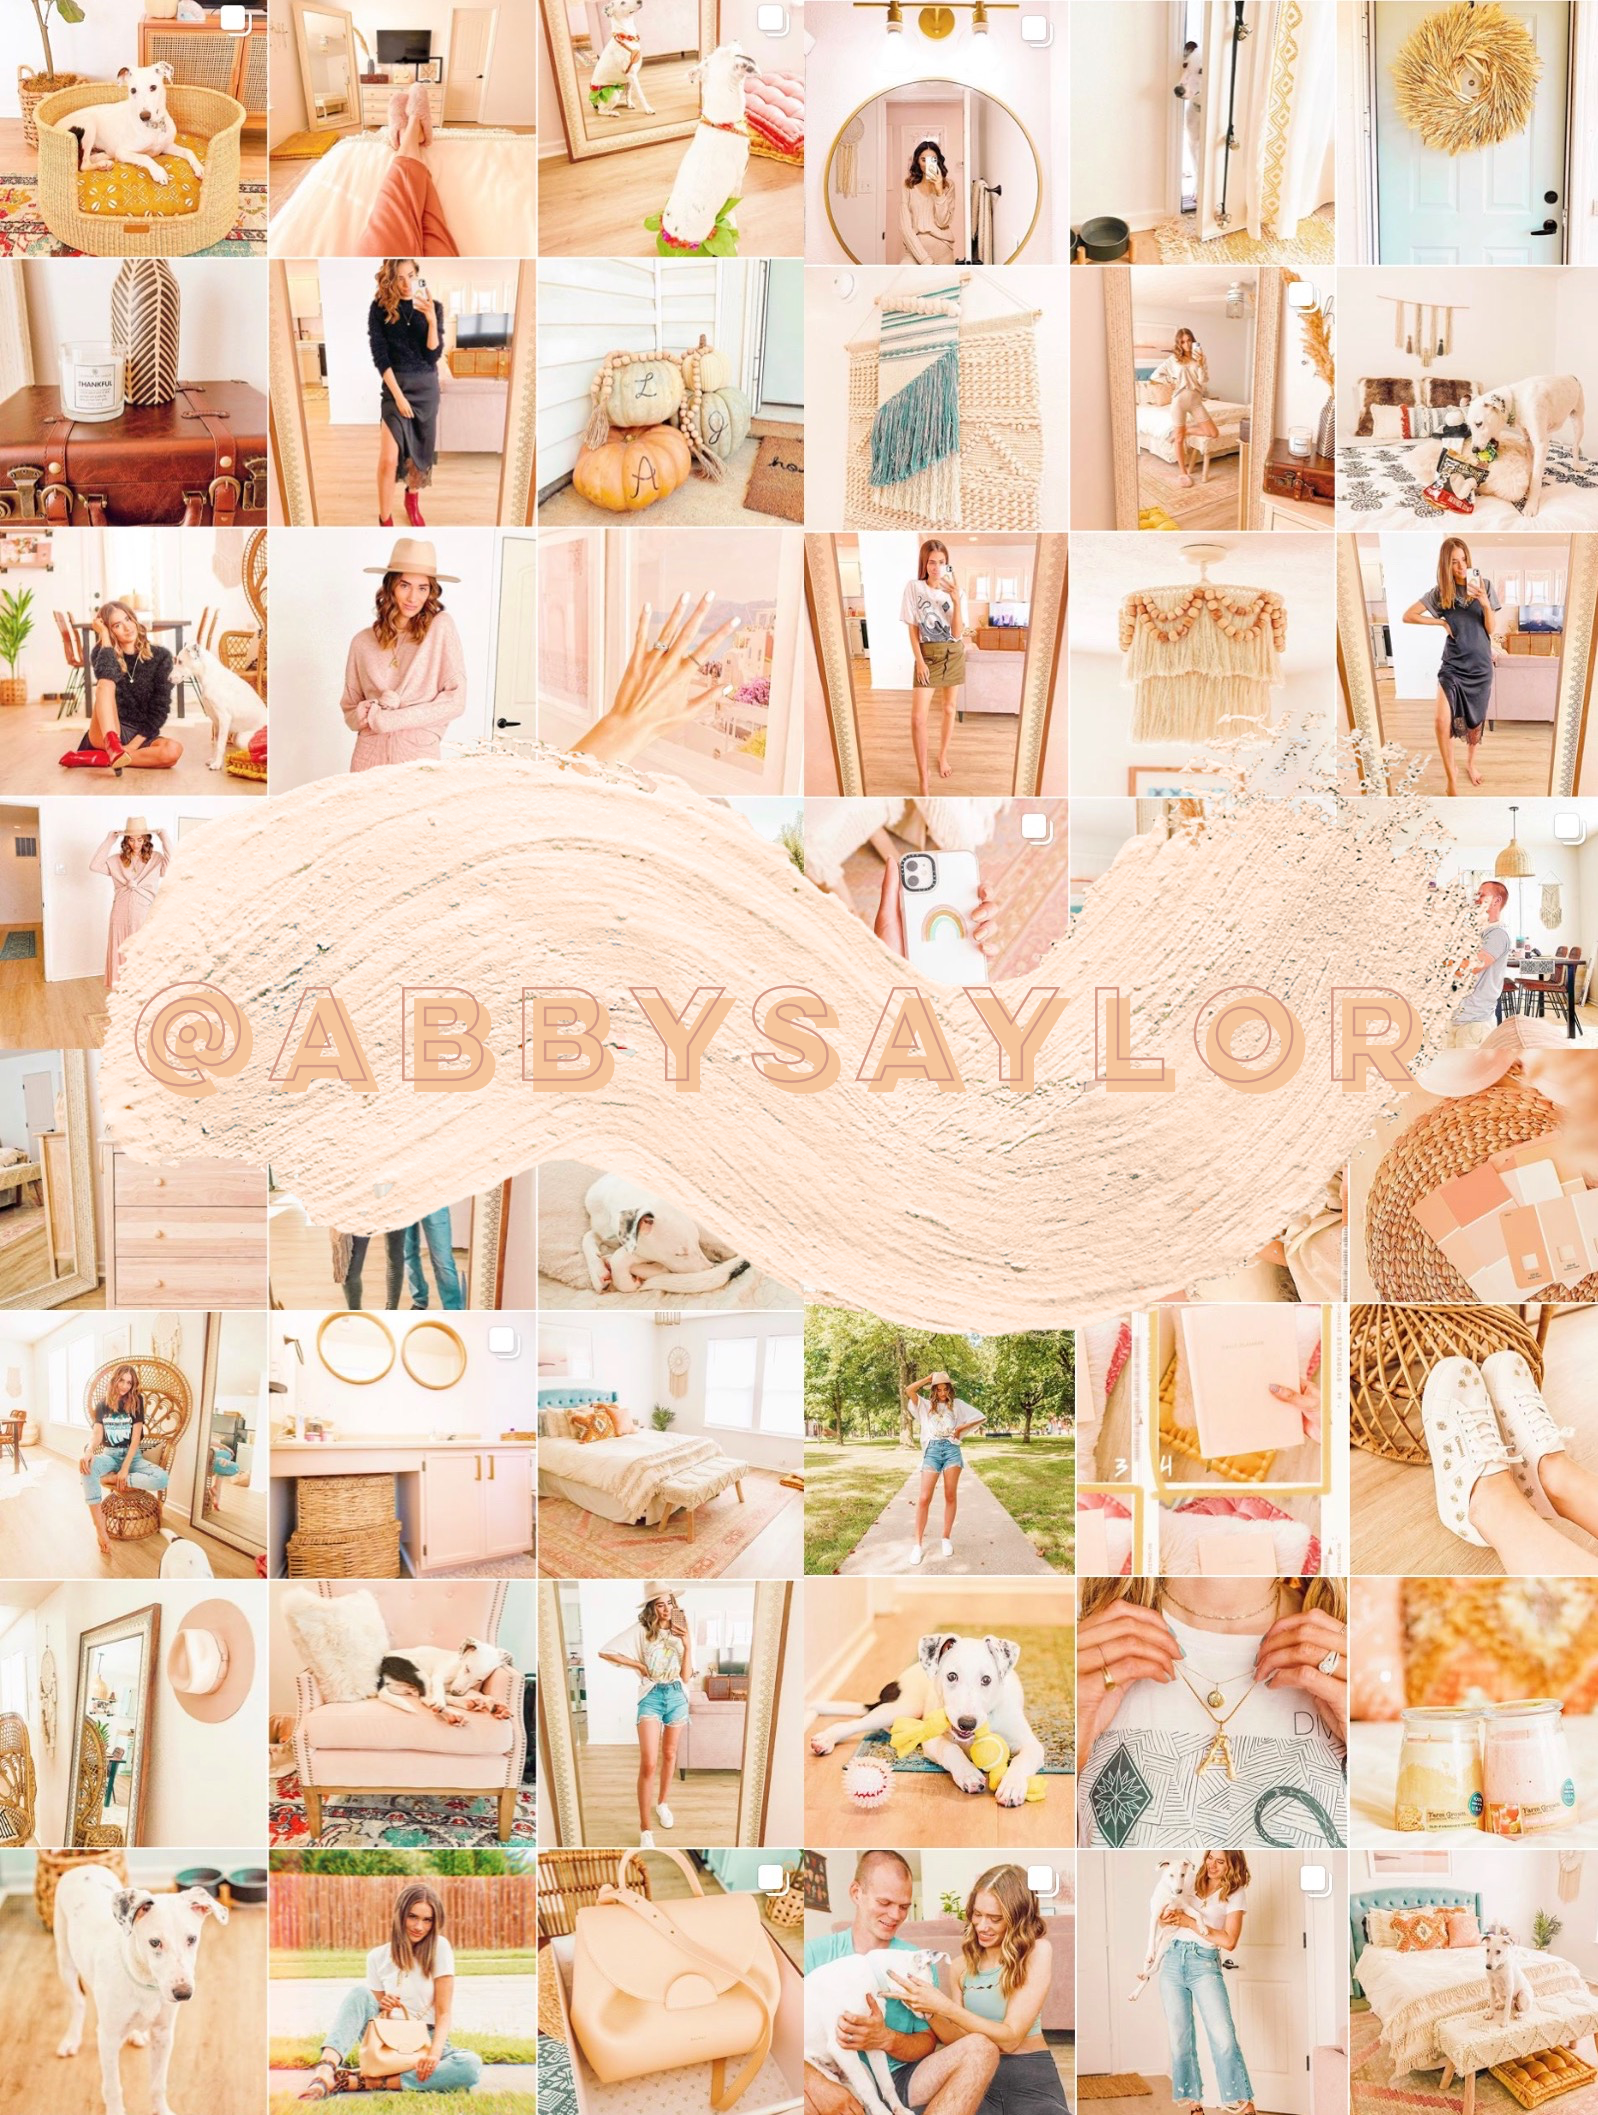
MY FEED
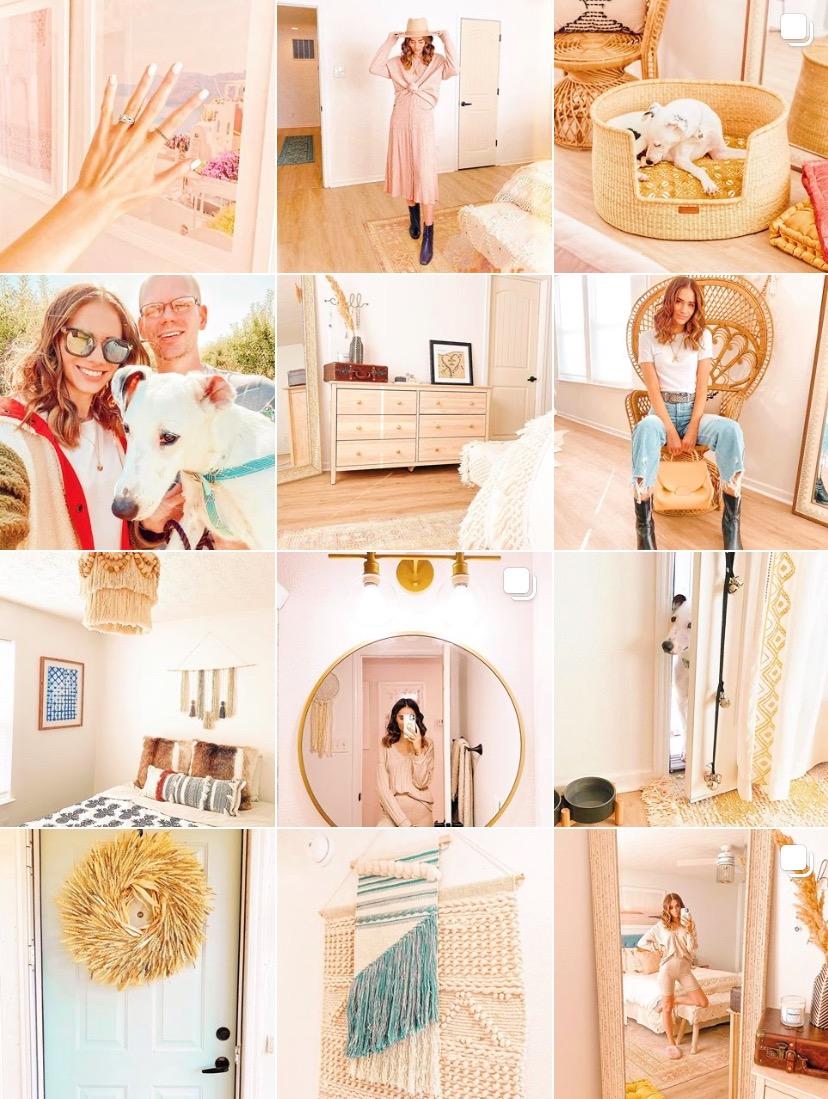
STYLE CONSISTENCIES
I think it’s important to define what you want your style consistencies to be so you can keep up with it better and not let your desired theme fizzle out after a few photos. If you’re thinking that you’re unsure what you want your style to be, I bet you have a better idea of it than you realize. You likely gravitate toward a certain editing style (maybe refer to your own Pinterest for reference), so maybe pinpoint what that is and go from there. For example, my style consistencies are:
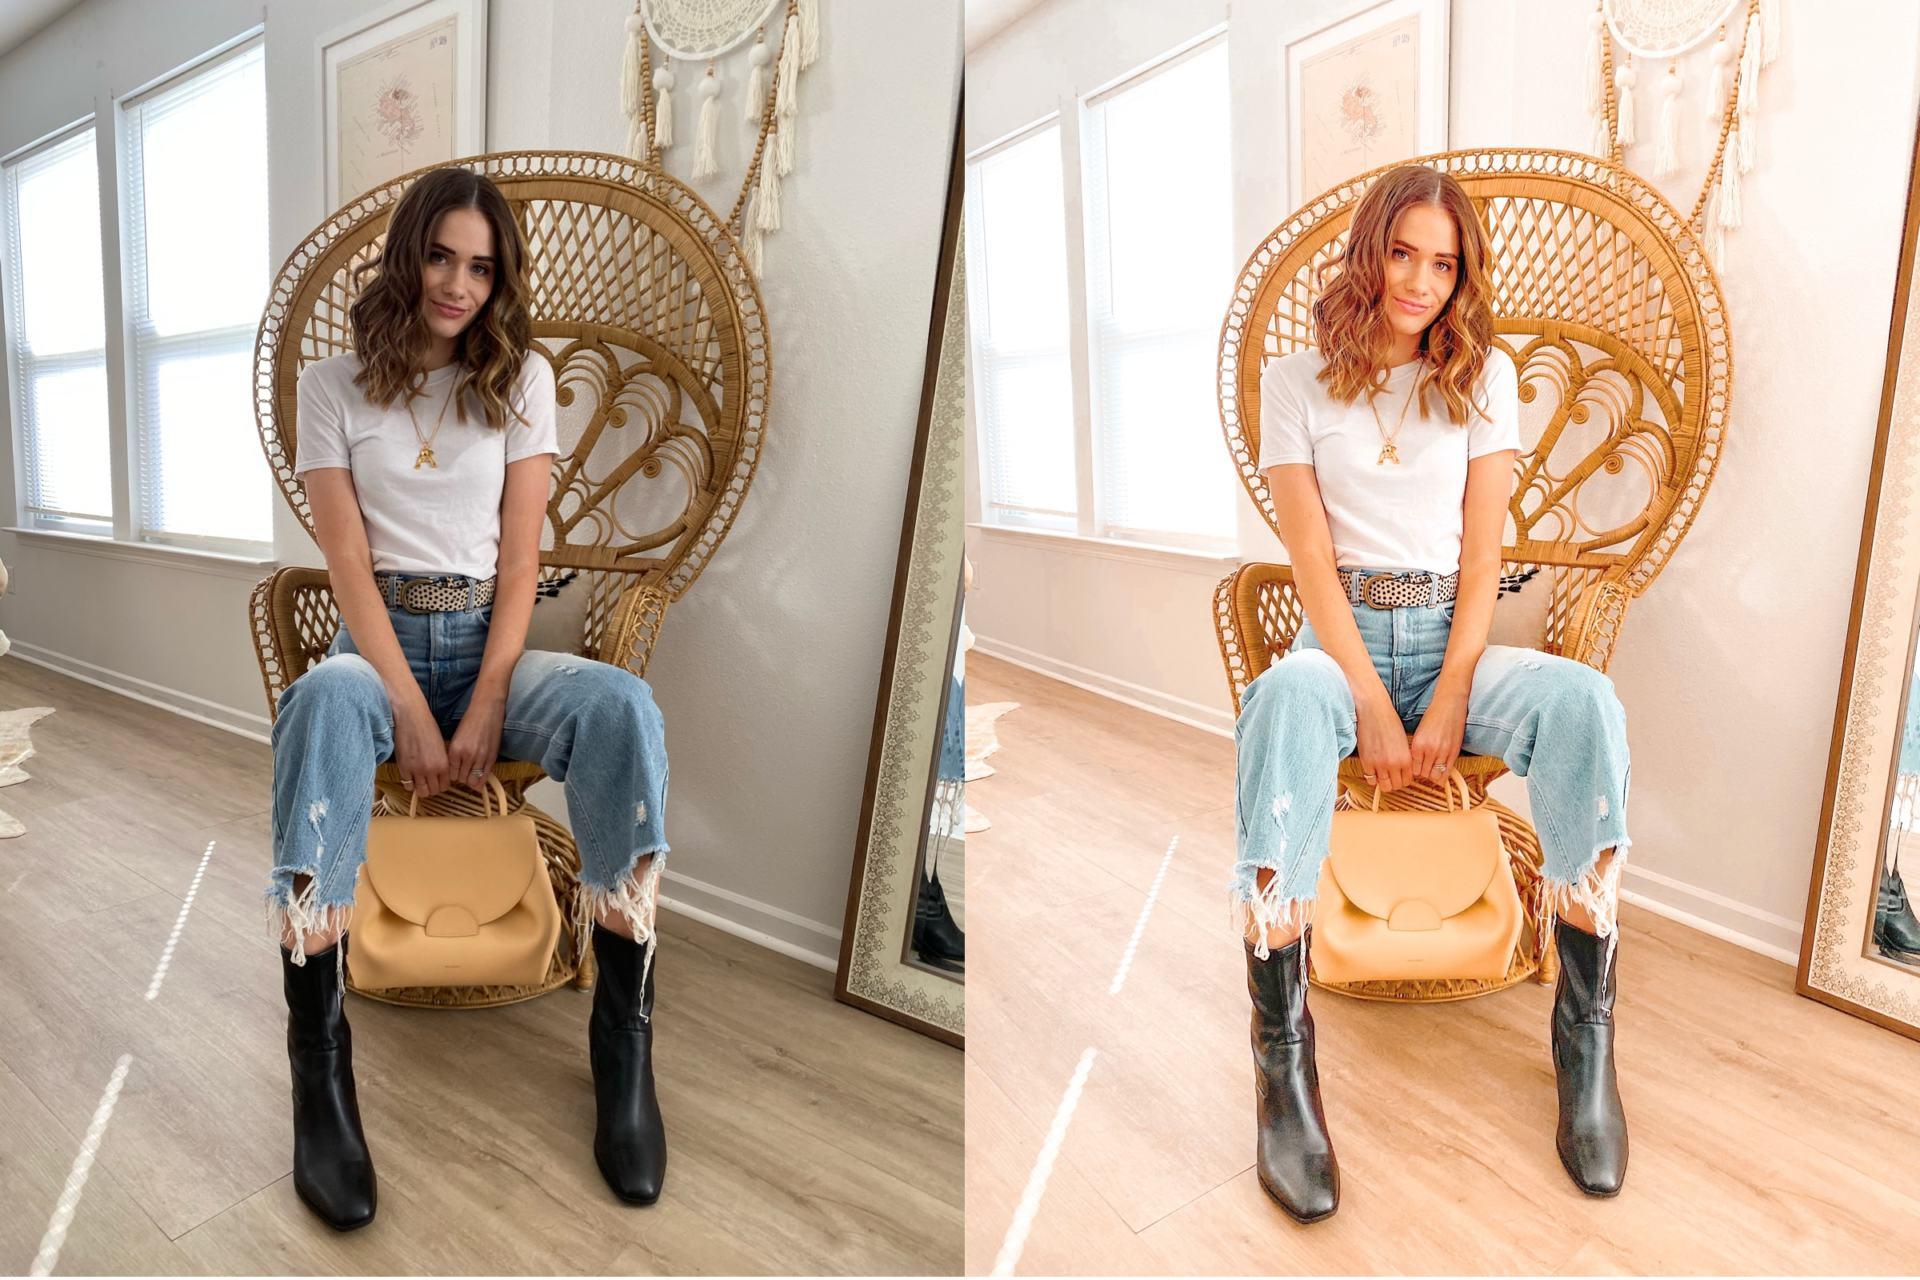
- Warm tones — peaches and pinks
- Creamy tones — almost all white translate as cream
- Pastels and color in general — often pops of green, pink and blue
- Brightness
WHAT I USE
- Cameras
- Sony Alpha a5000
- Canon Rebel t3
- EF 50mm f/1.8 STM lens (fixed lens that creates a blurred background)
- EF-S 10–18mm f/4.5–5.6 IS STM lens (wide angle lens often used for my room shots)
- iPhone 11
- Editing apps and programs
- Lightroom (Jaci Marie presets)
- Photoshop
- VSCO
EDITING
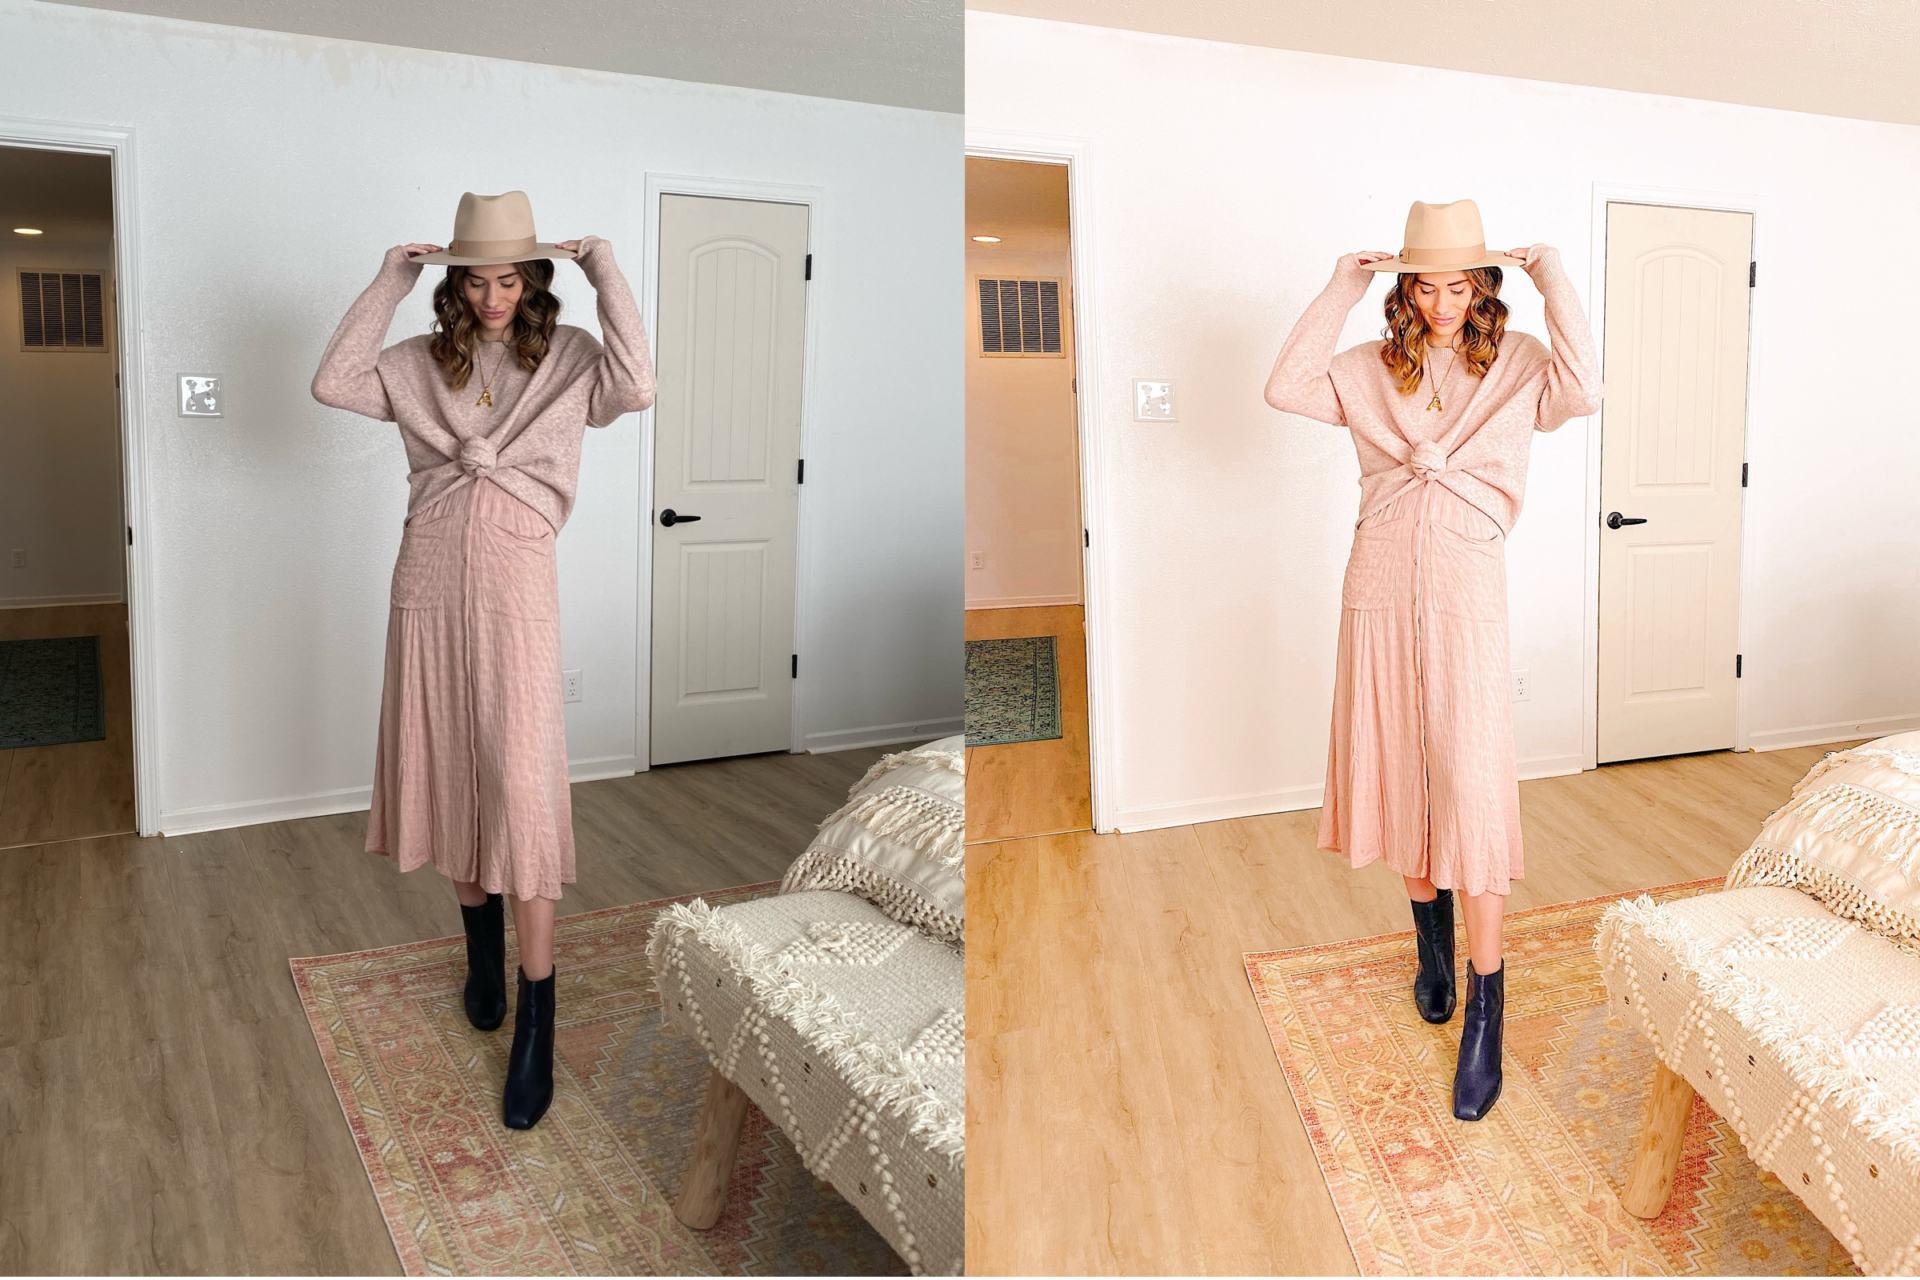
LIGHTROOM
Lightroom has elevated my editing significantly and it’s my go-to for DSLR photos, specifically those shot in RAW format. The Lightroom Mobile app is free, but you do have to pay for a subscription if you want the desktop version. Most decent presets cost money as well, but I find them to be worth it if you do your research and get good ones. If you’ve never used Lightroom, I promise you can learn how to use it over time if you play around with it! I taught myself how to use it and I recommend watching some YouTube tutorials.
These are the edits I make in order (as needed) for DSLR photos:
- Apply Jaci Marie Faded preset, then select “as shot” under “white balance”
- Increase vibrance significantly (usually almost all the way, then I turn down the colors individually as needed)
- Increase brightness
- Increase temperature
- Adjust tint as needed (to prevent my skin from looking too orange or too pink)
- Tone down oranges
- Turn up pinks
- Turn off grain
- Turn up sharpness
- Brighten shadows
- Darken blacks
- Increase whites
PHOTOSHOP
Photoshop requires a subscription and it’s something I use minimally and rarely. I’ll import photos in there if they need more fine-tuned fixes or errors removed (etc.), but outside of lighting and colors, I don’t edit myself in photos and I think that’s important to share. I know completely altering faces and bodies has become very popular and almost mainstream on Instagram, but I don’t promote that. I think it’s important to be you. Have fun with editing, but only to an extent, you know?
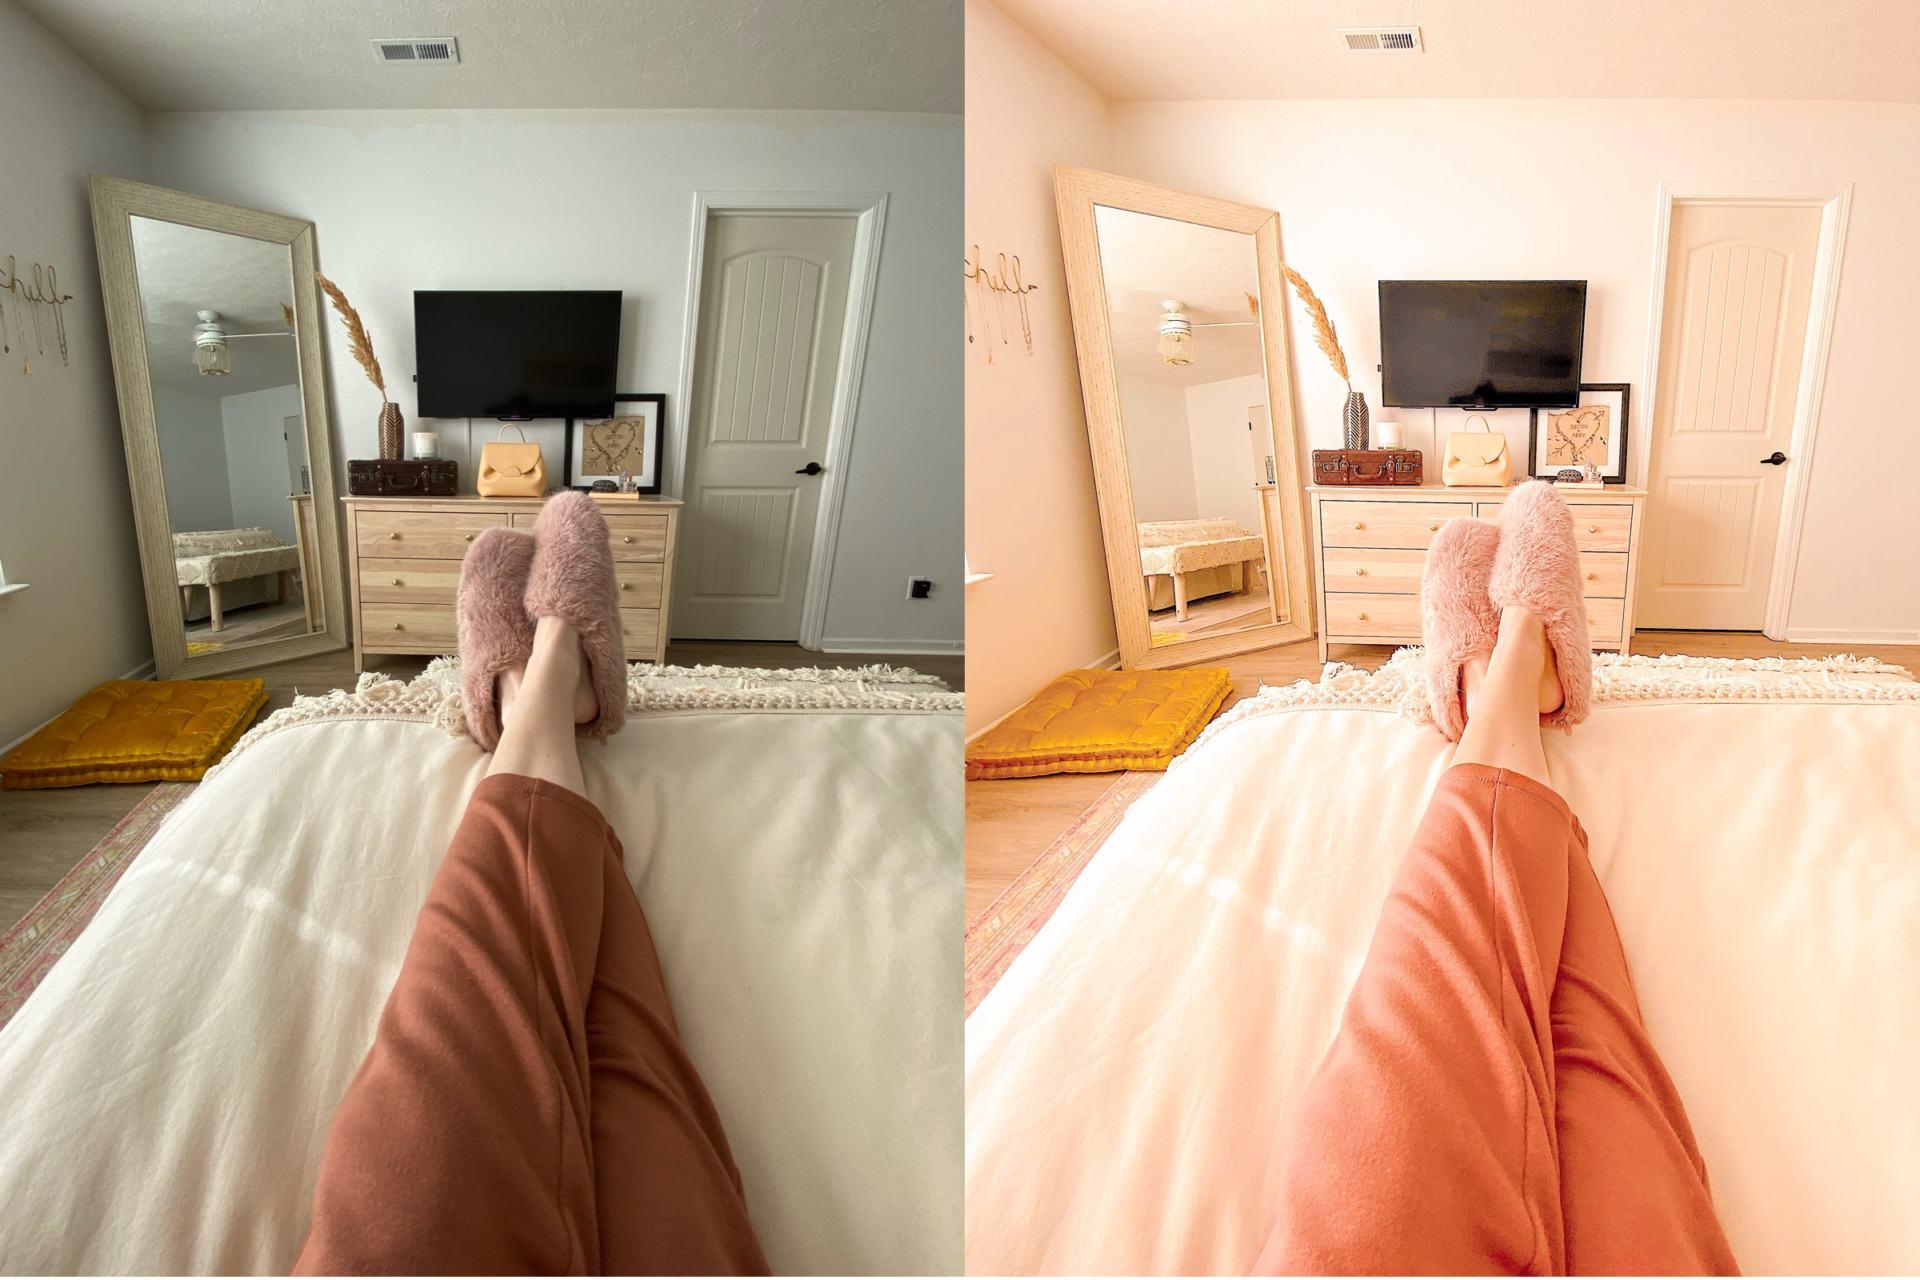
VSCO
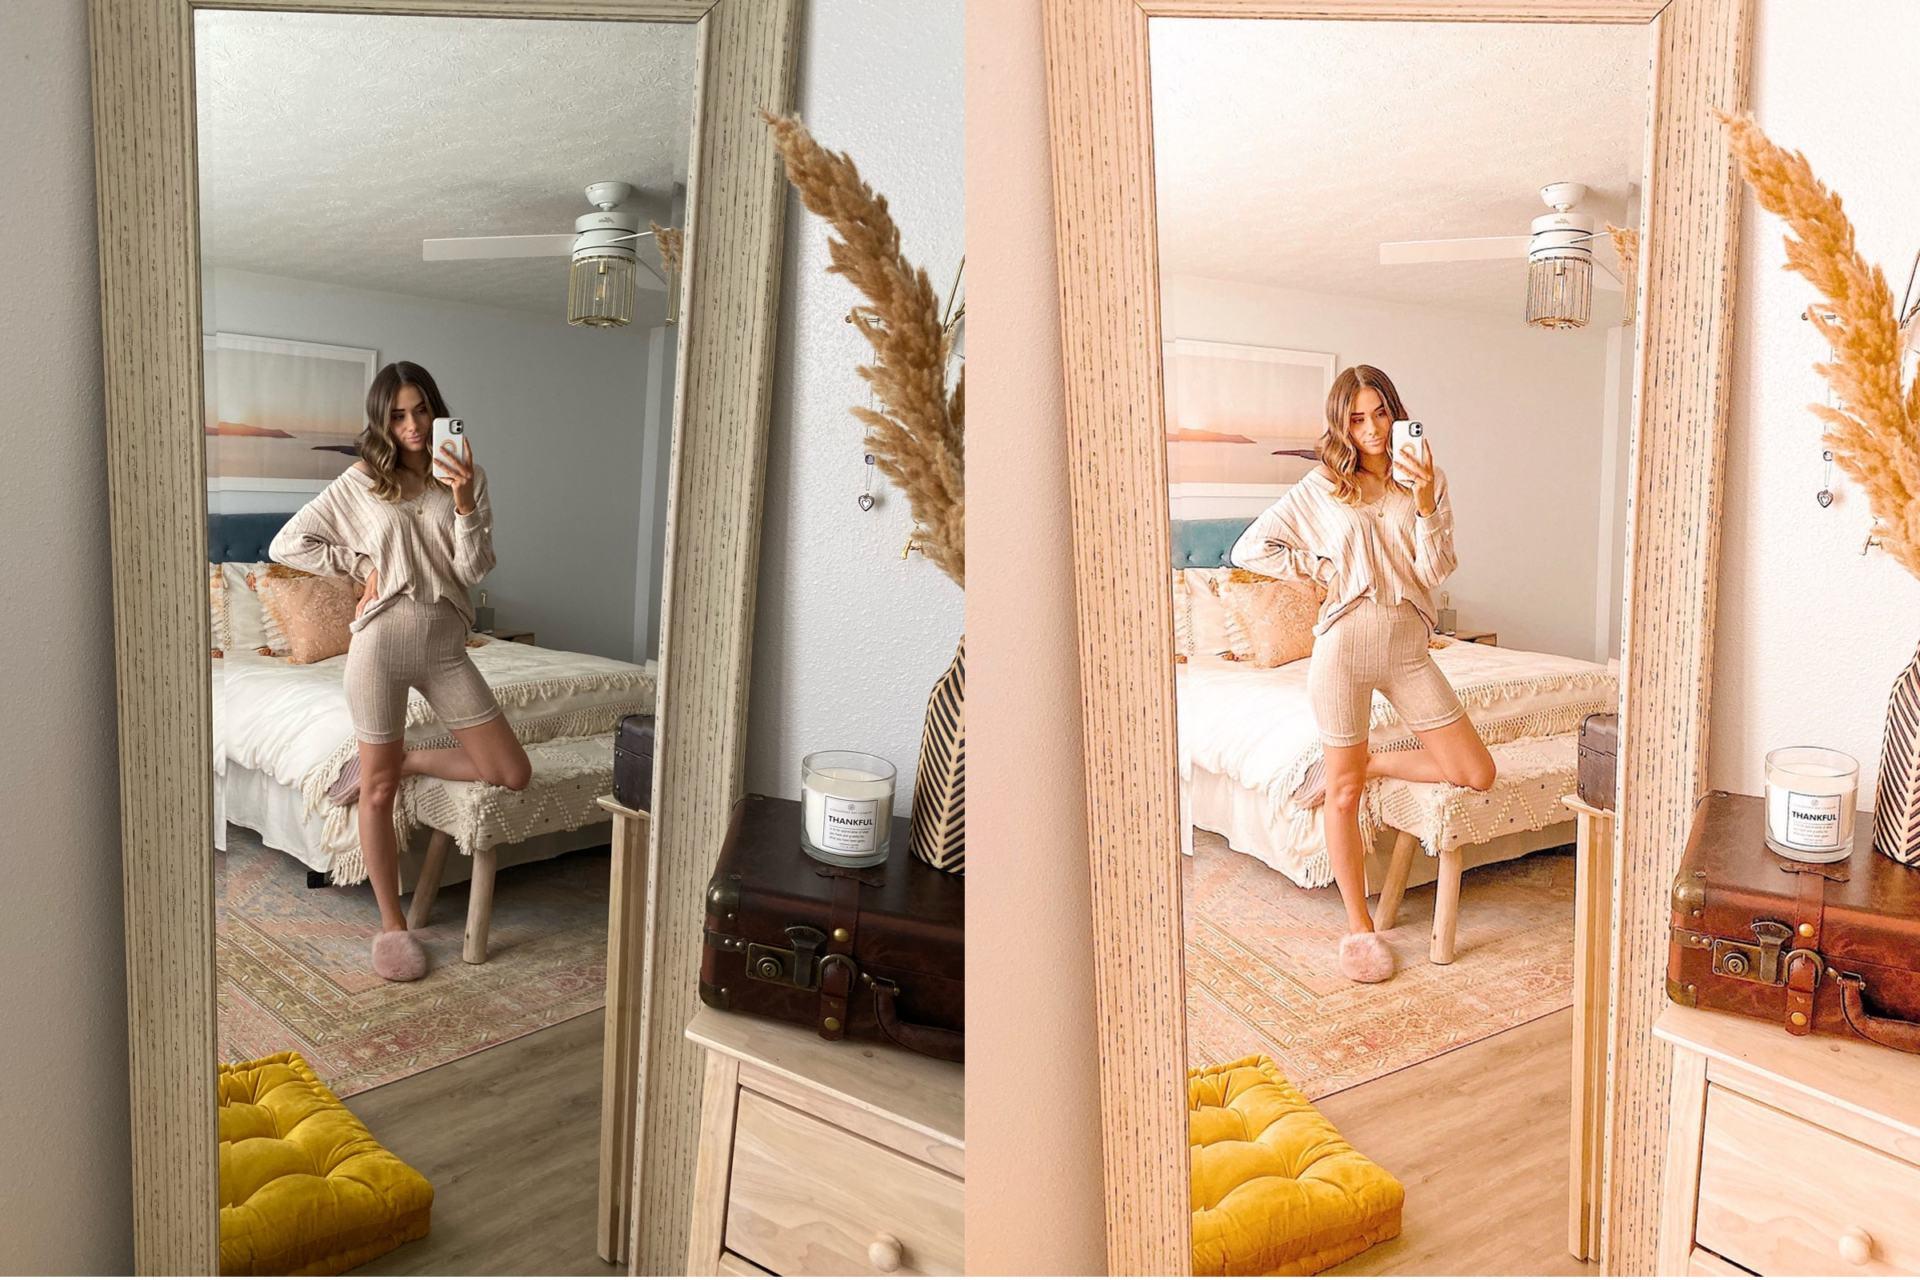
Every photo I post ends up in the VSCO app beforehand. I tend to do my final, last-minute edits for DSLR photos in there, I usually do all of my iPhone photo editing in there, and it’s used to visually plan out my feed since it lays everything out in a grid. Sometimes I use the same editing techniques as what is listed above for iPhone photos, but below is the most-used set of edits I usually do since it’s better formatted for non-RAW images. I’ve mentioned this before, but upgrading from the iPhone 7 to the 11 CHANGED THE GAME for iPhone photography for me and I now find iPhone pics to not only be doable, but actually a really great option! I don’t use any of the VSCO filters, but these are the manual edits I make for iPhone photos since those are relatively consistent:
- Brightness: +3-4
- Contrast: as needed, but it’s typically not
- Temperature: +2.5
- Tint: +1.5-2
- Saturation: +3
- Sharpness: +3
- Skin tone: -2, if needed
TIPS
Here are some additional tips for eye-catching blog and Instagram photos:
- Play up your angles
- Keep composition in mind from every corner of the shot
- Lighting makes or breaks a photo from a quality perspective, so always consider that first
- Altering colors can make all the difference — not all “blah” images are a lost cause!
- Especially when uploading to Instagram, sharpening tools are your best friend
Something else to keep in mind is that I think what helps my photos flow so well is that most of them are taken in my house where there is a set style and color scheme. Also, I find that once you’ve been sticking with a photo editing “theme” for a while, it gets easier and easier to regurgitate it each time. But in general, if you’re wanting your photos to have the same look/feel as mine, turn up the temperature, brighten them up, saturate a bit and turn down your shadows for an overall light and warm vibe.
__________
That’s how I edit my photos! I hope you found this post helpful and if you have any questions, please feel free to leave them below or shoot me a DM. I seriously have so much fun with editing and I hope this encourages you to try new things and get creative with your images! Be sure to follow me on Instagram (@abbysaylor) to keep up with my posts and have a great weekend!
I totally could tell they were Jacie Marie presets. I find it so interesting how people edit pictures.
http://moosmusing.com
Me too, Mariah! Everyone has a different process and it’s cool to see!