Master Bathroom Update: Painted Peach Vanity + New Storage

Hey everyone! I’ve been tackling a handful of house projects lately, with the main one being our bathrooms. Other than swapping out the mirrors, we hadn’t done much with these rooms and I was ready to get the transformation going again. I debated if I should wait to do this post when the room is completely finished, but as you may know, house projects are a process and I wanted to showcase that step by step. Keep reading to see the changes we’ve made so far to our master bathroom including painting our vanity peach and getting some much-needed storage!
INSPIRATION
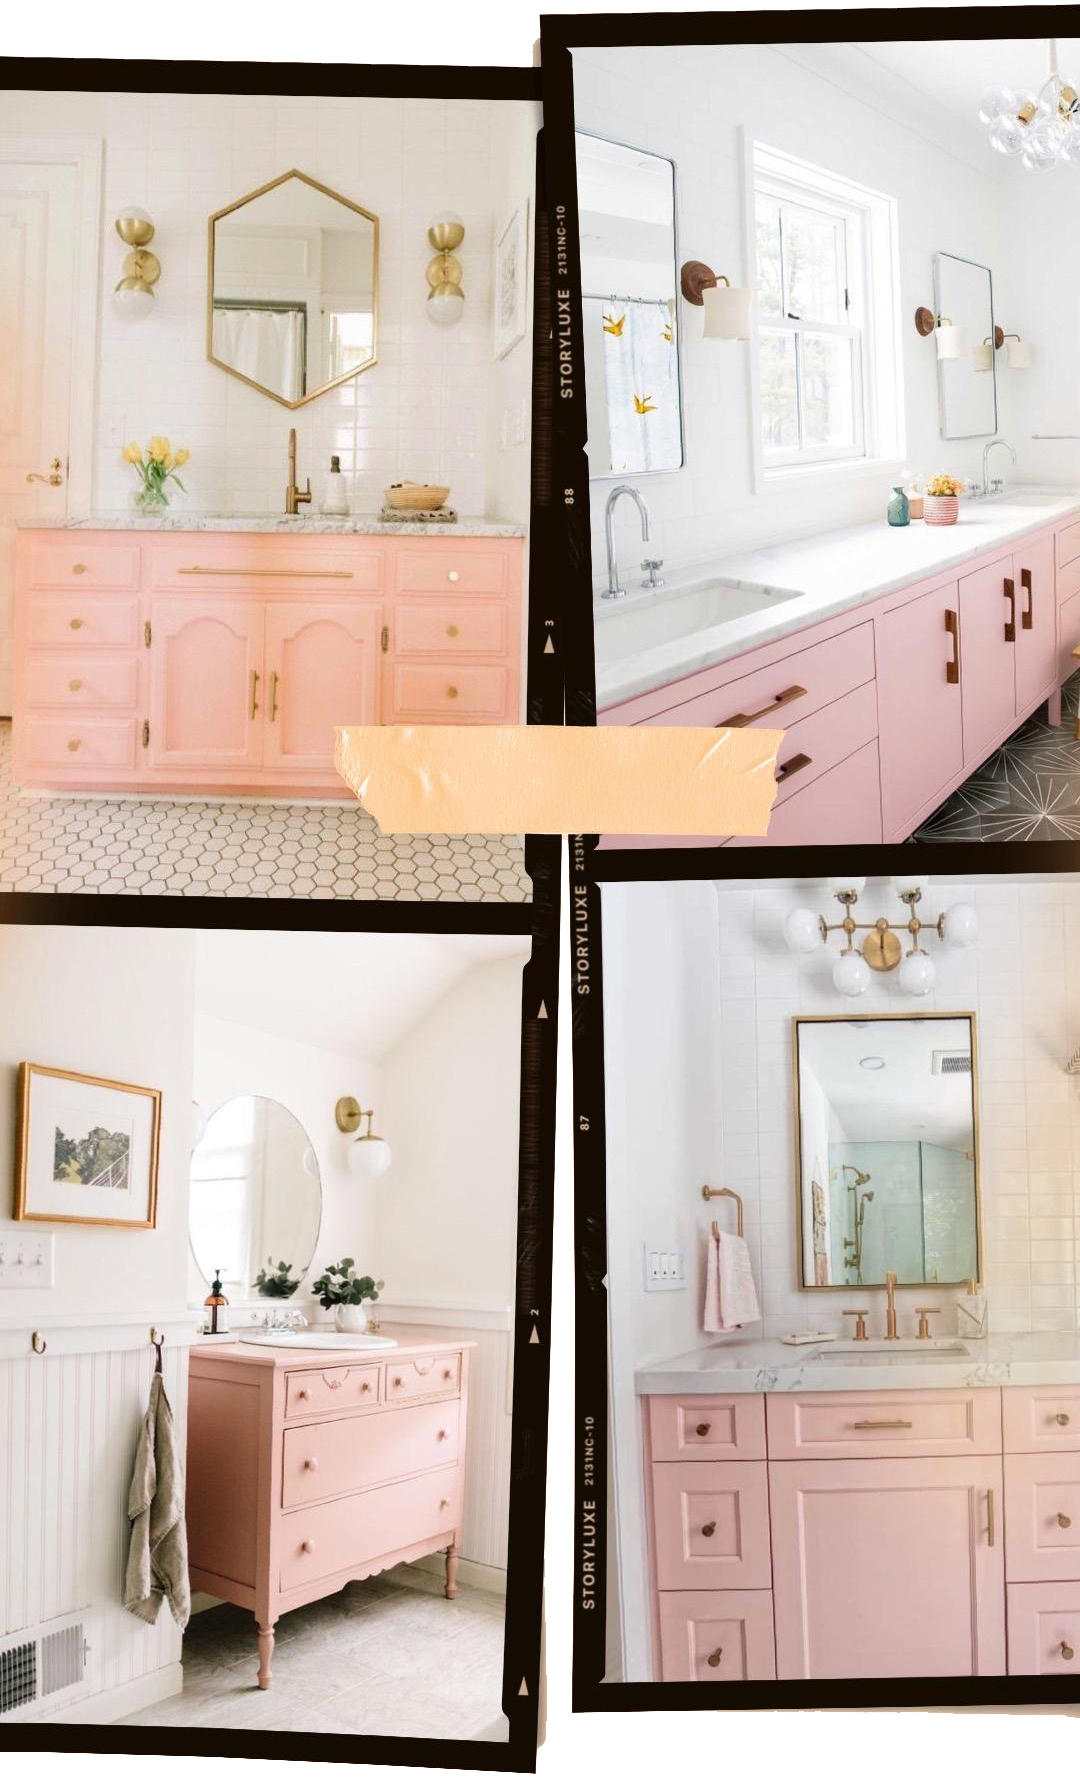
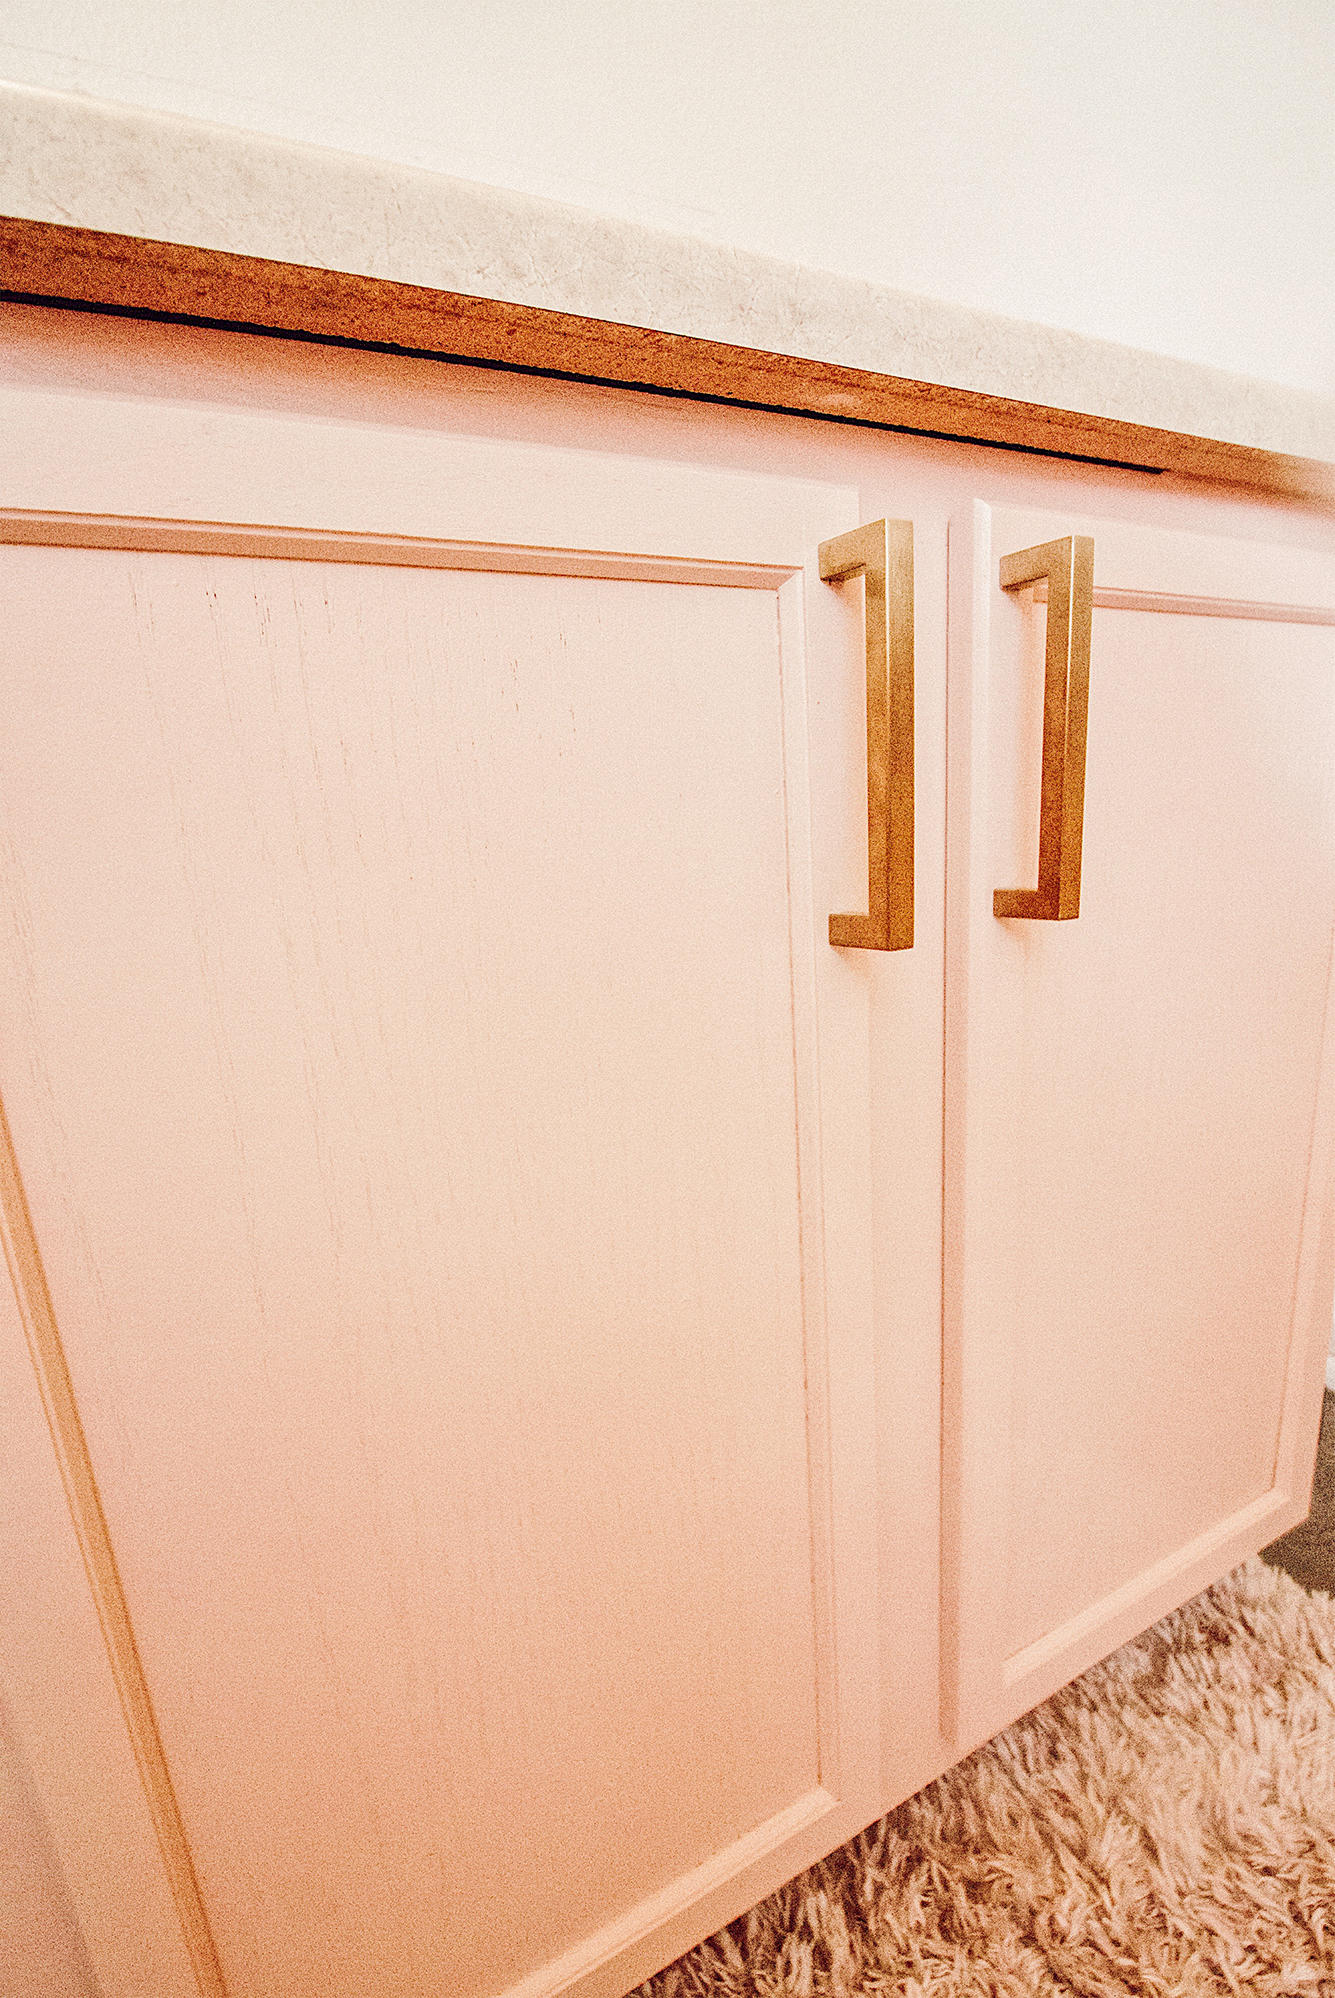
We have a lot of peach tones in our bedroom (click here to read my blog post on our bedroom makeover) and it’s one of my favorite colors, so I wanted to tie that into our master bathroom as well for a cohesive look. I looked for examples on Pinterest, but I could only find true pink vanities instead of peach like I wanted. I was aiming for something sort of neutral that wouldn’t pull too pink or too orange, so I picked up a ton of swatches from Lowe’s and looked at them for weeks. I decided to randomly pull the trigger one day and the color we finally decided to go with was Resort Peach. I’m glad we chose this one because it turned out being the prettiest milky peach!
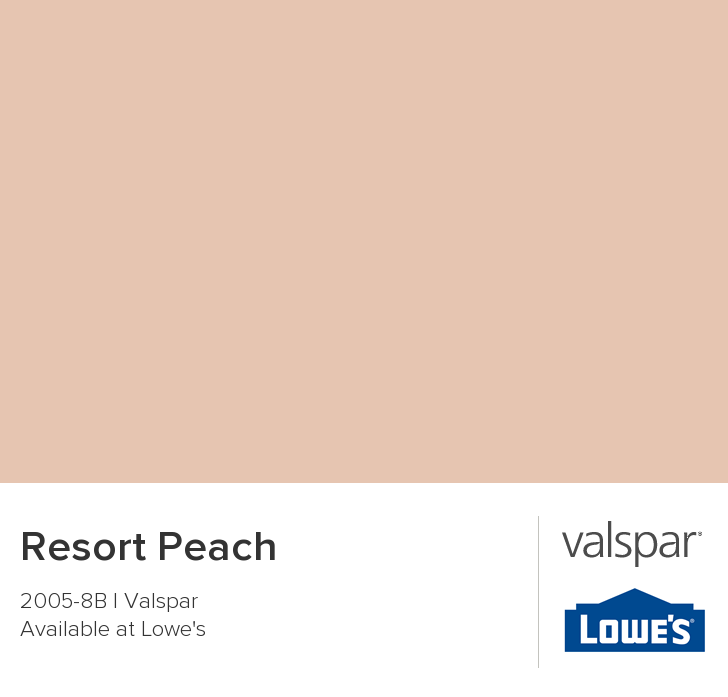
It was nearly impossible to accuratley depict the color of our vanity in these photos since there aren’t windows and the old lighting isn’t great (that will be getting fixed soon!), but above is the swatch. Now, let’s get into the before/after and for those of you who may have never painted cabinets before, I have some tips + a supply list to help you do this in your own home too.
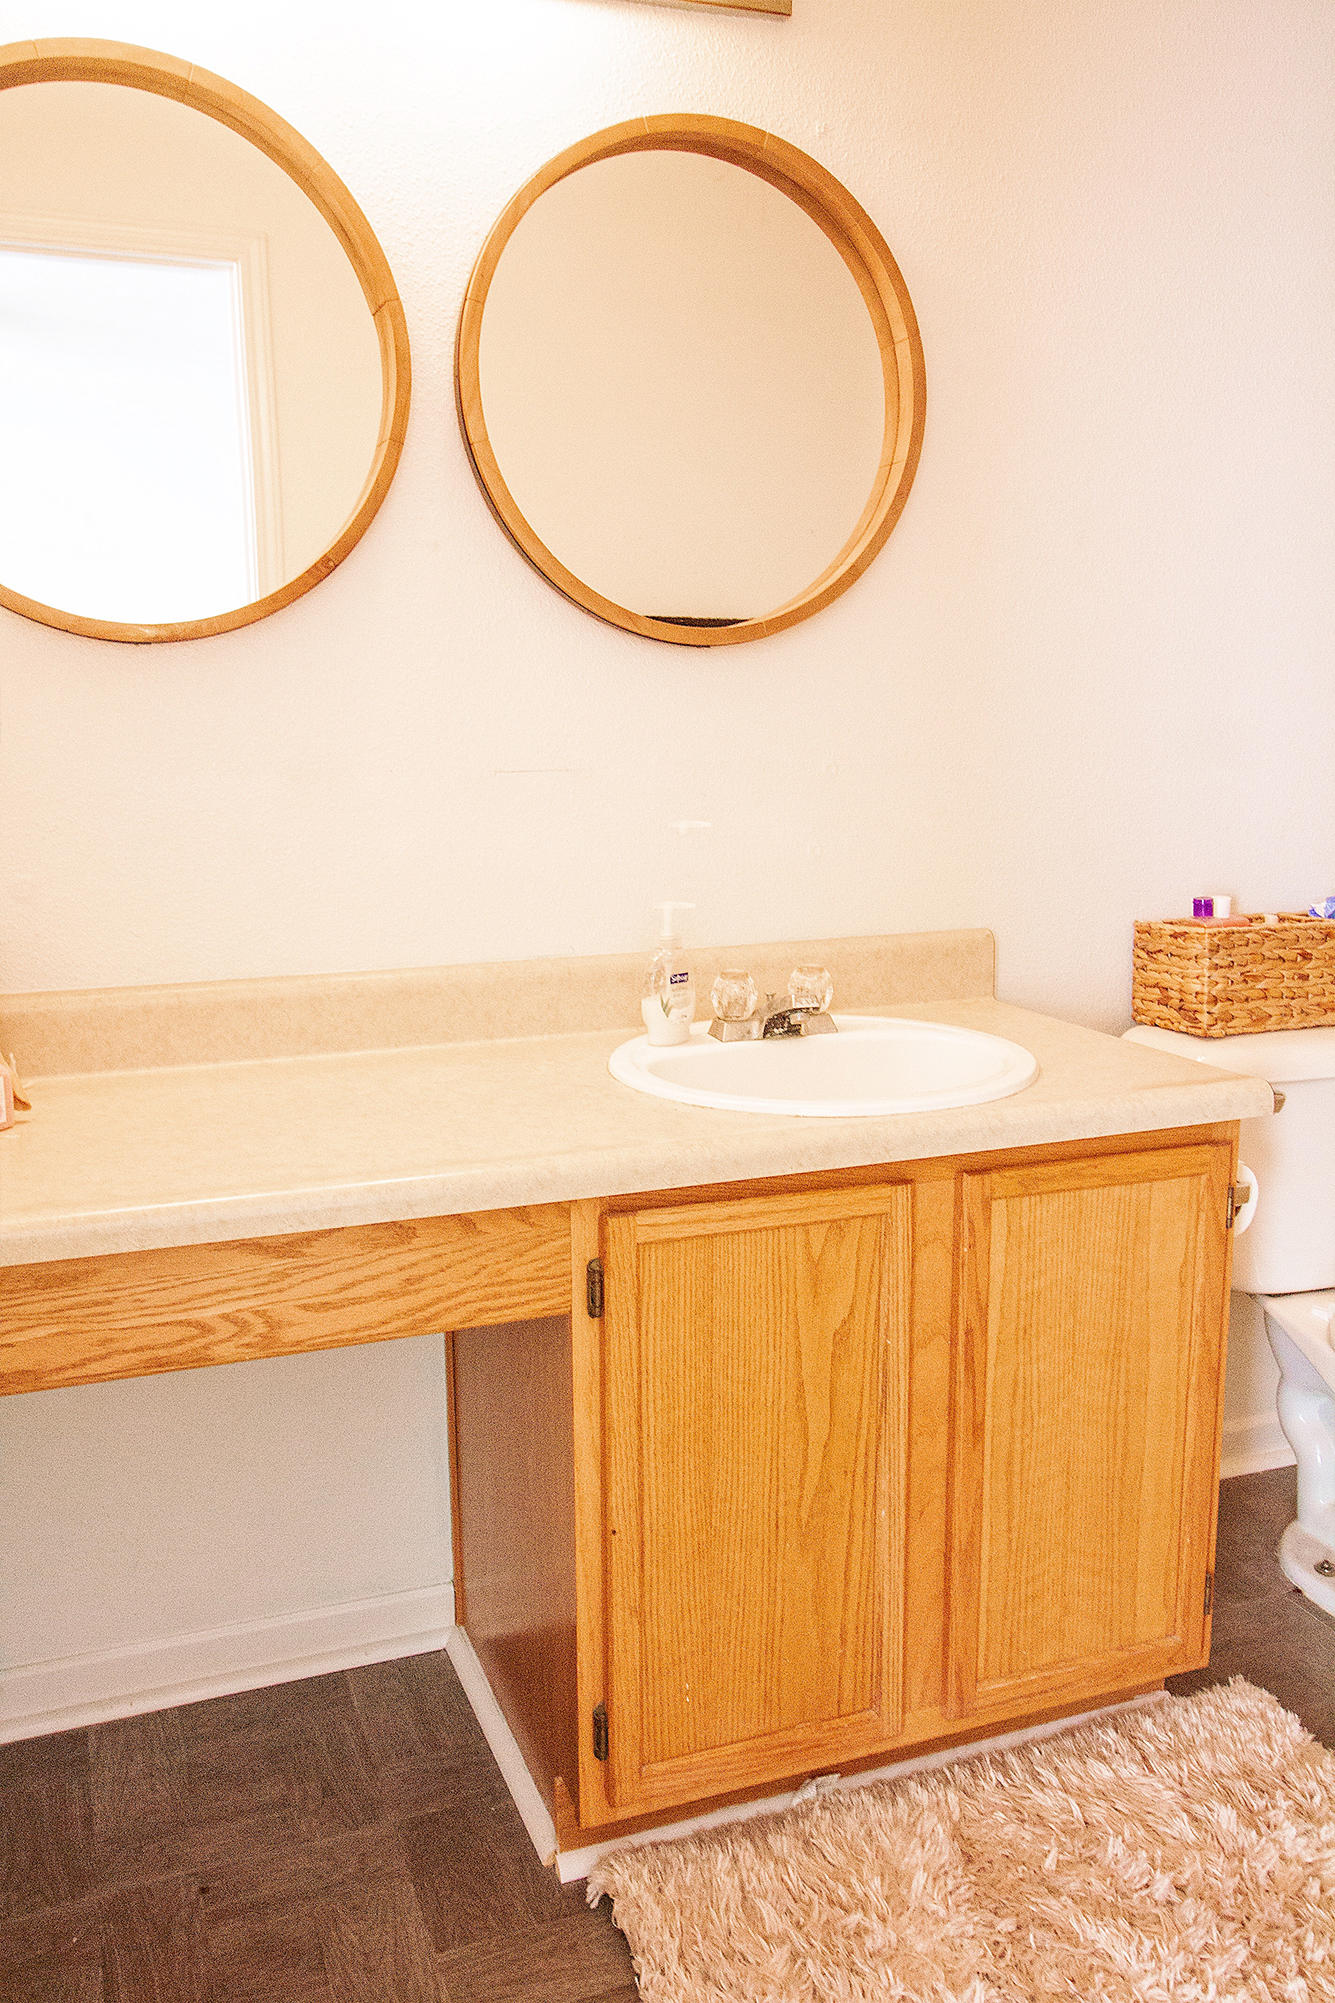

CABINETS
WHAT YOU NEED:
- Cabinet paint — we used Valspar Cabinet Enamel. If you’re doing a small vanity like ours, I recommend a quart.
- Brush — Glide Nylon/Polyester Blend Angle 2-in Paint Brush
- Roller — 4-in Cabinet and Door Foam Mini Paint Roller
- Paint pan
- Stir stick
- Knobs — Knowing we’d eventually want to add hardware to the bathrooms, we ordered extra knobs when we redid our kitchen so they could all match. These are the ones we have from Amazon and we love them!
INSTRUCTIONS:
- If the cabinets already have a finish on them, use TSP to wipe them down — the container will have instructions on how to do it!
- Wipe them down with water to wash off the TSP
- Begin with the brush and go over the angles and creases
- Finish off with the roller on the rest of it, including the sides.
- I did two coats on both sides and I let each one dry for about 3 hours.
As for other changes we’d like to make, eventually we want to add:
- Wall art — I already have some ready to go up
- New vanity light — it arrived in the mail yesterday, so we just need to install it!
- New flooring — I’d love to have white tile with black detail
- New countertop — something white or butcher block probably
- Possibly new sink
- New faucet
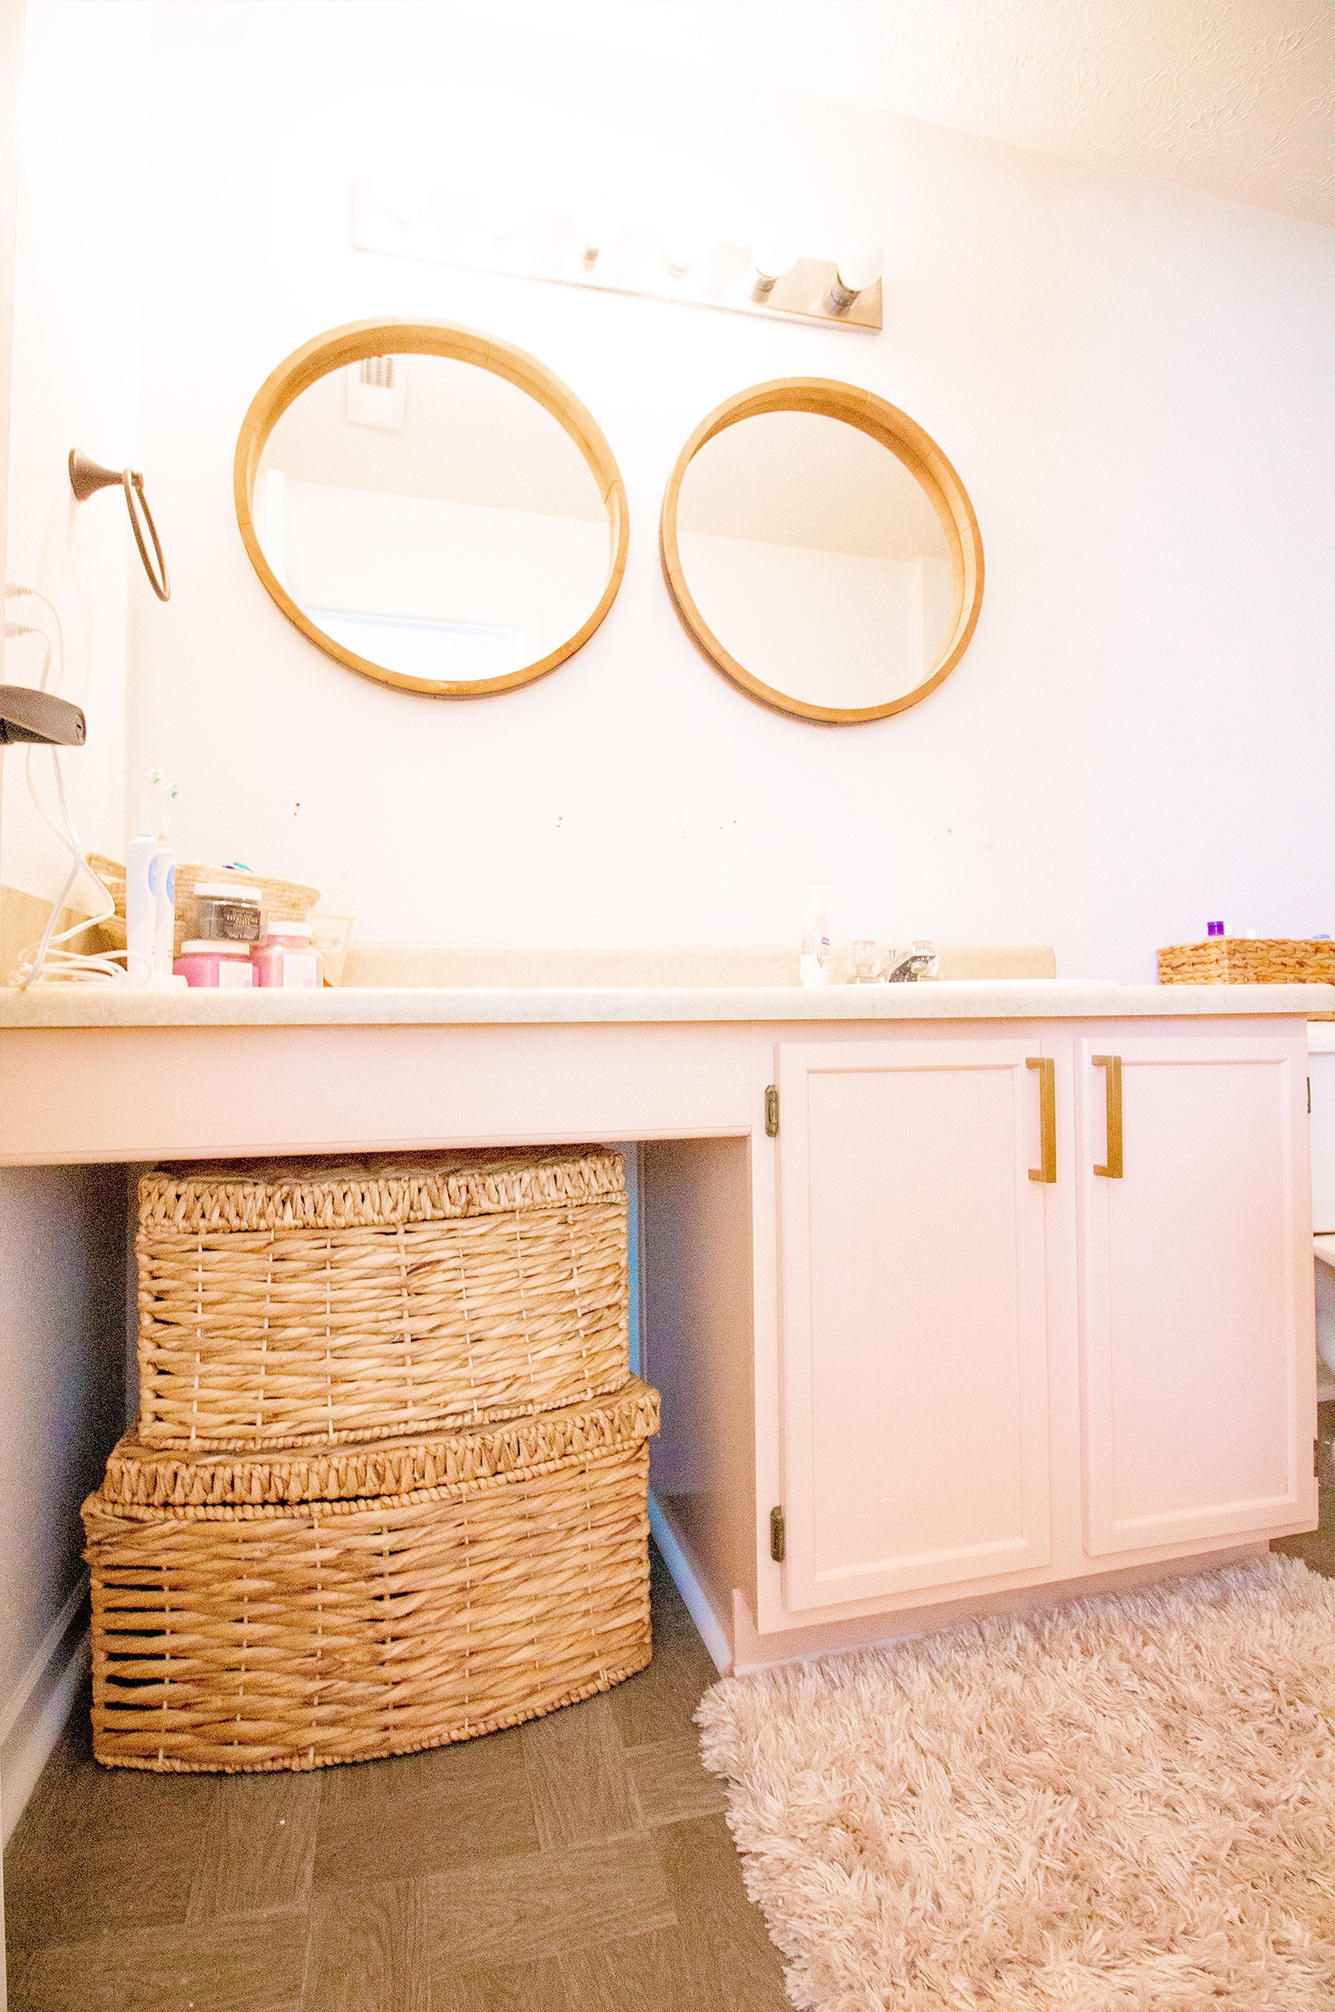
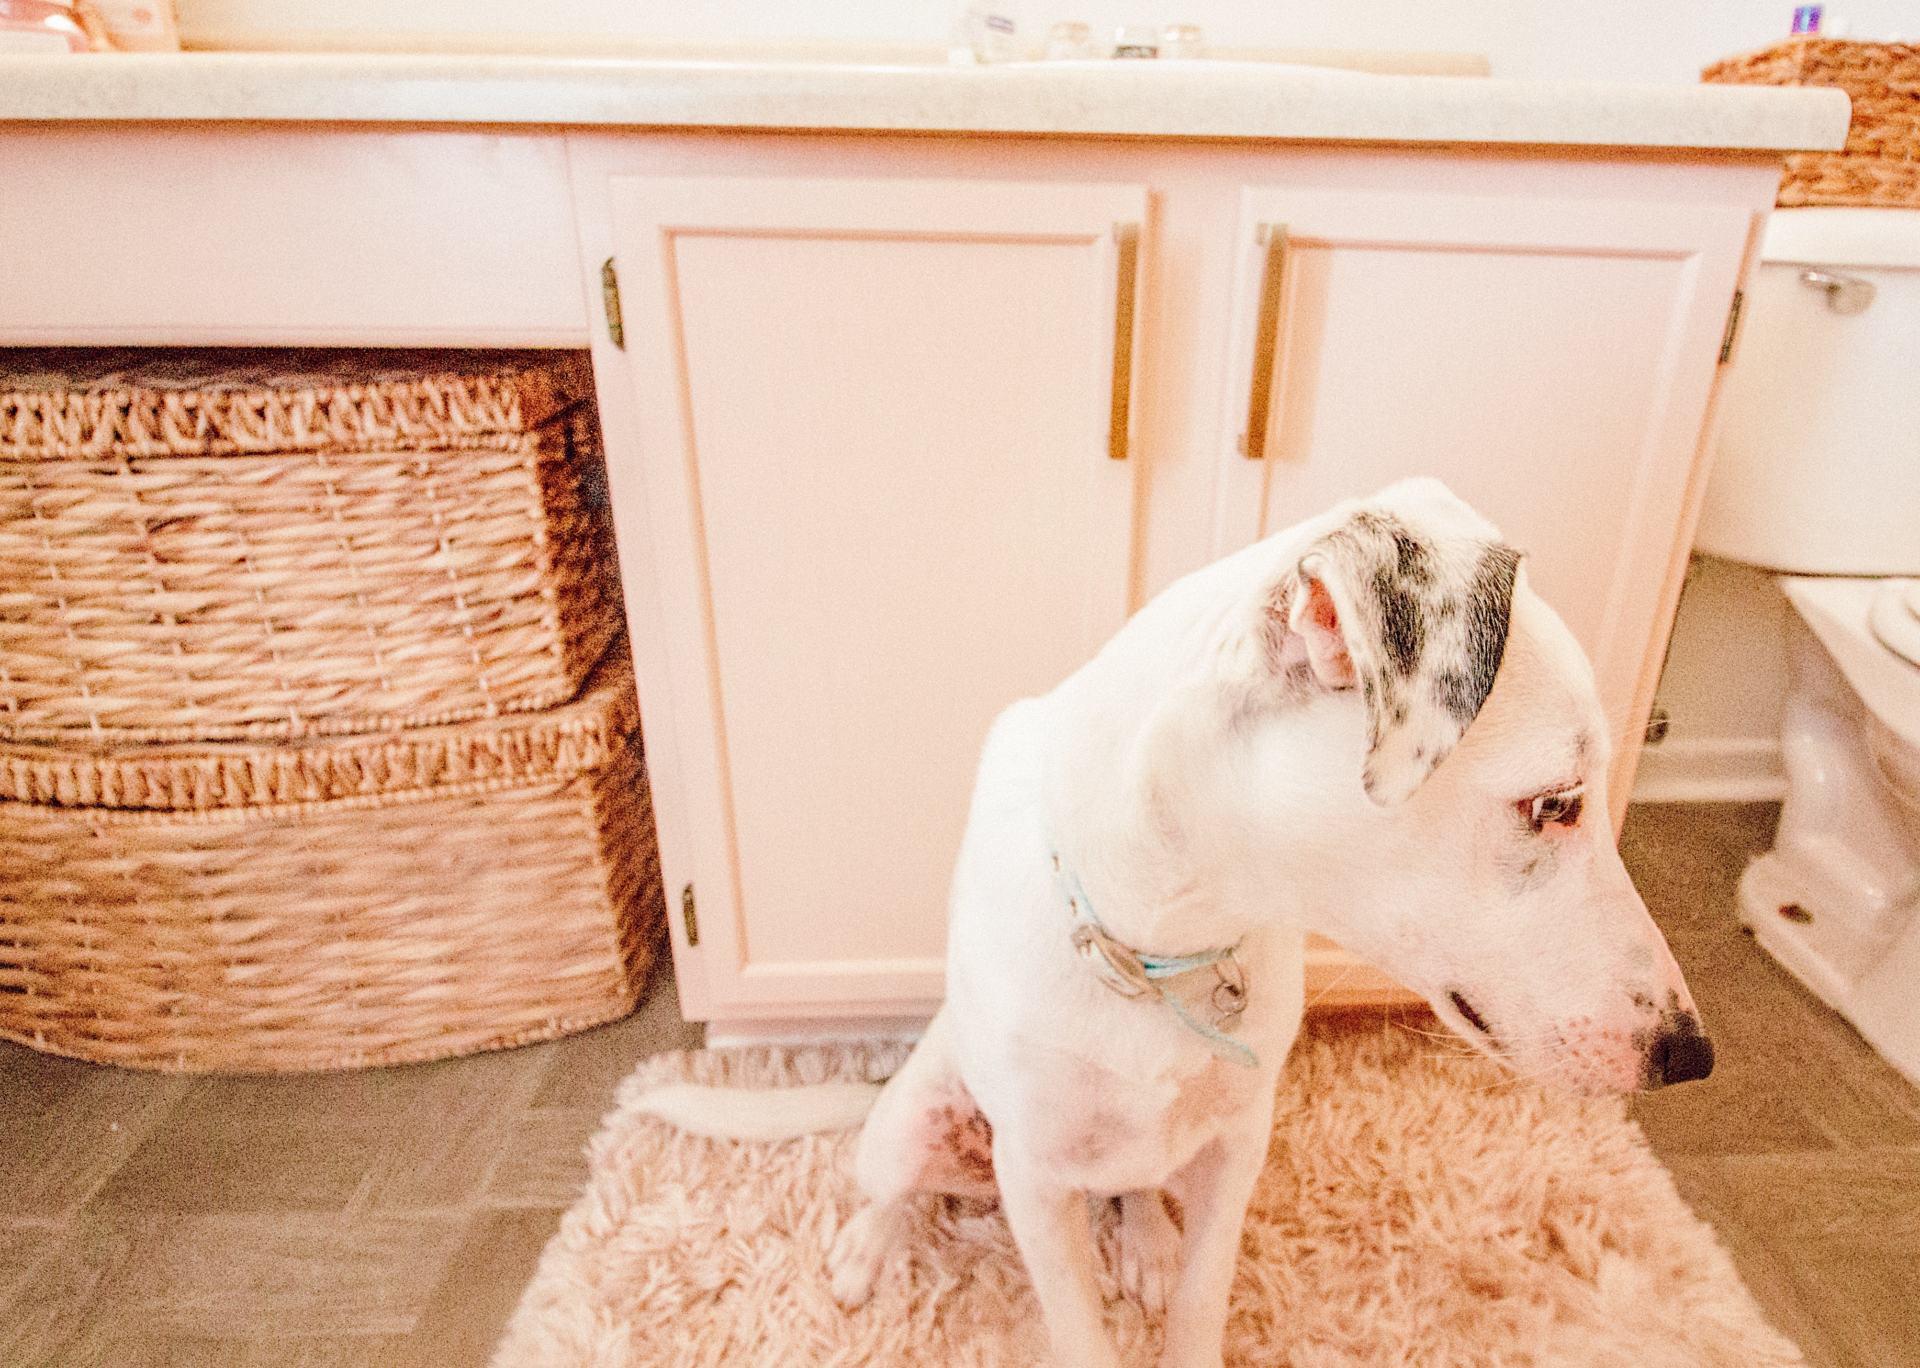
STORAGE
A downfall of our master bathroom is that there isn’t much storage space. We only have a 2-door cabinet and no drawers, so we were stumped on what the best way to fix this issue was. We measured the space and looked online for cabinet cubes to fill with baskets and whatnot, but nothing fit quite right. My mom gave me the idea to just do baskets themselves, which is a quick and easy fix once you find some that are the right size. We got these from Old Time Pottery (in Greenwood, if you’re local!) and I really like them. We’re going to use the baskets for things we don’t reach for every day, and keep those other things in the cabinet instead.
__________
That’s where we’re at with our master bathroom so far! I hope you enjoy reading these posts as much as I enjoy doing these fun little projects! As always, thanks for stopping by my blog and check back this week for another post!

The peach color is so pretty! I love reading your house updates and seeing the progress that you’ve been making. It looks so good so far!
Thank you so much, Makaela! I’m having a lot of fun with it 😍
I haven’t seen peach vanities much before this one but I can see why it’s trending right now! So pretty and girly yet not too much? Calming even, still! Did you paint it yourself or did you hire professional cabinet painters for the job? Either way, it looks fantastic!
Thank you so much, Mia! I did it myself! I did our other bathroom and our kitchen too, but in a different color.