How to Take Great Photos Indoors
Hi friends! I have today off work thanks to Martin Luther King Jr. Day, so I’m coming at you live from my couch while I have Stephanie Harlowe’s R Kelly video (Part 1) playing in the background (go watch it!). I did another poll on Instagram asking what you guys would like to see on my blog today and you picked how to take great photos indoors. Keep reading for tips on how to create gorgeous home photos, editing tips and tricks, + more!
Not going to lie, it took me a while to master taking photos indoors. I always saw people posting such beautiful ones and I couldn’t help but wonder how they were doing that. Was my camera on the wrong setting? Am I editing my images incorrectly? Are my lightbulbs the wrong color? With practice and trying various methods, I’ve finally come up with my go-to way of capturing great content indoors. Here are the three things that changed the game the most for me:
- Using a DSLR camera with a wide-angle lens (I use a Canon Rebel t3 with an EF-S 10–18mm f/4.5–5.6 IS STM lens)
- Shooting in RAW (you can change your DSLR to this setting — Google the camera you have if you’re not sure how!)
- Editing in Lightroom with presets and editing skills I’ve developed by practicing (I use Jaci Marie Smith’s faded preset from her Pastel Pack)
Now, let’s get into more tips in greater detail that will help you capture the images you’re striving for!

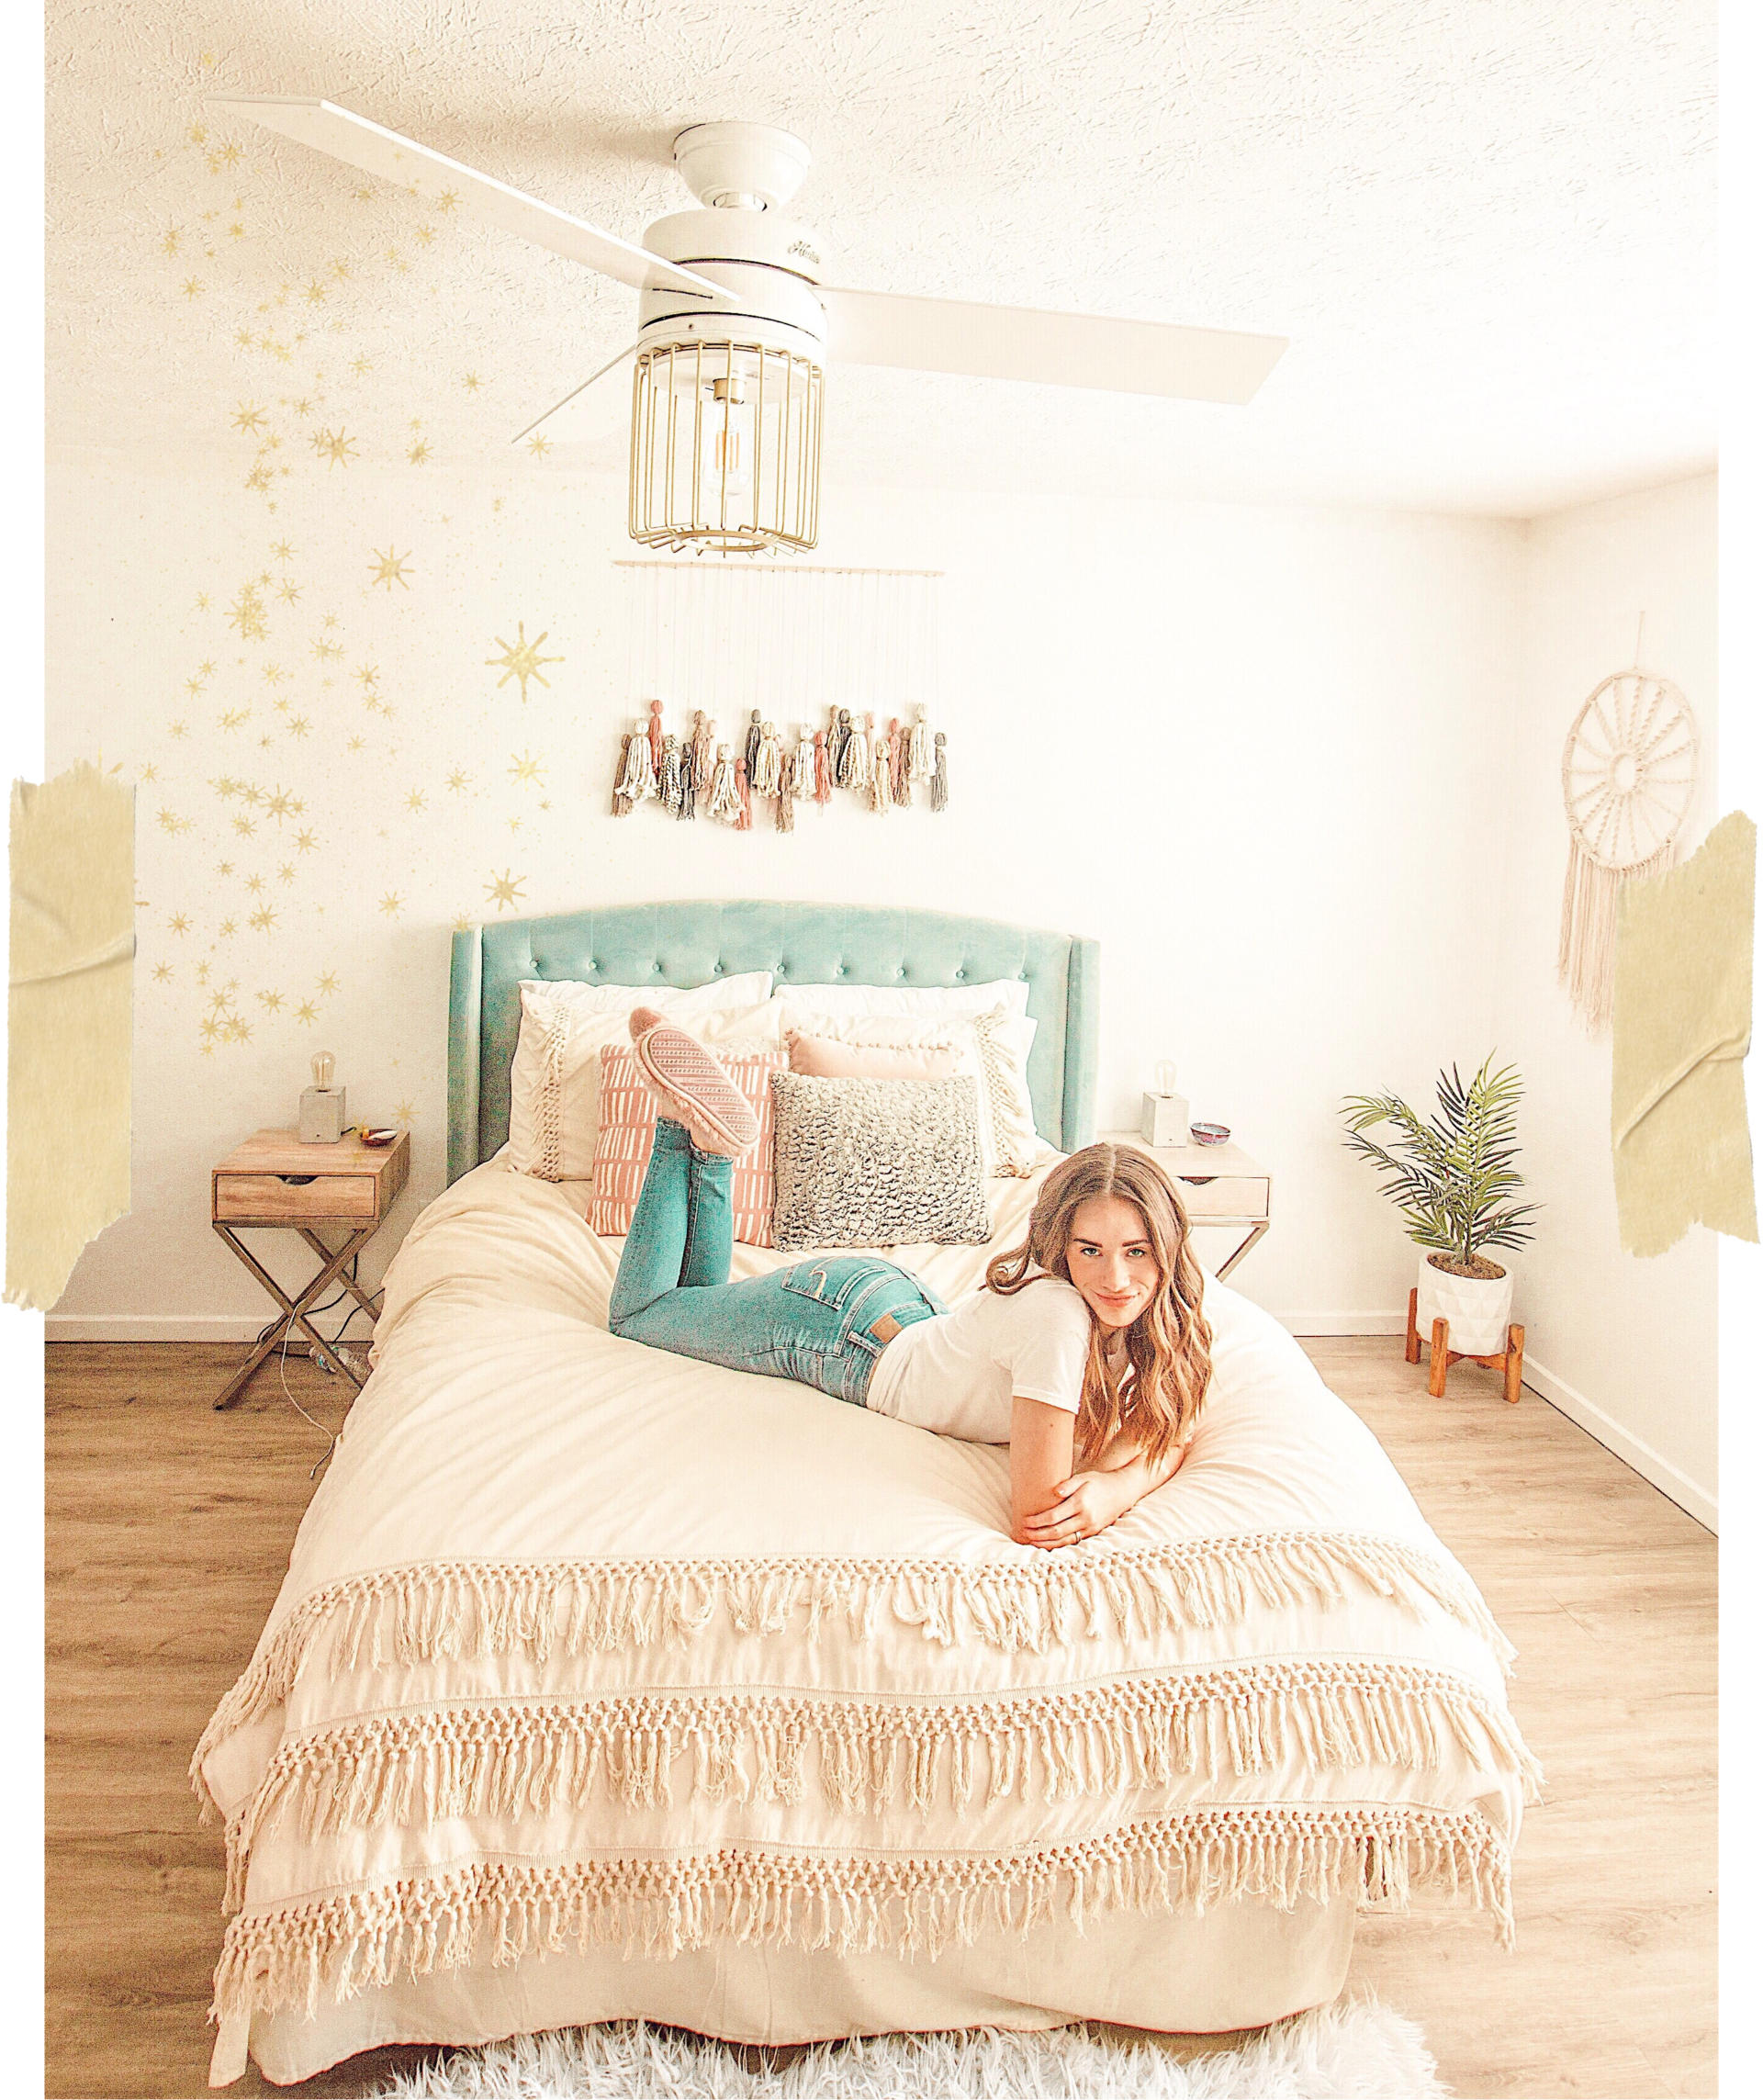
Utilize natural light from windows as much as possible.
This may be a no-brainer, but I really can’t express enough how vital this is. Natural light is one of the main things that makes indoor photos looks like a dream. I suggest choosing the placement of your photos based on the location of windows in your house. There have been countless days where I wake up wanting to take photos and it’s way too cloudy or too dark outside by the time I get home from work. With that being said, if it’s a sunny day and you’ve been wanting to take some pictures inside, take advantage of it!
Time of day is important.
Depending on where your windows are, you’ll have more light in various rooms at certain times throughout the day. For instance, my bedroom is the brightest room in my house for most of the day and my office is one of the darker ones usually. I keep this in mind when choosing the subject of my images and where I set up my shots.
Shoot in high quality.
My DSLR photos usually turn out much better than my iPhone ones inside because the lens lets in far more light. Though iPhone quality is getting better and better with each new phone that comes out, I find that it still limits you a bit when editing. If you edit in Lightroom, I suggest shooting in RAW as well to capture the best and brightest images possible.
If possible, use a wide-angle lens.
These lenses are the best for home shots because it captures MUCH MORE of the room than a regular lens. This is often what people use for real estate photography because it makes rooms look the best. When in smaller rooms, sometimes you aren’t able to stand back far enough to capture everything in the shot with a regular lens, but a wide-angle gets everything you want and more. Another perk is that it makes your room look larger and more open!
EDITING TIPS + TRICKS
Presets can be your best friend.
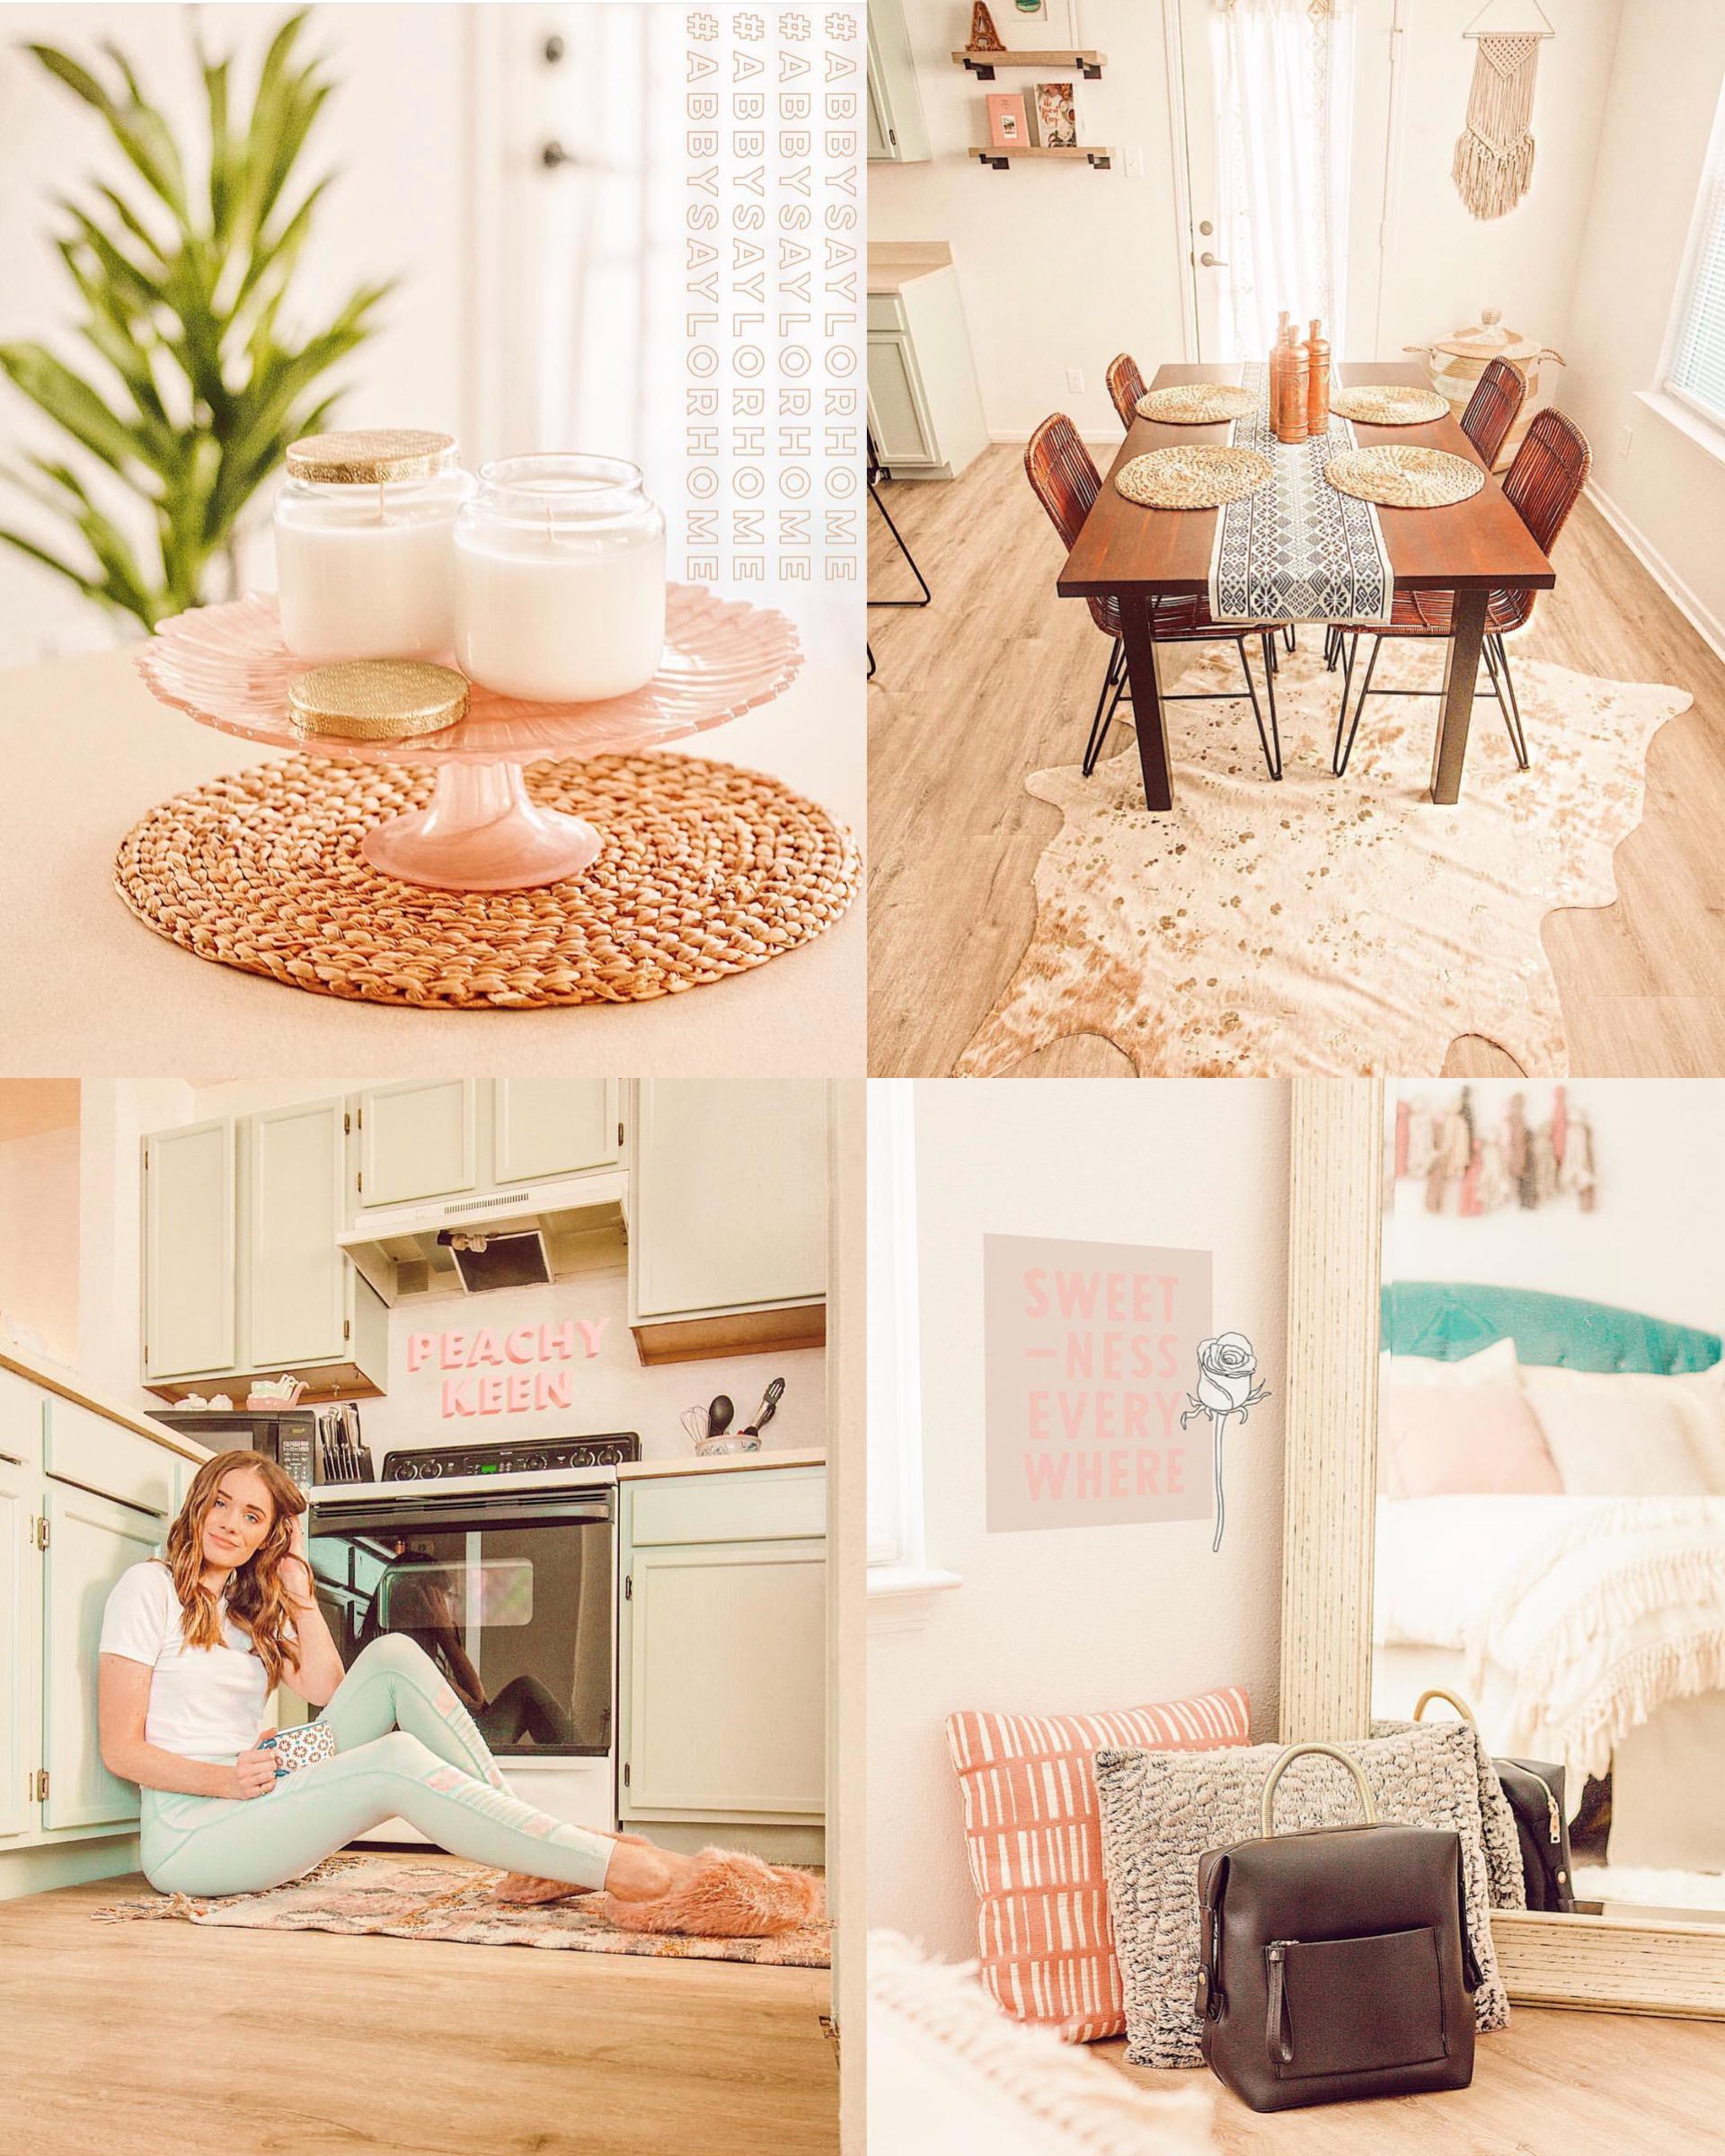
As I’ve said many times, Lightroom presets changed the game for me. Unlike editing from scratch, presets give you a great base that is consistent among every photo you apply it to — hence giving you that consistent Instagram theme that everyone strives for. This then allows you to make tweaks as needed, cutting your editing time in half if your process is anything like mine. For more, check out my blog post on how I edit my Instagram photos.
Bump up the exposure.
This is one of the very first things I do after I apply a preset to my photos. This will give you those bright photos that pop and it really showcases the subject of your image. I turn my exposure up at least 25% on every single one and it always looks really great on each of my photos.
Alter colors.
Taking photos indoors almost always changes the color of your images, especially if you’re using artificial lighting. Lightroom allows you to completely alter each individual color, which really helps make the images look how they would to the natural eye — or better! I know shooting in natural light isn’t always an option, so this editing tip will be necessary when utilizing lightbulbs.
Lighten shadows, darken blacks.
This is a tip I personally do to all of my photos and it’s a key step in creating the images you see on my feed. Dark areas of your house appear even darker in photos, so brightening those helps make them much more cheery and crisp.
__________
Those are all of my best tips for taking photos indoors! I hope this is helpful for you and let me know if you’d like to see more posts on photography/editing for blogs and social media. You can read all of my previous blogging-related posts here. Thanks for stopping by & have an amazing day!

Oh my goodness, this post was SO helpful! I always see indoor pictures on Instagram and can never figure out how to get the rooms so bright! Definitely going to try this out!
Xo Logan
https://peculiarporter.com
YAY! That makes me sooo happy, Logan! 😊 I’d love to hear a follow up on how these tips help you — it completely changed my images!
Abby,
Are you the best at taking Indoor Photos and did that take practice? And, what differences do Film (Old School Developed Film) vs. Digital do in quality? Peace Out!
Hi Tony, thanks so much! ☺️ I haven’t used old school developed film other than the occasional polaroid (if that counts), so I cannot speak on that. However, digital allows for amazing quality and plenty of editing so you can create your ideal images!