House Update: Painting Our Front Door and Shutters
Hey guys! If you’ve been keeping up with me on Instagram, you know I’ve been hard at work painting our house’s exterior door and shutters this week. We haven’t done much to the outside of our house since we moved in last year, and we were ready for a change and an overall upgrade. Keep reading for the benefits of painting your exterior, our before and after transformation, how we selected our color, supplies needed for the project, DIY tips + more!
BENEFITS OF PAINTING
Repainting your exterior features boosts your curb appeal and it’s overall just such a nice change. It’s not expensive either, and depending on the size of your house and how much supplies you need, it should only cost a $100 or less to complete the project yourself. Considering how expensive other exterior projects can get, that’s a pretty good price. Paint also allows for the opportunity to select a color that feels much more you than the one that was on the house when you bought it, further customizing your home into your dream space. If you’re like me and enjoy doing projects like this, it will be a fun activity too and should be able to be completed within a week.
SELECTING A COLOR
Though I’m luckily pretty confident when it comes to home decorating, one area where I get nervous is painting. I get intimidated by the idea that paint colors can look SO different once it’s on the surface compared to the swatch, and I hate to waste time painting something only to dislike it and have to repaint it with something else. Although this has yet to happen to me, it is a fear of mine!
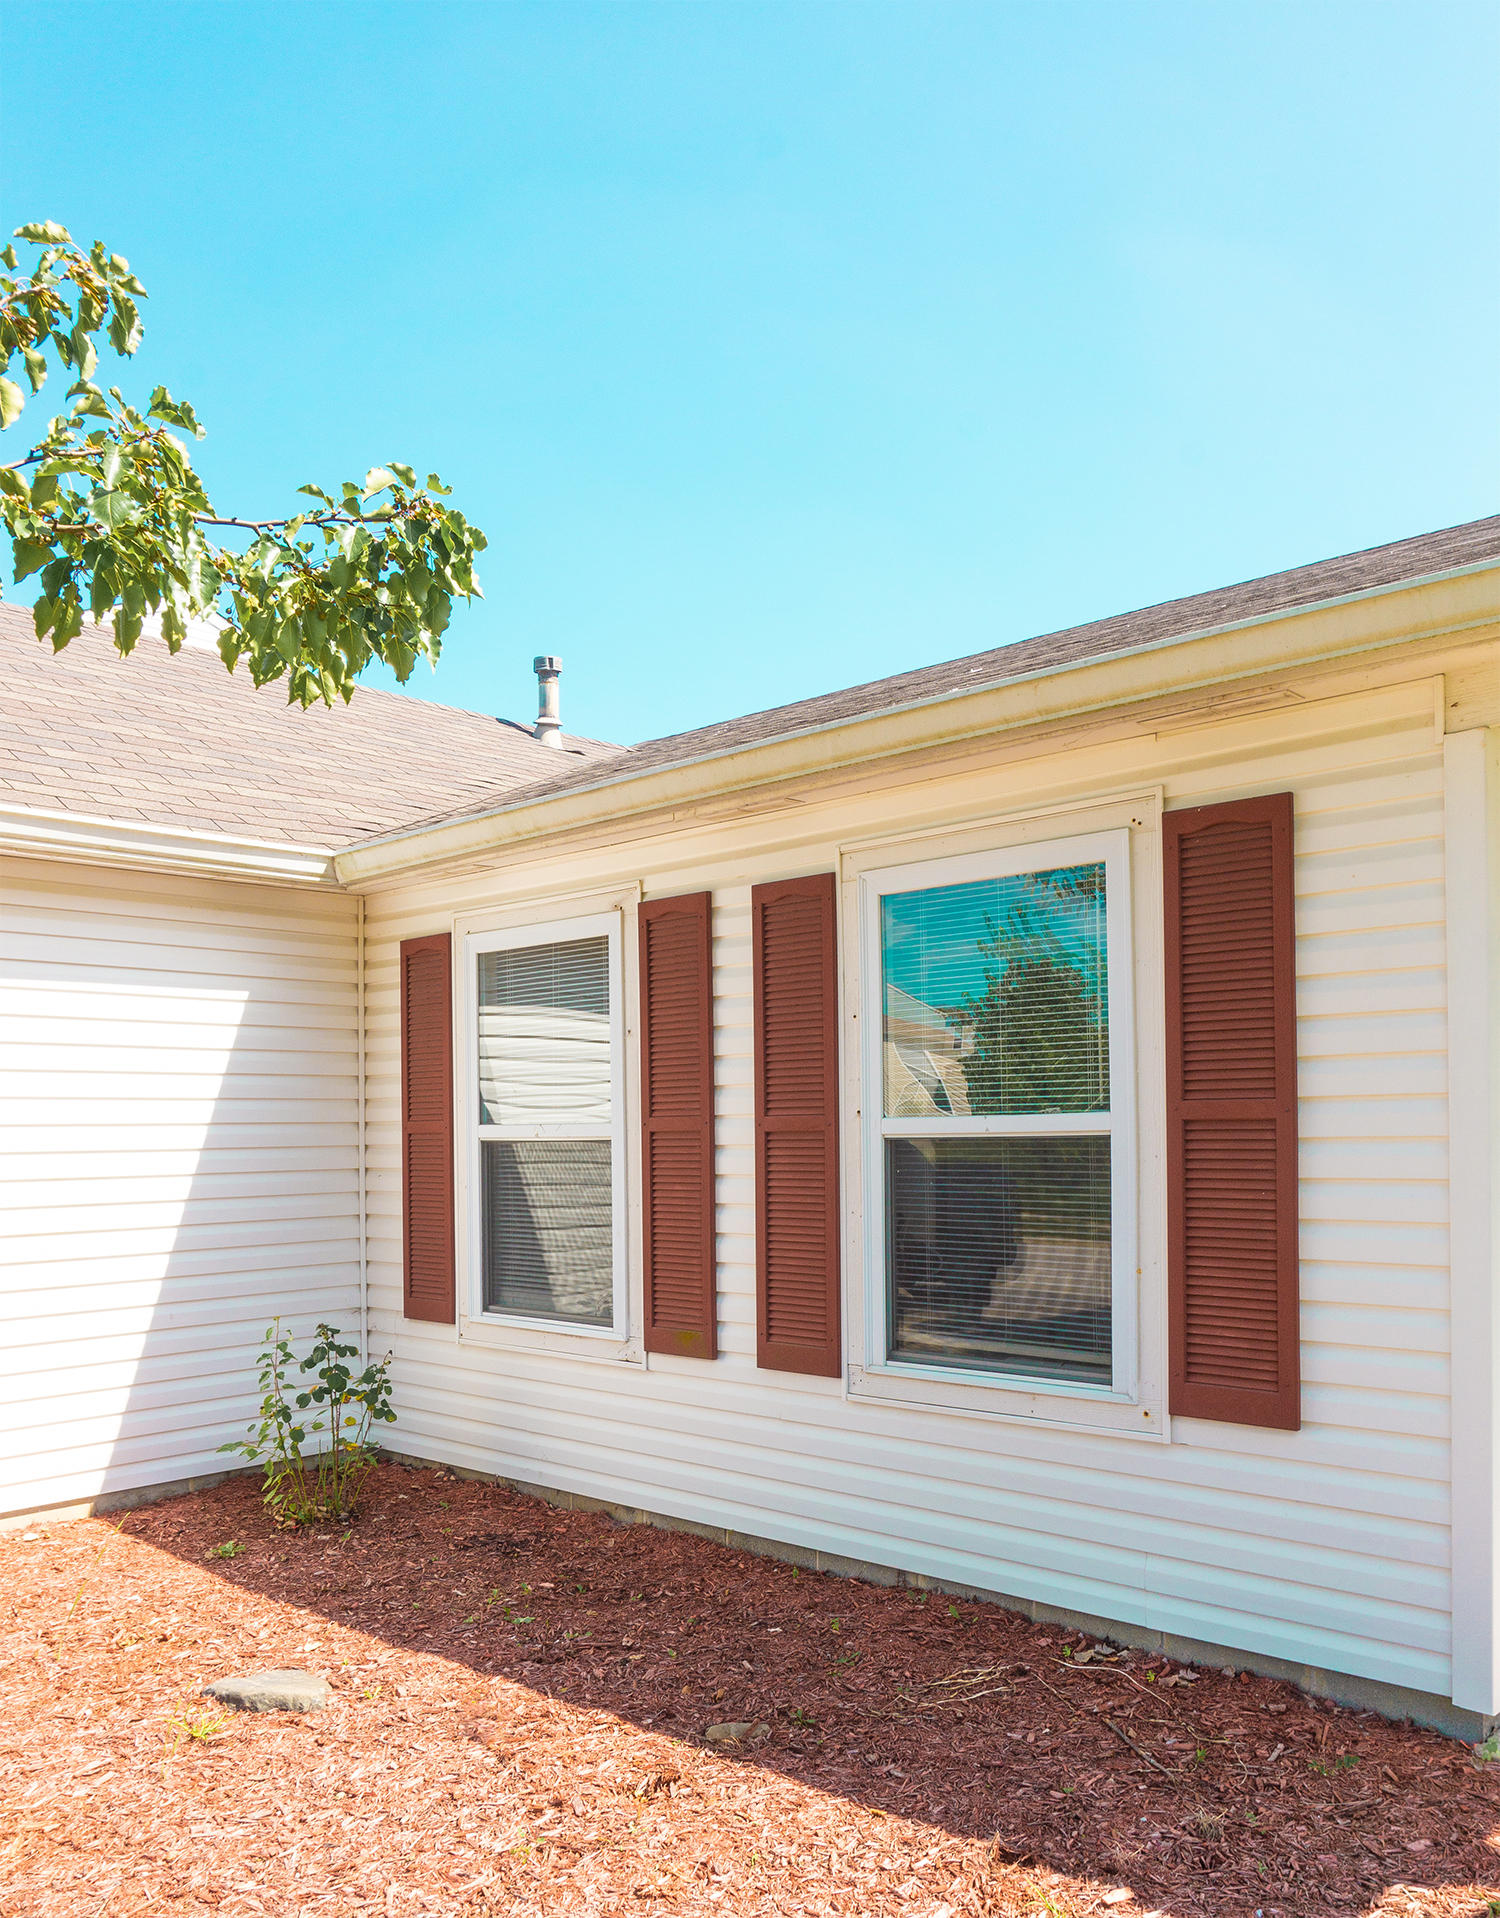
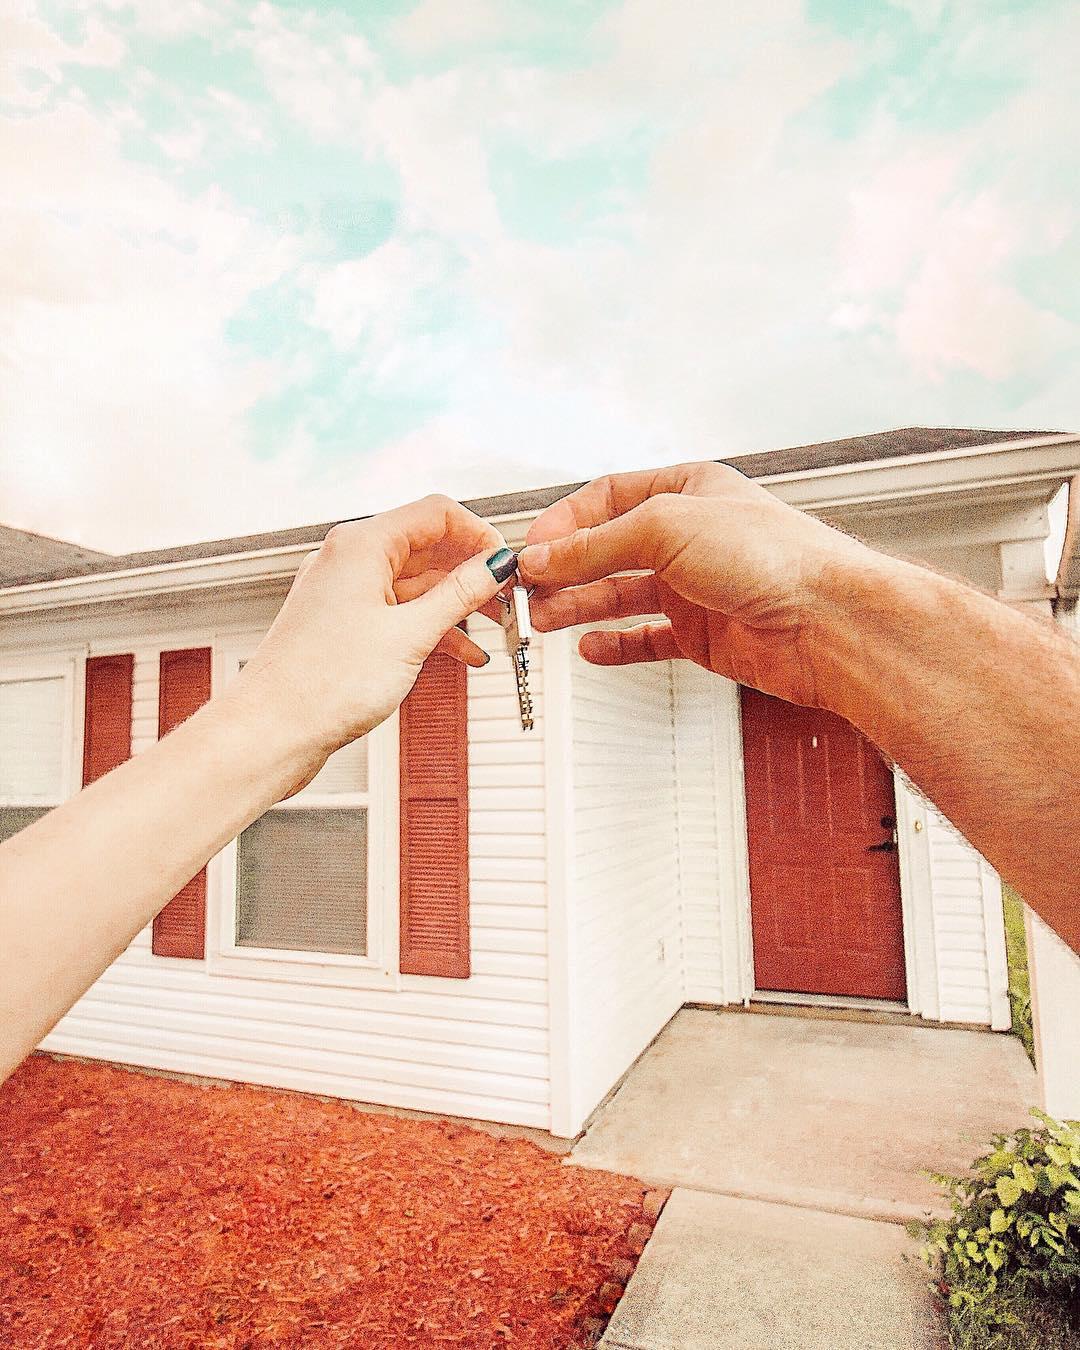
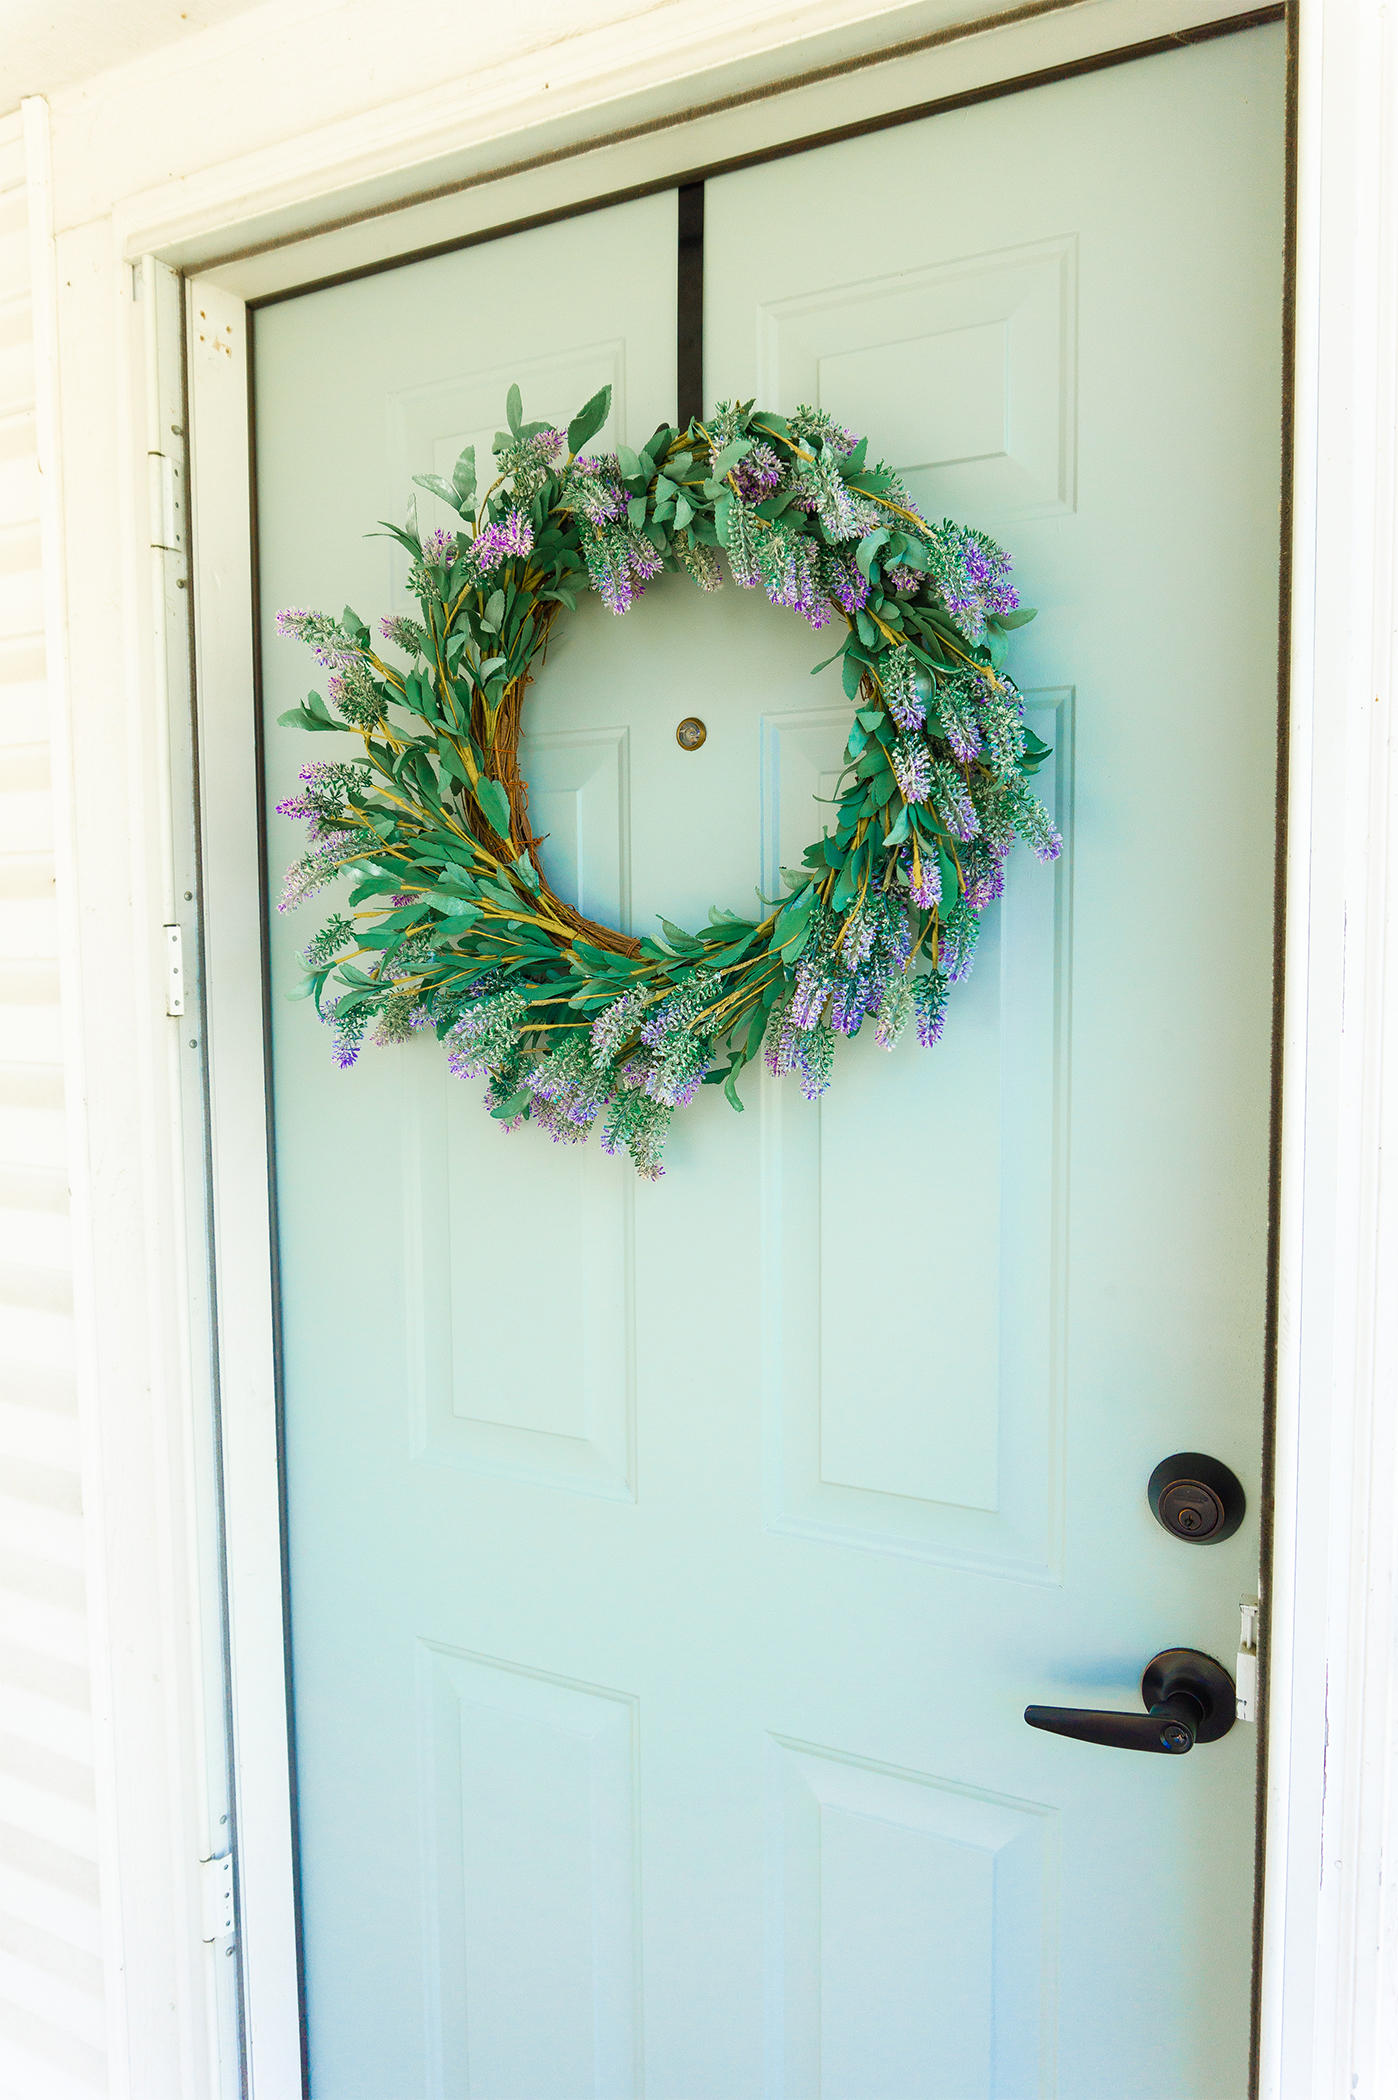
Because of this, I’d been hesitant to repaint our front door and shutters. Though the red color they were when we bought the house wouldn’t have necessarily been something I would have picked myself, it did look good. It popped well against the white house and tied in very nicely with the red mulch. However, with all the pastels and bohemian vibes we have going on inside our house, red didn’t really fit that.
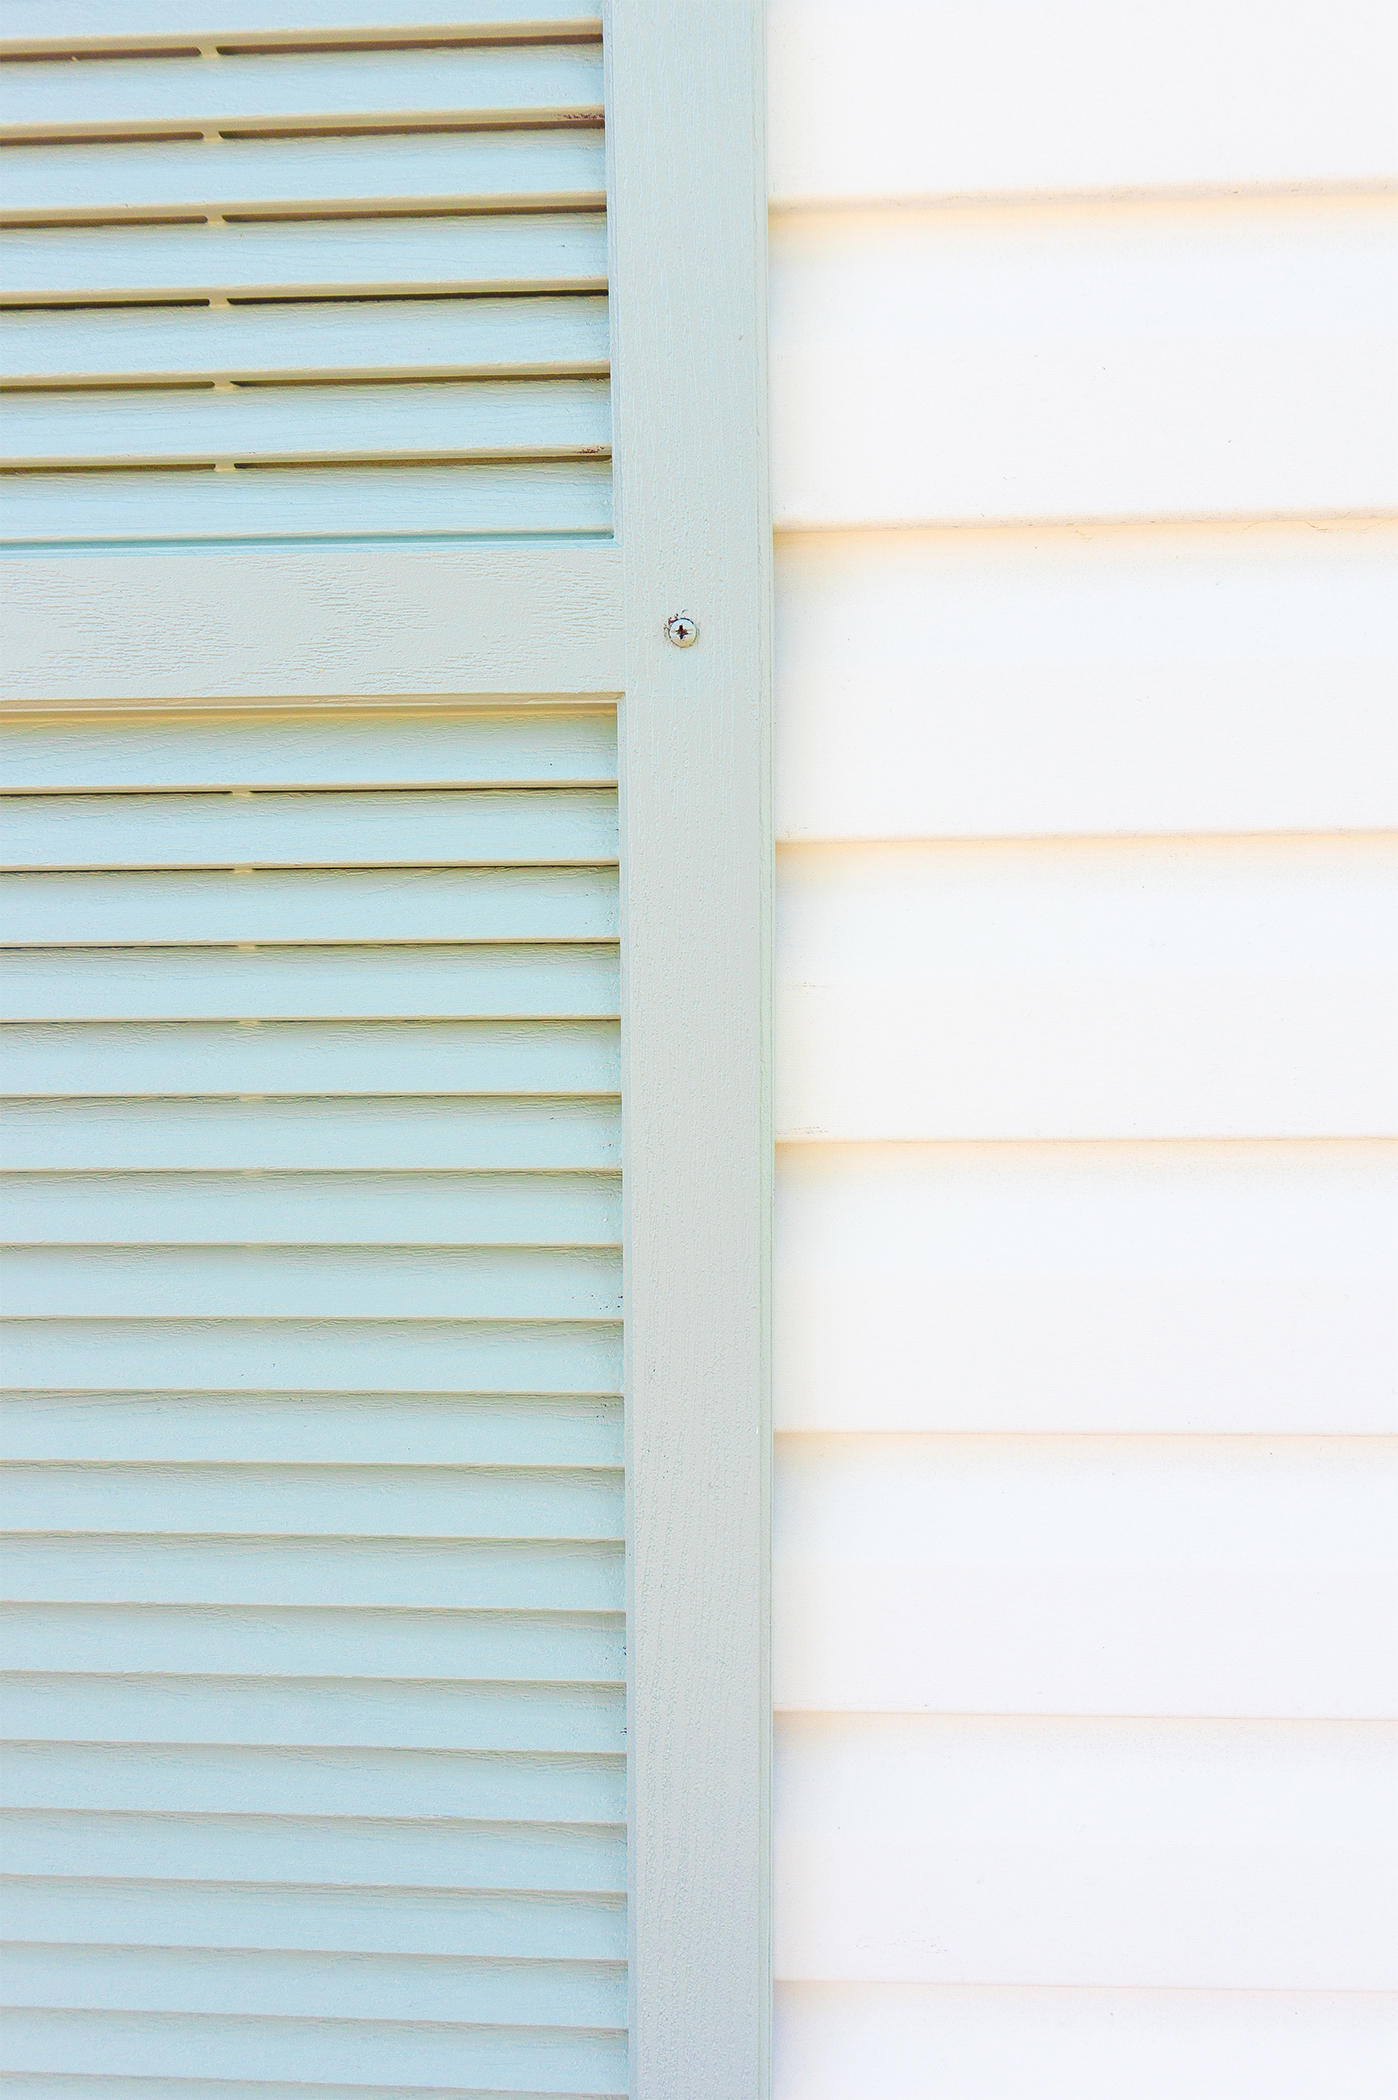
I grew to want the outside of our house to feel more “us” and cohesive with the inside, so I started brainstorming different color ideas. The colors I considered were peach shutters and door, blue shutters and door similar to our kitchen cabinet color, or black shutters to go with either a peach or blue door. Peach intimidated me because I didn’t want it to turn out too orange or too pink, so blue was the safer option and the one we decided to go with. We went with the same color as our cabinets (Silvermist by Sherwin Williams) since we know we LOVE that color against our white interior walls. Below are some of the images that helped us come to this decision.
INSPIRATION
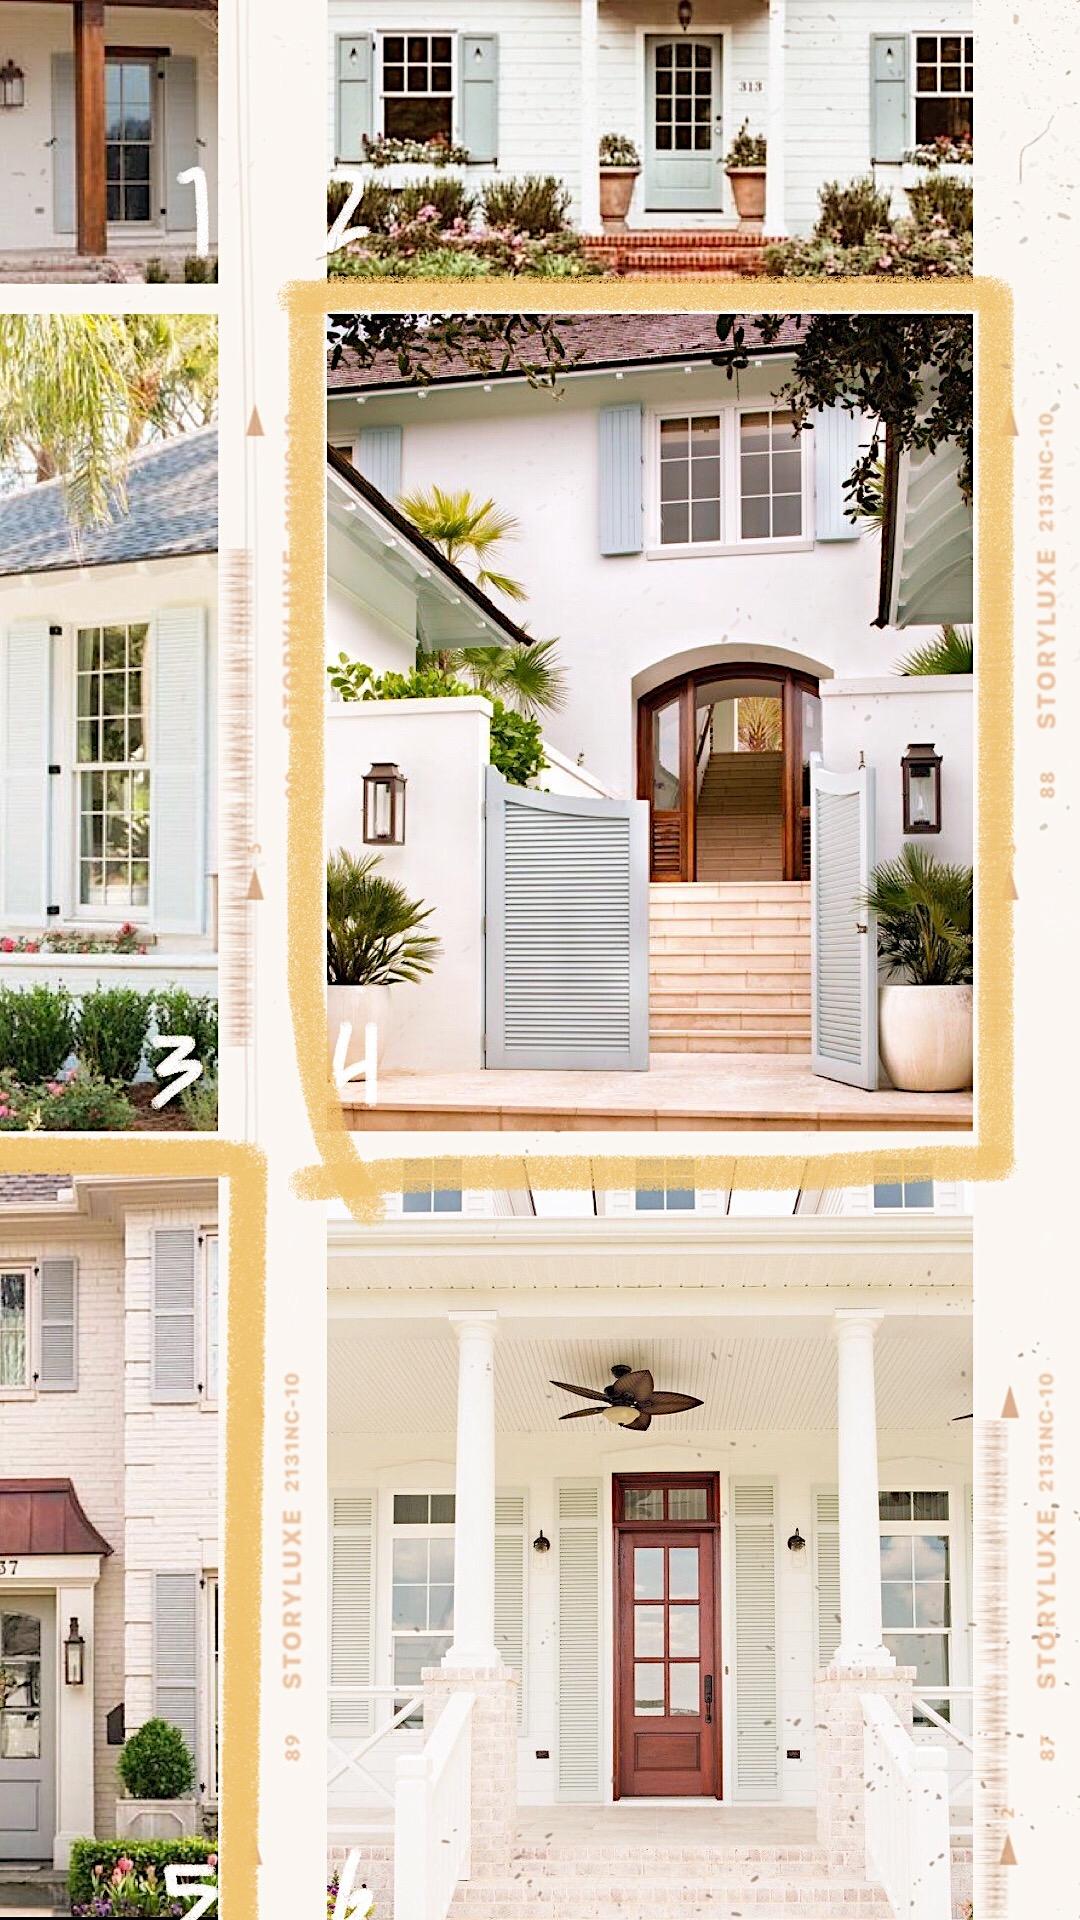
As always, I highly suggest looking for inspiration photos on Pinterest to explore different color options and see the color you have in mind on someone else’s house. Search for it along with the color of the outside of your house for the best representation of what the combo will look like. It helps to pin all the images to one board or put them into a collage to get a really good overall feel for it at a glance.
And if you have Photoshop experience, I recommend importing in a photo of your house and editing different colors on it so you can see what it would look like. I did this and it was so helpful! Sometimes it can be hard to visualize this kind of change, so this helps you play with color and figure out what’s going to work best. It was a gamechanger for me!
BEFORE
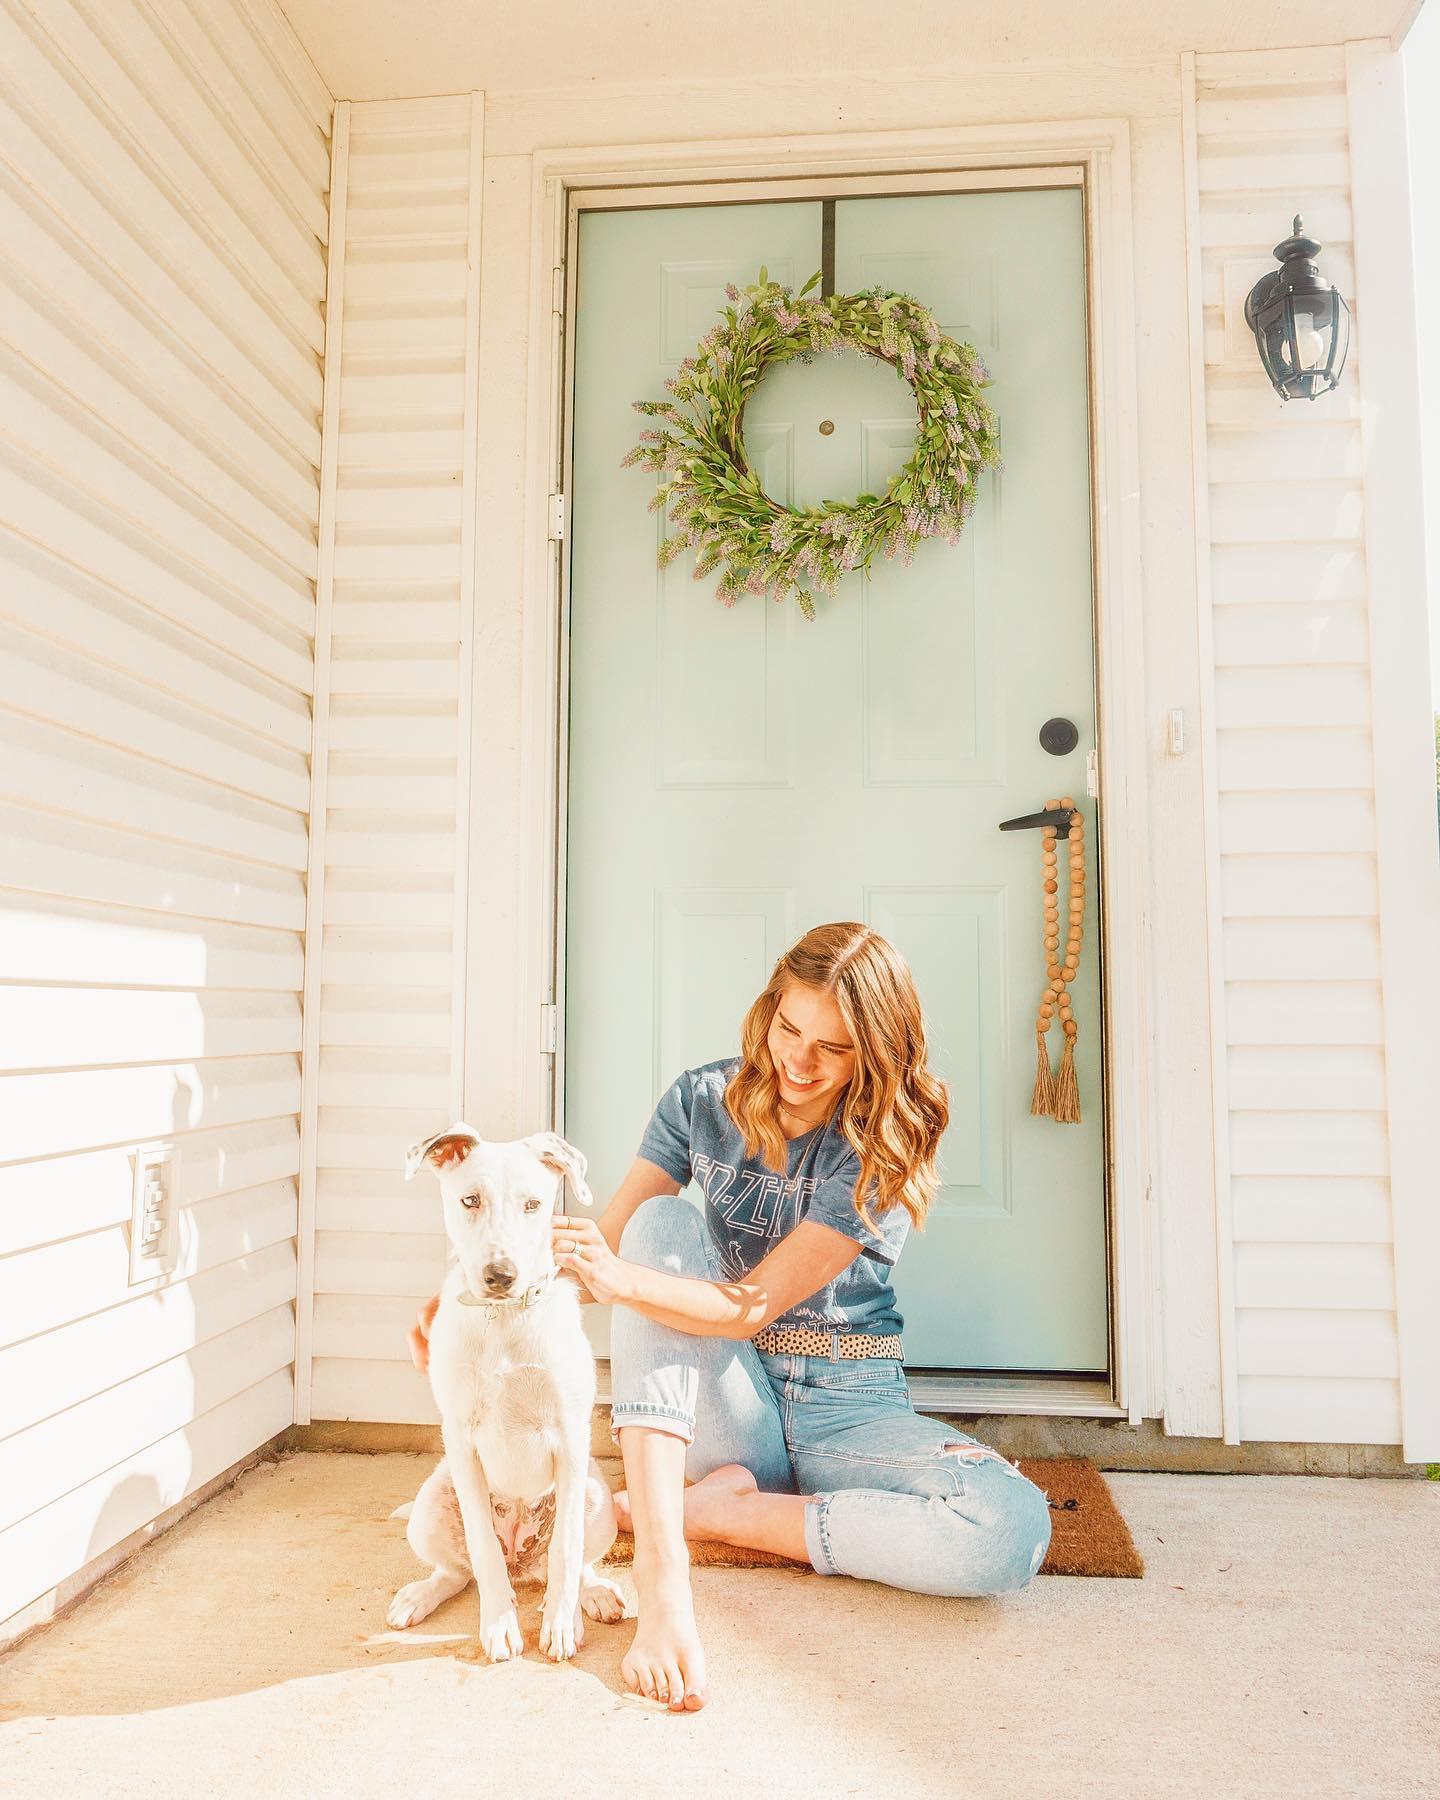
AFTER
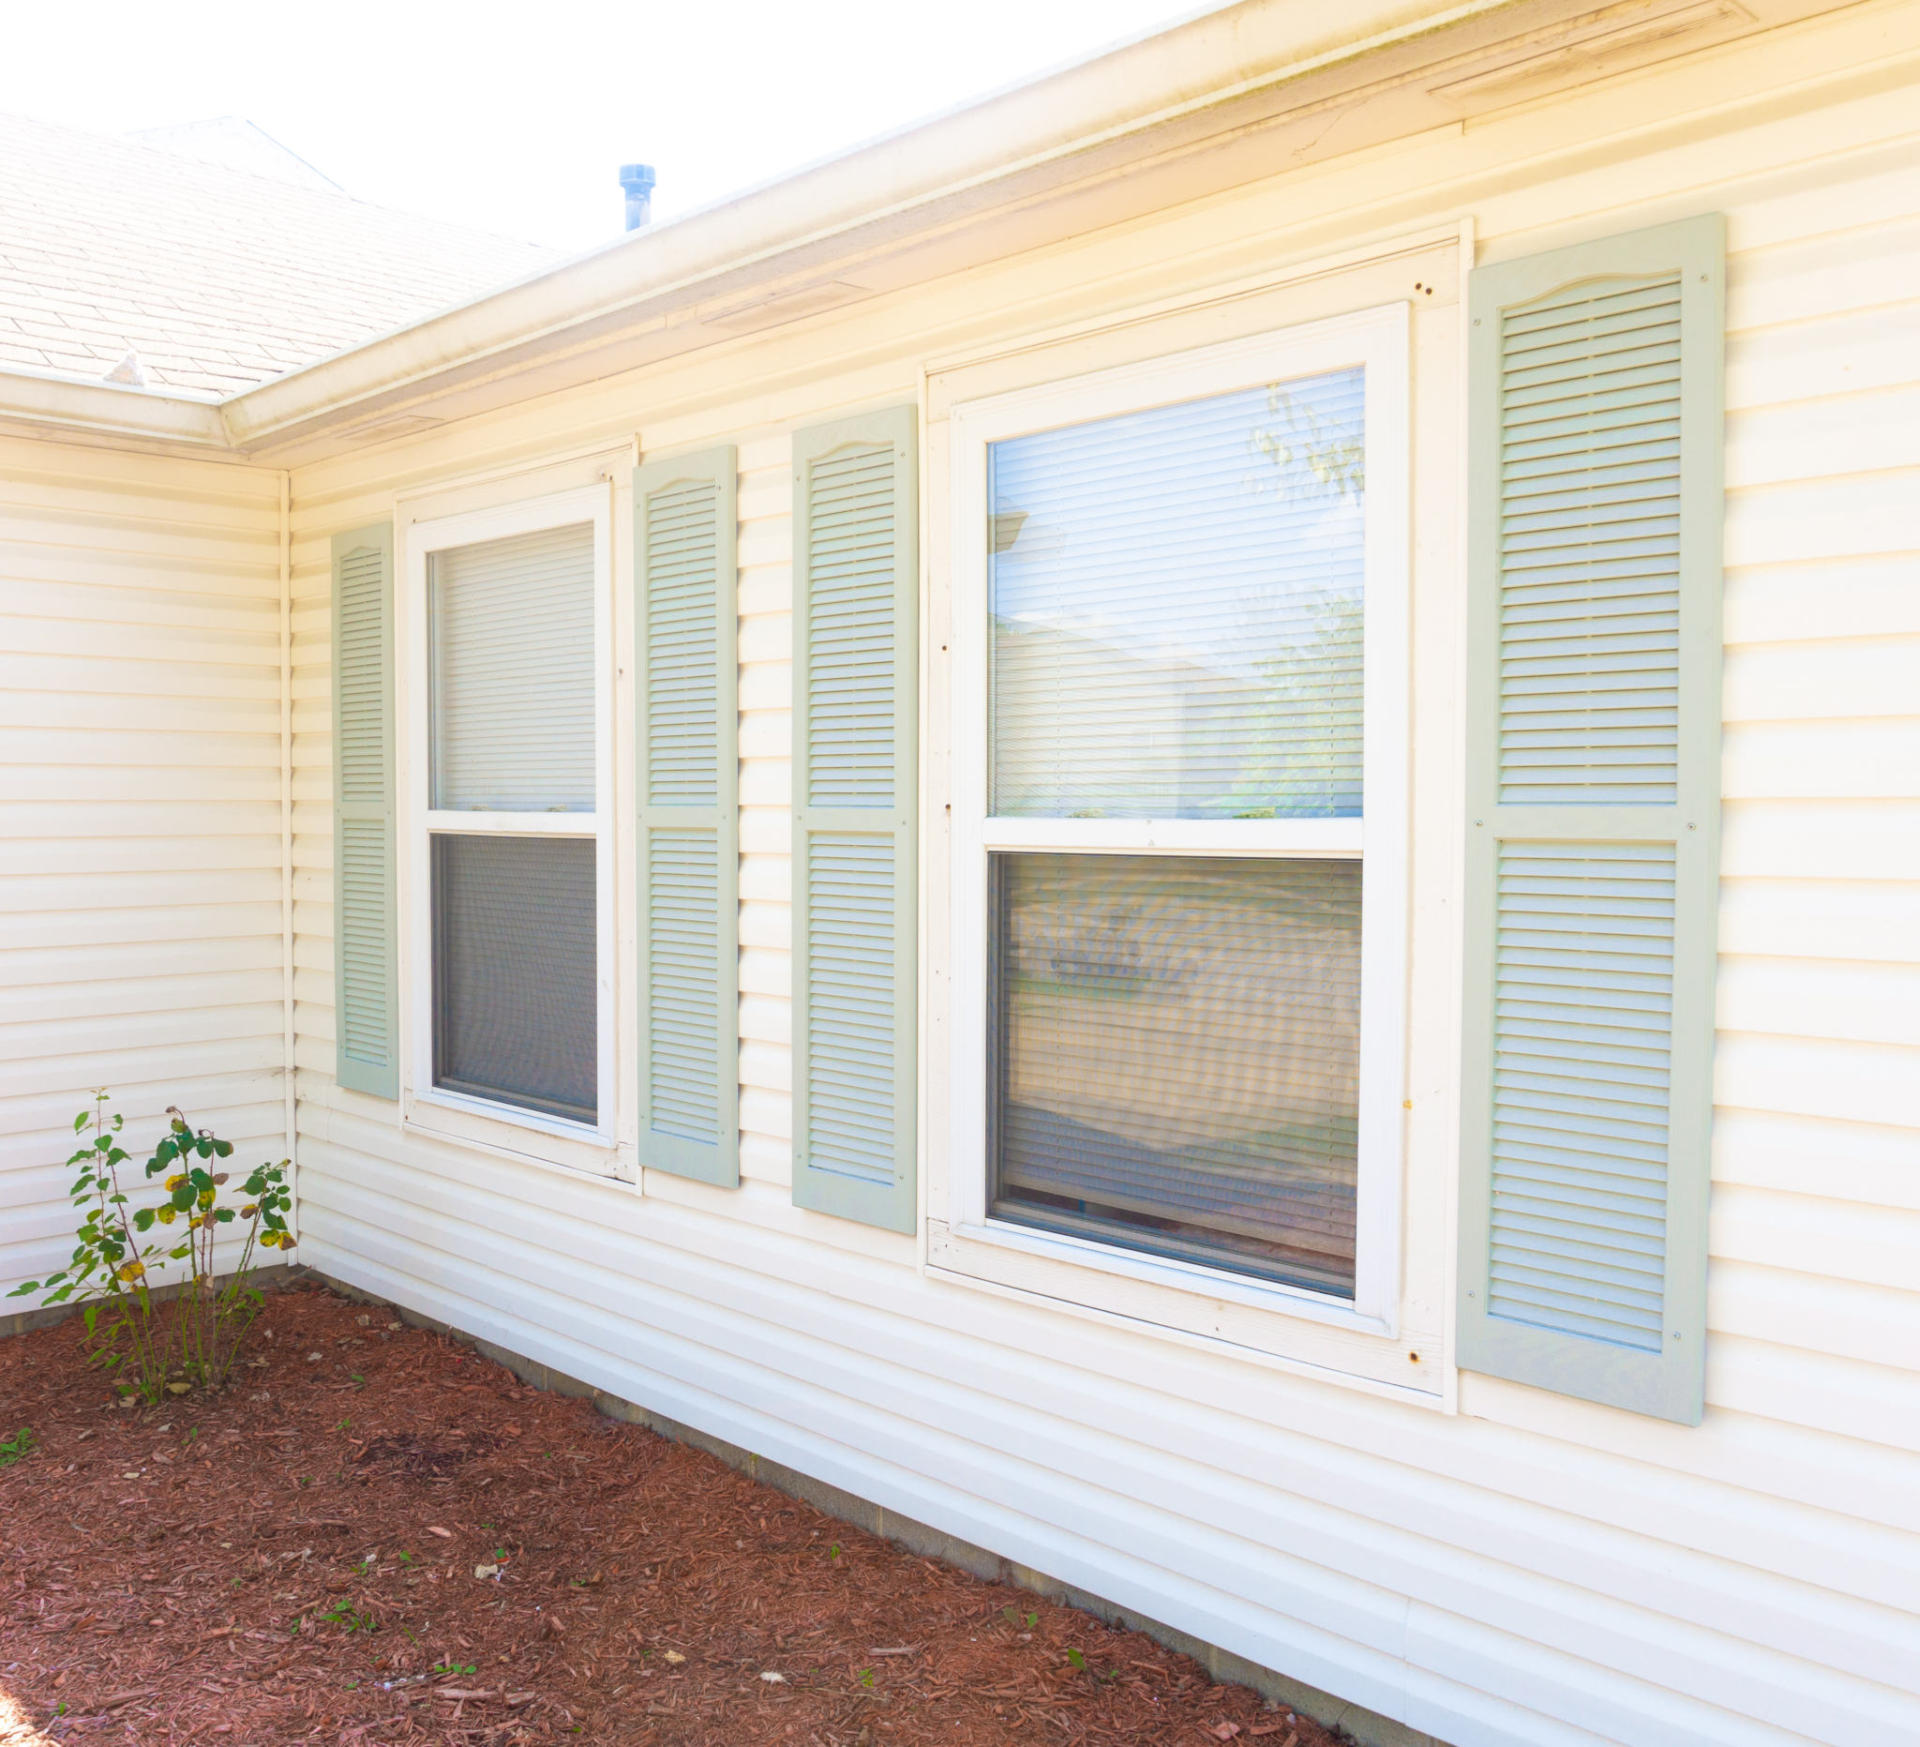
*I won’t be sharing full photos of our house for privacy reasons.
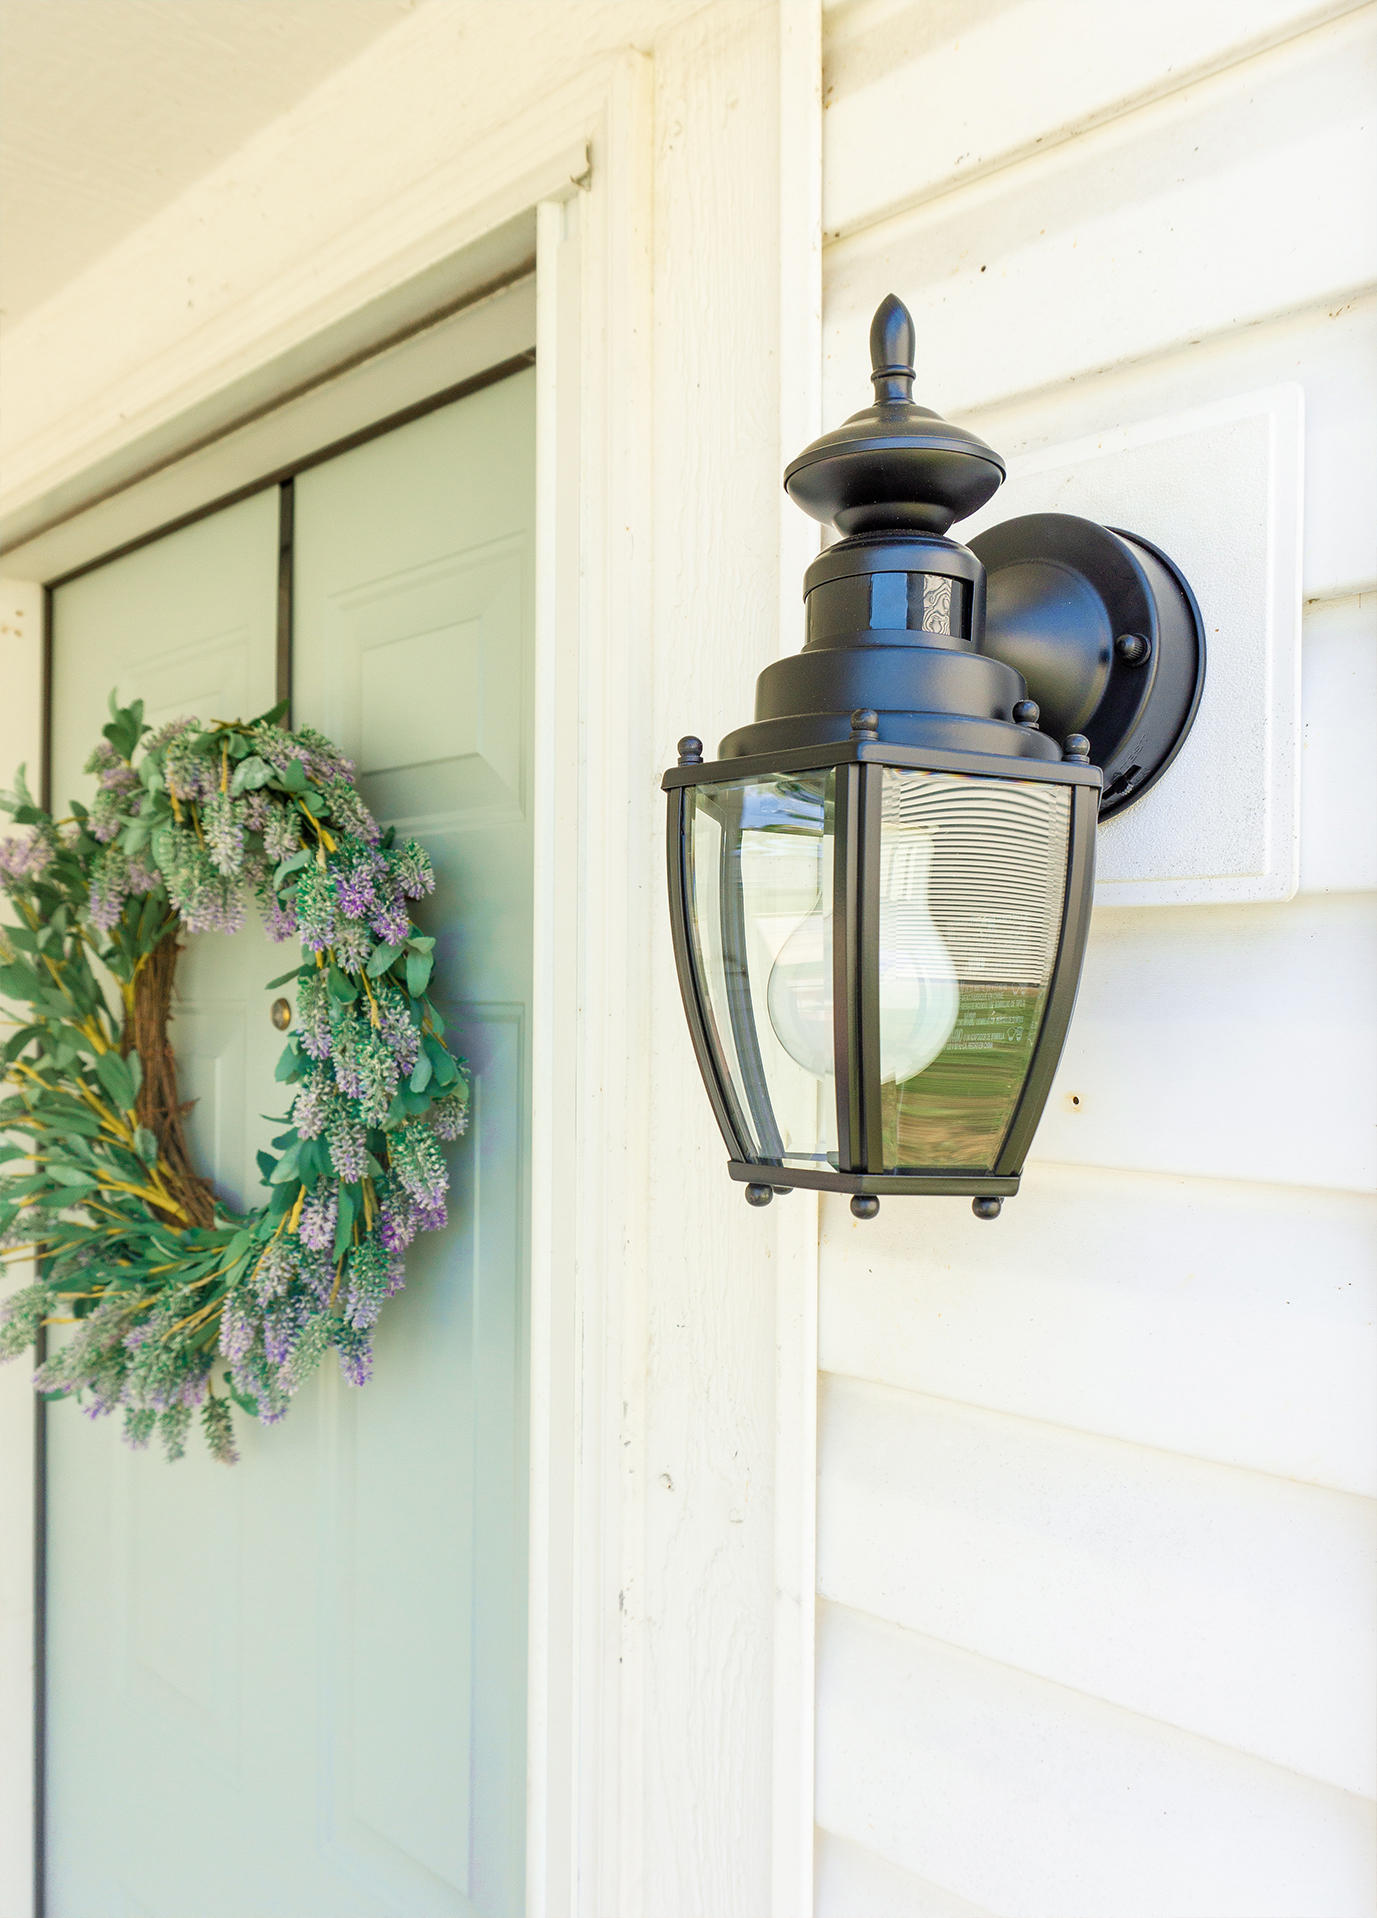
It’s hard to accurately depict the color they are in these photos without having to make too many photo edits, but I did my best and I’ll likely show them on my Instagram story this week if you want a closer look. Both the door and the shutters took two coats each (I still have more shutters to finish), and I’m so relieved & happy to report that we LOVE it! The color looks so light and airy, coordinating with the vibe of the inside of our house perfectly. My biggest fear was ending up with a color that was way too bright and tacky, but this one is the PERFECT light and dusty pastel! We swapped out our white porch light with a black one to make it pop.
SUPPLIES + TIPS
- Paint — we used Valspar Duramax for exteriors and all-weather adhesion in a satin finish from Lowe’s
- Brush — 2″-2½” wide nylon/polyester brush
- Roller — just a standard one that’s not too long since you’ll only be using it on just the outer part
- Paint tray
- Stir stick
- Plastic sheet or cardboard to paint on and protect your floors
- For the shutters, begin by removing them from your house and cleaning with a wet rag.
- Start with the brush on the slats and be sure to get in all the crevices. I found this article to be helpful.
- Use the roller on the outer flat edges and sides.
- Let it dry for around 4 hours before doing a second coat.
The process is similar and pretty self-explanatory for the door — be sure you wipe that down beforehand too and remove the handle!
We have a few other exterior improvements planned as well, including replacing another exterior light with a black one, adding flower boxes to our front windows, changing our red mulch to brown and doing some landscaping. Though it took me a while to figure out what I wanted to do with this space, now that I have a clear vision, I’m so excited to get it all done! Thanks so much for following along with our house updates & check back for more soon!

I love the color that you picked! I’ve always enjoyed blue or just any bright color doors and shutters. It makes the house look so modern and bright and airy. Obsessed girl!
Thank you so much, Makaela! Me too! 🙌🏻💕