DIY “Best Day Ever” Wedding Tapestry
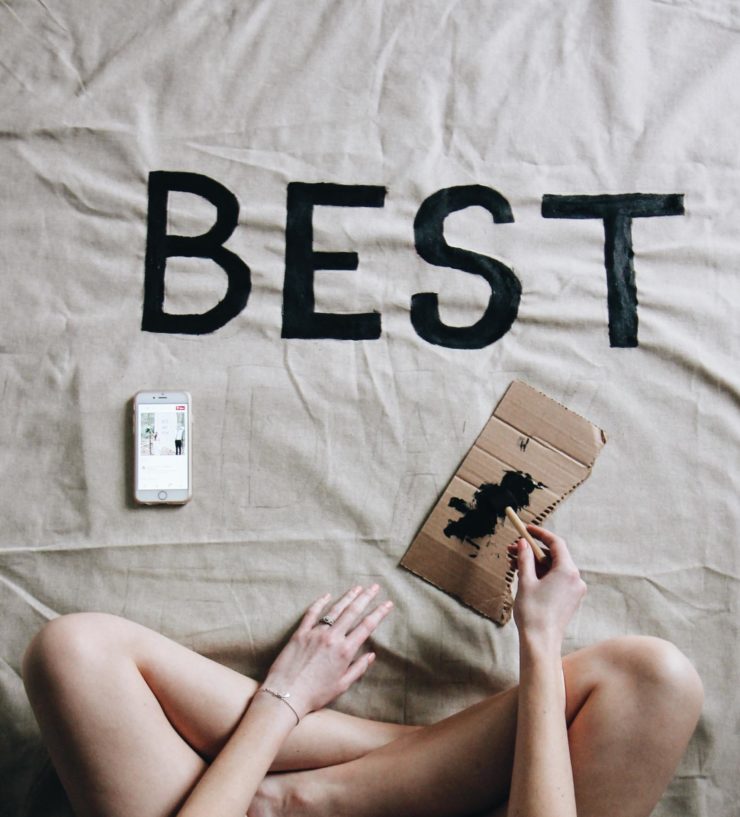
When possible, I’m all about DIYing wedding decor so we can have unique, handmade and customized pieces on display on our special day. Today I’m sharing with you how I made this large hanging “Best Day Ever” tapestry for wedding photos, which is a project I’ve had on my to-do list for months!
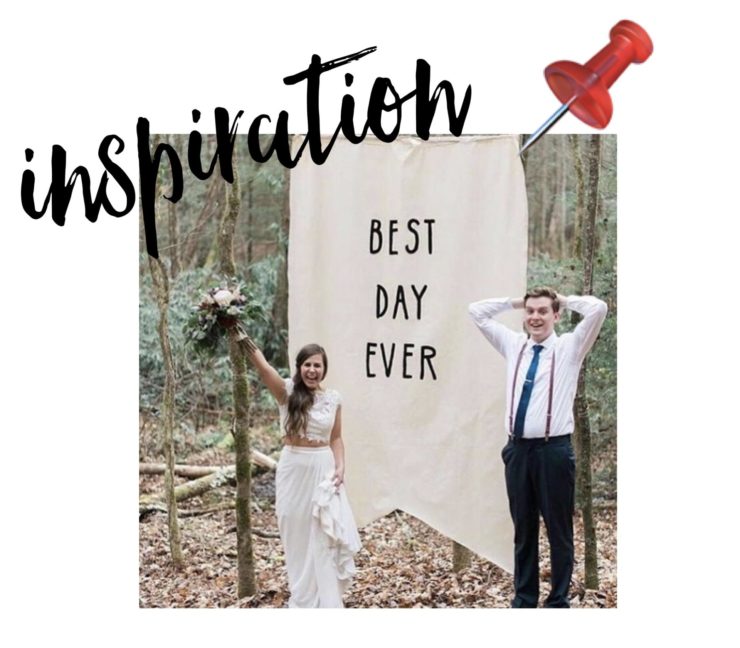
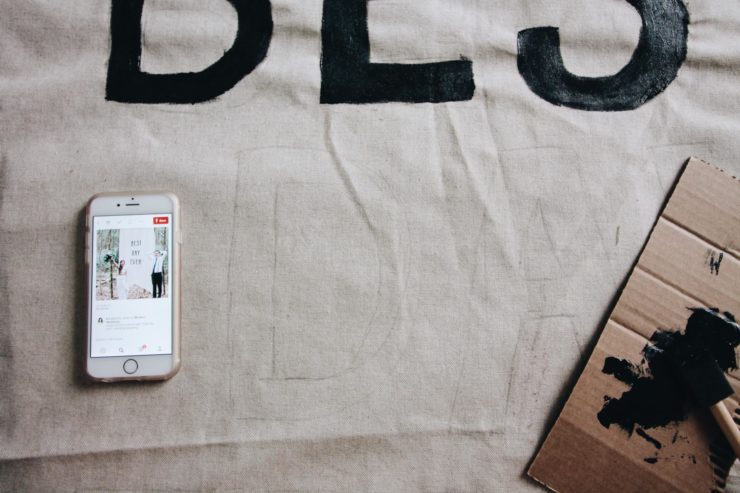
I knew I wanted to make this sign the second I came across it on Pinterest because “best day ever” is a phrase Justin and I say almost daily. It’s hard to explain the inside joke behind it, but let’s just say we originally started saying it sarcastically and it’s stuck with us for years. Now we also say it for anything happy, fun or exciting, which is everything we hope our wedding will be. There are so many wedding photo backdrop ideas out there, but I thought this one would be really fun to customize.
Let’s get into the DIY!
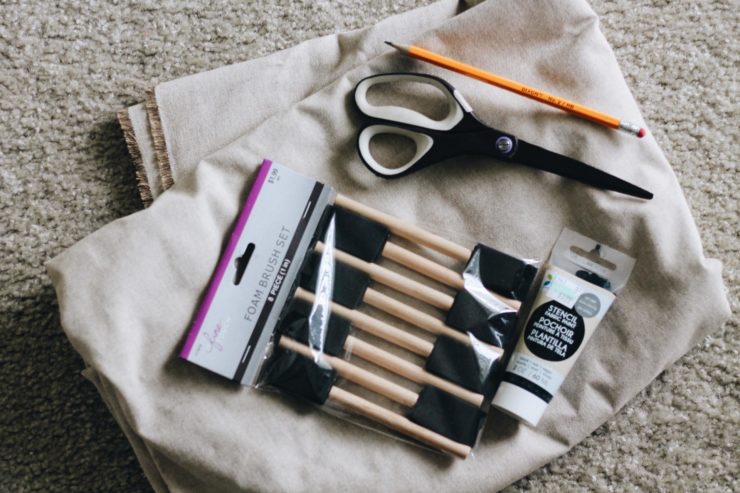
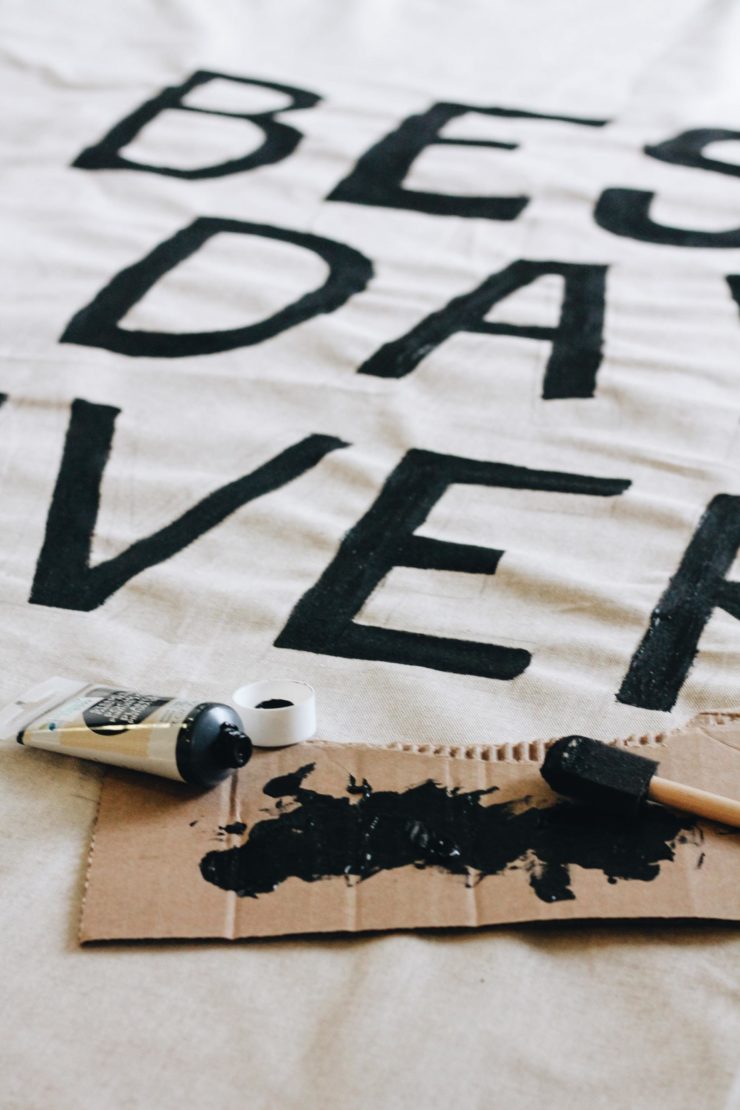
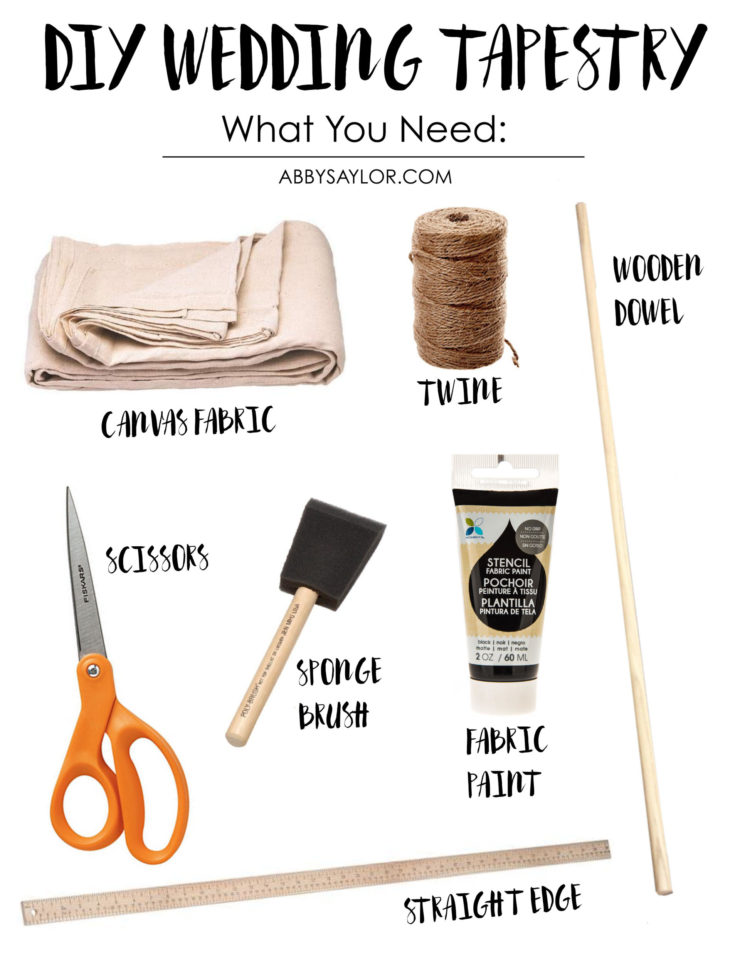
I purchased all of my supplies at Hobby Lobby for $40 or less, so this is a fairly inexpensive DIY compared to what you’d probably pay for it if you purchased it custom made online. So if you think you’re capable of making it yourself, I say go for it. The letters were much easier to draw/paint than I thought they would be!
- Begin by spreading your fabric out on a clean working surface. Cut out an inverted “V” shape at the bottom of your sign for a tapestry feel. I suggest using a straight edge and marking it with pencil to ensure your lines are straight and even.
- Use a stencil or freehand the letters of the phrase you’ve selected. Measure everything out to make sure it’s uniform, if that’s what you’re going for. I chose block letters so our phrase stands out and is easy to read.
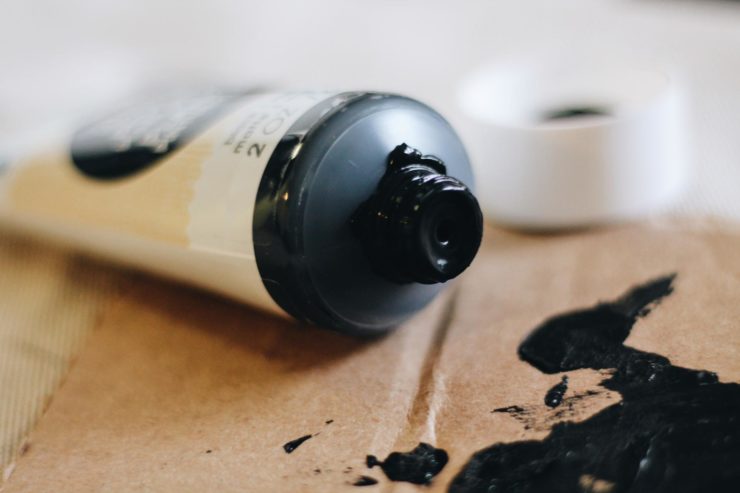
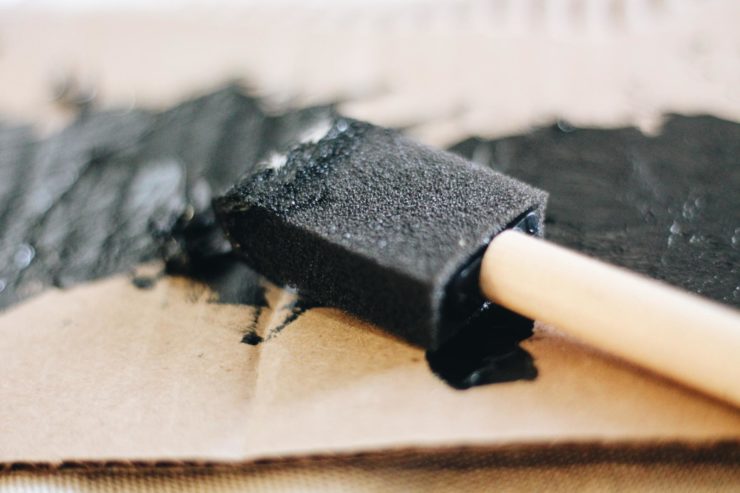
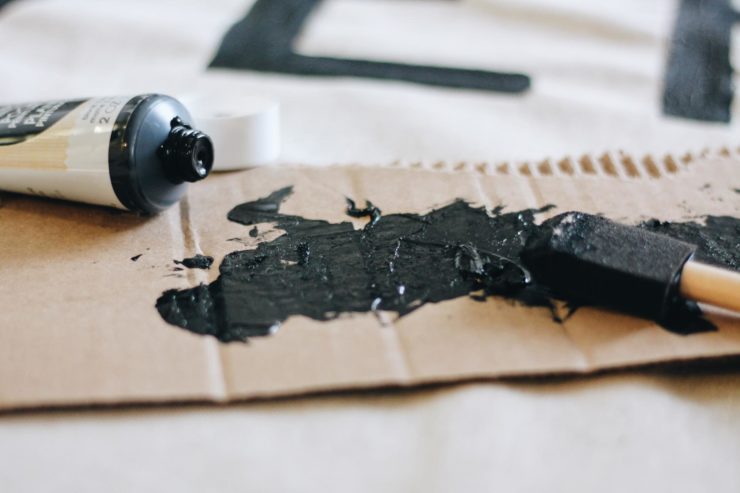
- Put cardboard behind your fabric so the paint doesn’t bleed through and begin filling in your letters. I suggest using a foam brush that’s the width of your letter strokes for easy edging. You may need to do a few layers of paint so it’s opaque. I did two layers.
- There are a few different ways you can hang your sign, so play around with it and consider where you’ll be putting it at your event. I suggest placing a wooden dowel at the top of your tapestry, wrapping the top edge around it and securing it with hot glue — then attach a thick piece of twine to each end to hang it by.
That’s it! If you decide to make this, please tag me in your photos so I can check it out — I’d love to see your recreations! 🙂 As for a quick wedding planning update, bridesmaid and groomsmen gifts have been purchased and we FINALLY picked out suits this weekend with some help from our friends Carrie and Gary (thanks guys!), who also happened to be in need of a suit for an upcoming wedding too — only 40 days left, people!
If you liked this post, catch up on my previous DIY posts here.


Ah! The tapestry looks so great! I love it!
Thank you, Carrie! 🙂 I’m soooooo happy the freehand letters turned out okay!
Awwwwwww this is so cute! After your wedding you could hang it in your house too…then every day is the best day ever 🙂
COLLEENWELSCH.COM
Hi Colleen, thank you so much! Yes, I’m hoping we’ll find a good use/place for it after the wedding because I love how it turned out!
Love this DIY! Can we share this tutorial on our Facebook page?
Thank you! Sure, just please credit me (https://www.facebook.com/abbysaylorblog). 🙂 Thank you for reading!