PlanToys Victorian Dollhouse Makeover & Review
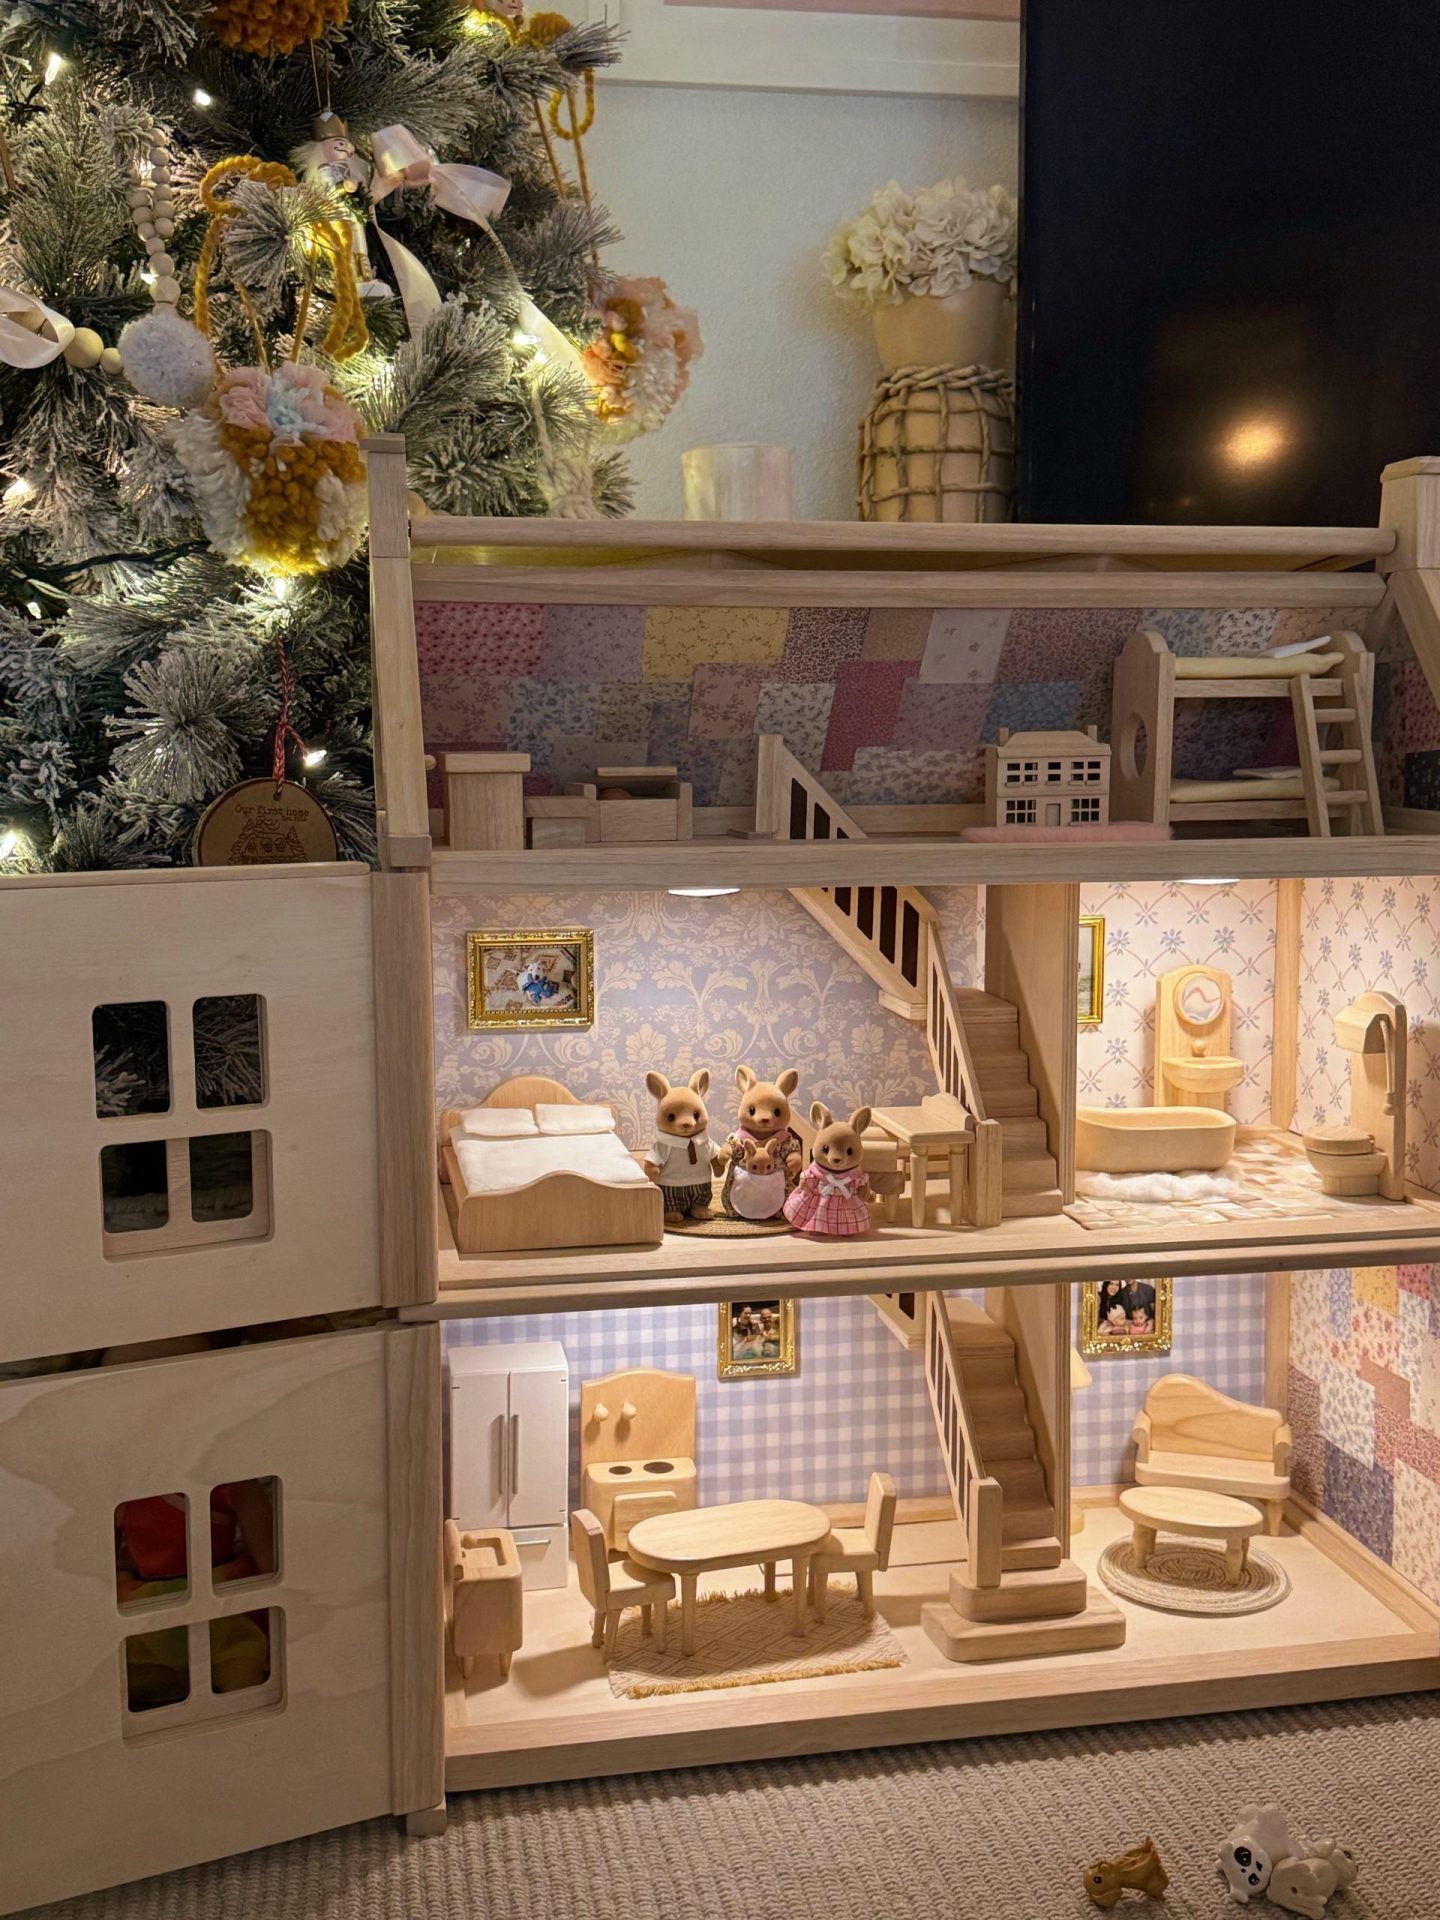
For my 4-year-old and 1.5-year-old daughters (Clay and Scottie) for Christmas this year, I decided to pull the trigger on purchasing and customizing a dollhouse! In this post, I’m sharing a review of the PlanToys Victorian Dollhouse and how I completed a makeover of it with links to everything I purchased and used.
First, this felt like the right year to do this for a few reasons:
- My oldest seemed like the perfect age for it and I knew she already had a strong interest in dollhouses from playing with one at my parents’ house.
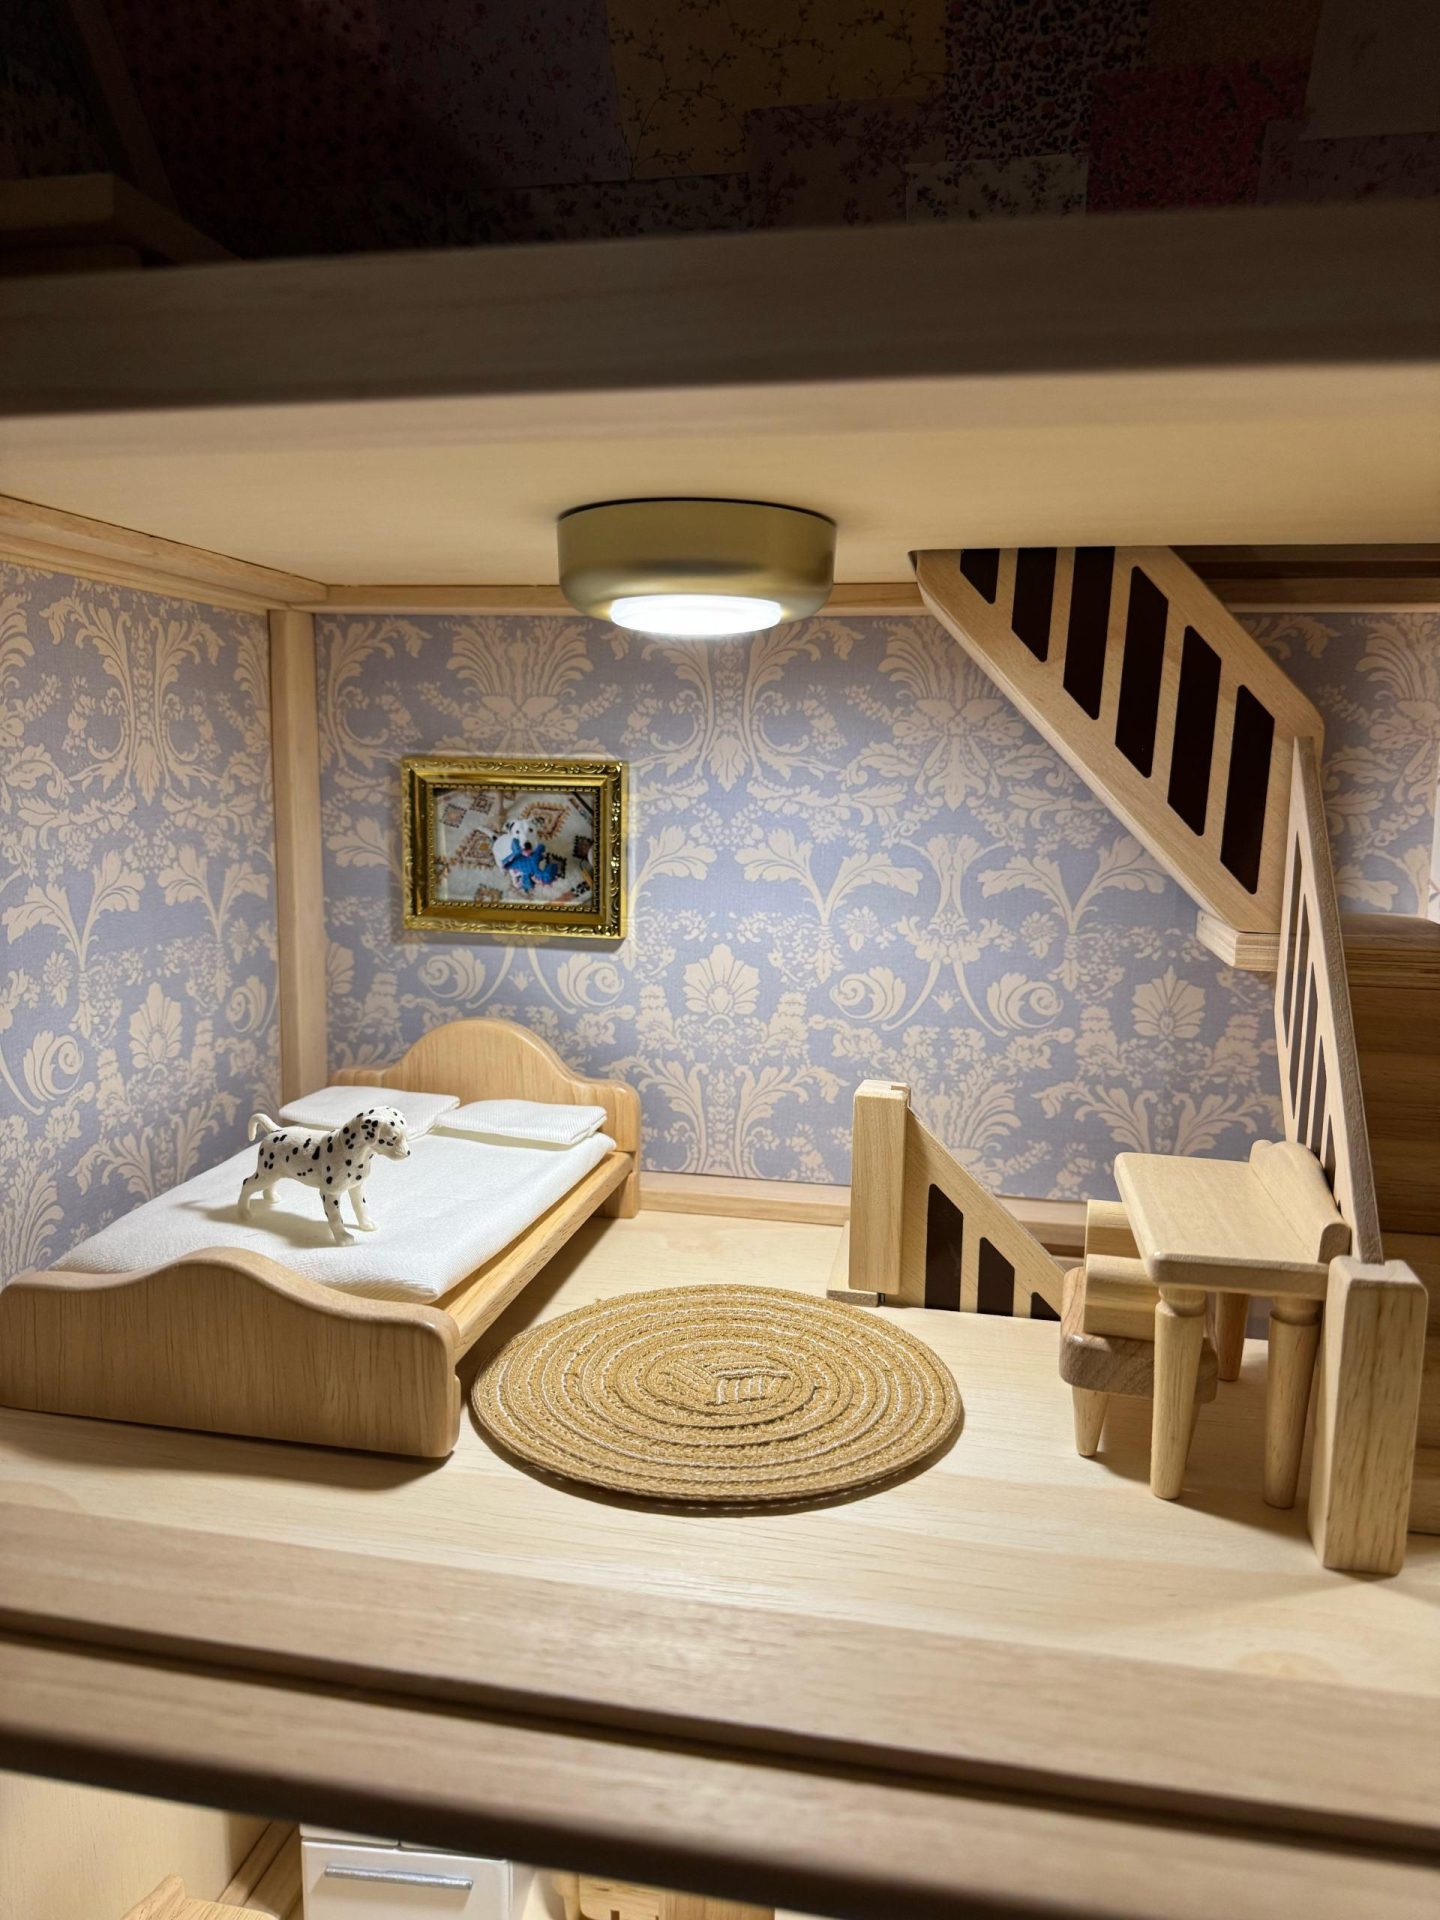
- We lost our 5-year-old dog, Lucia, unexpectedly right before the holiday season started. She was everything to us and I was struggling with the loss deeply during that time… a can’t eat level of grief that I had never experienced before. I hoped a creative outlet like customizing the dollhouse would be a screen-free distraction for me as I processed my grief (and it certainly was). You will see her memorialized in the home.
WHY I CHOSE THE PLANTOYS DOLLHOUSE
I did a ton of research before deciding which dollhouse to purchase. I wanted one that didn’t take up too much space, but was large enough for two kids to play with together. Ideally, I wanted one that could be placed flat against a wall and open from the front to save space. Due to their young ages, I also needed it to be durable and was seeking heirloom quality. I hope it’s a dollhouse that can be passed down to their own children one day. Ultimately, I landed on the PlanToys Victorian Dollhouse (1:12 scale), which is the first one that caught my eye years ago. After exploring countless options, this one ended up checking all of my boxes the best!
I also went with the PlanToys Victorian Dollhouse Furniture Set because of its quality and durability. I wanted furniture that wouldn’t break if it was chucked across the room by my 1.5 year old.
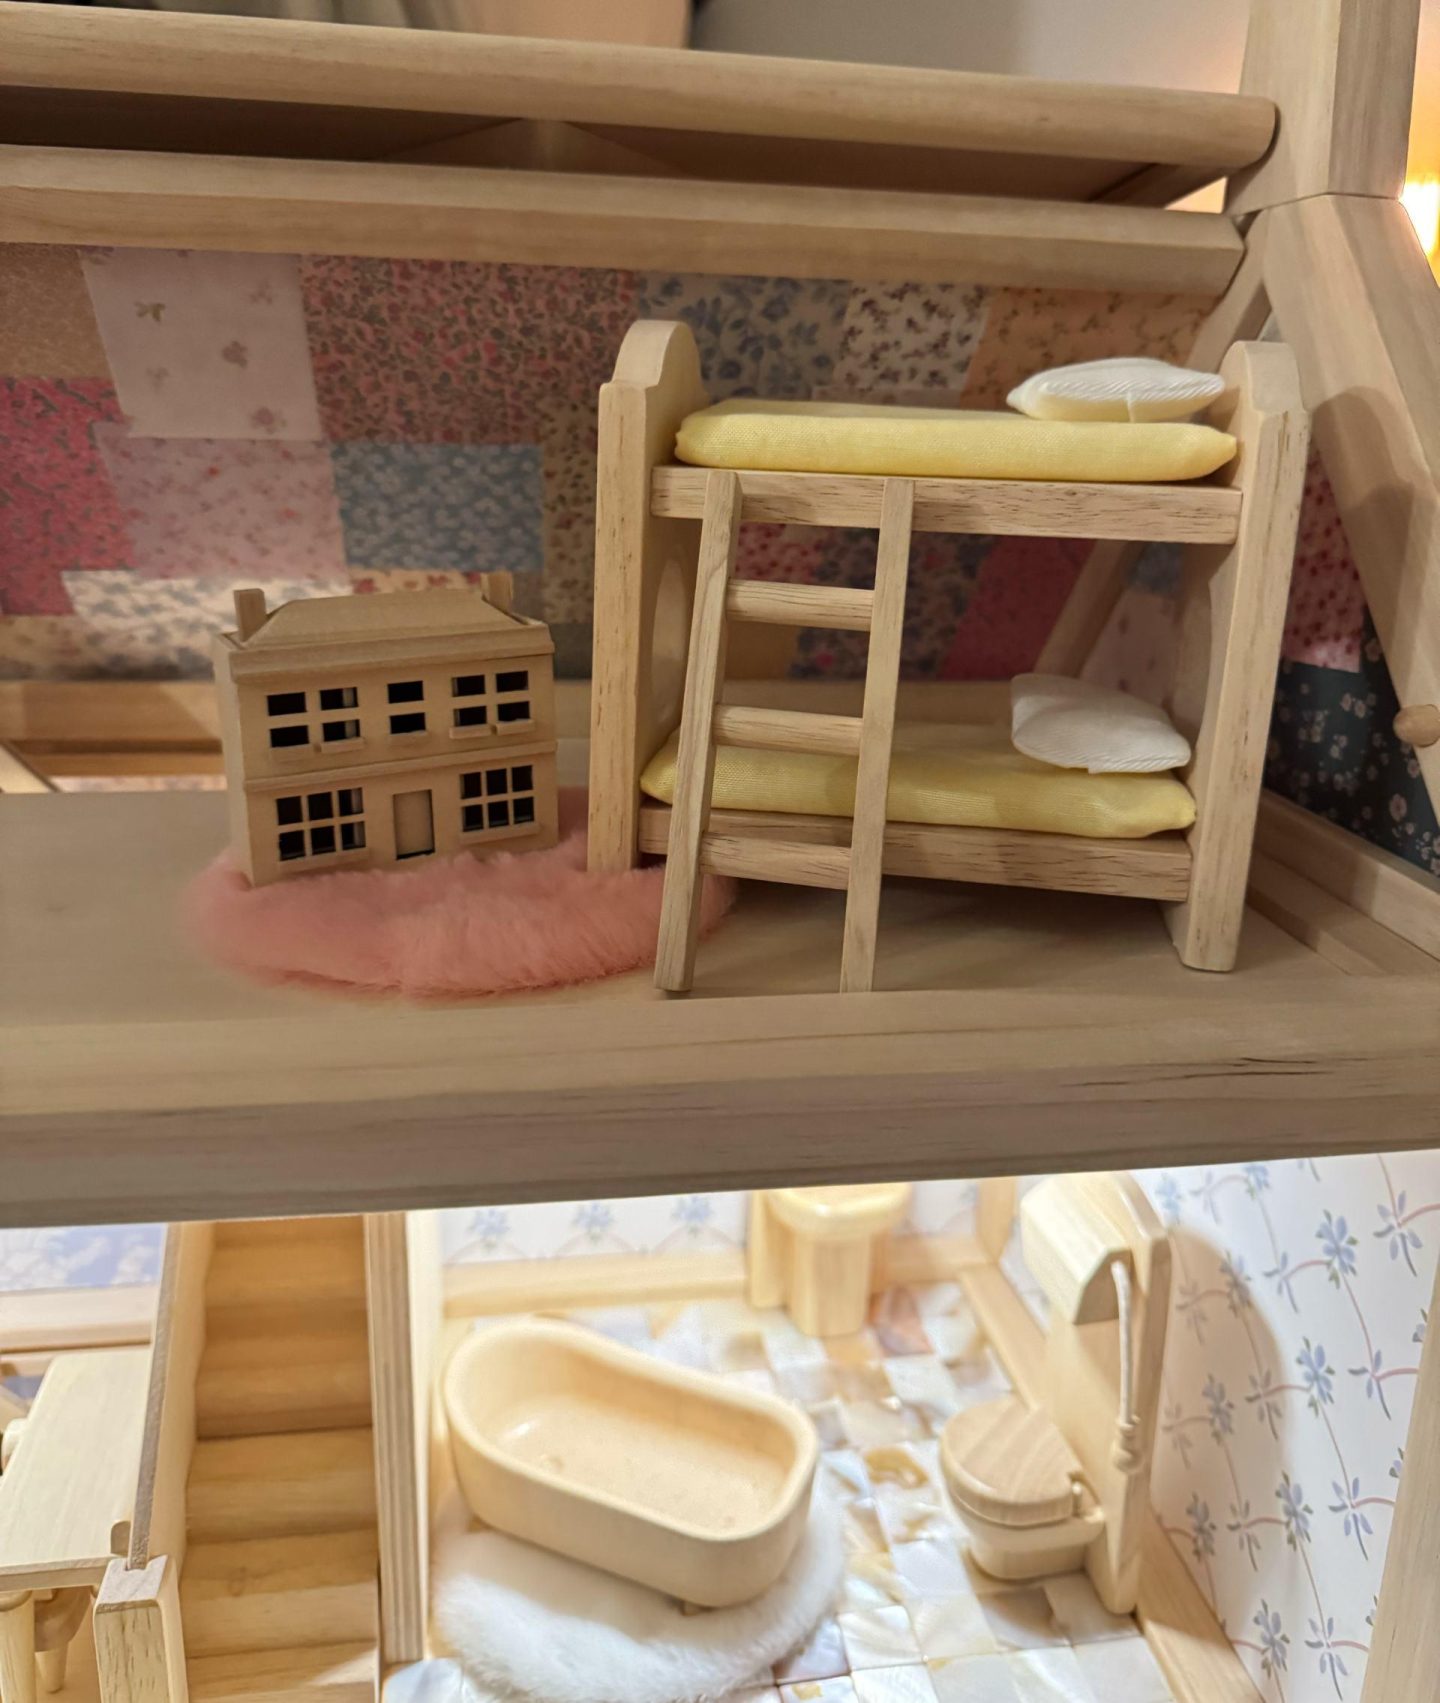
To add to the set, I purchased the PlanToys Children’s Room set (shown on the third level), a fridge and a mini dollhouse for the kid’s room. I love all of these! The fridge opens and the girls have a lot of fun putting things in it.
ASSEMBLY & MAKEOVER
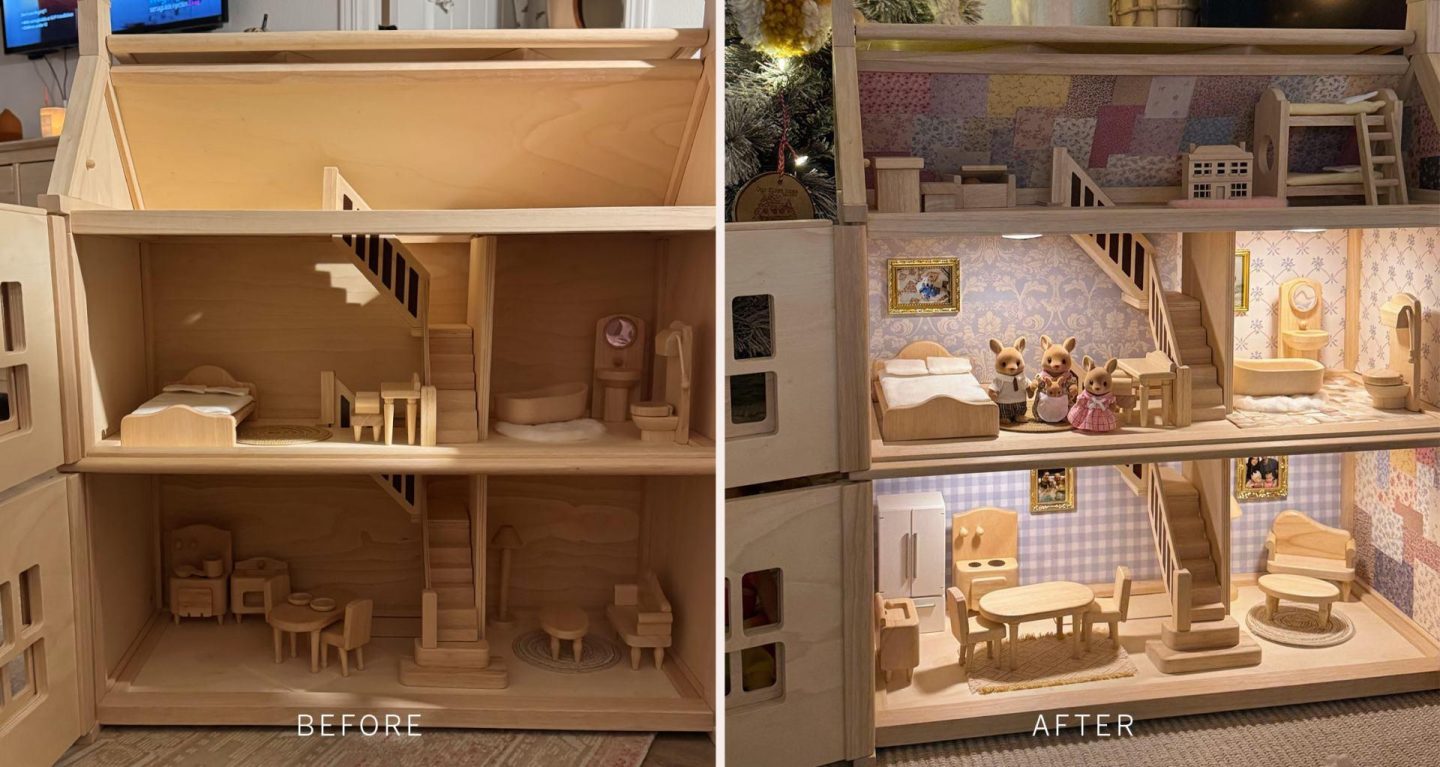
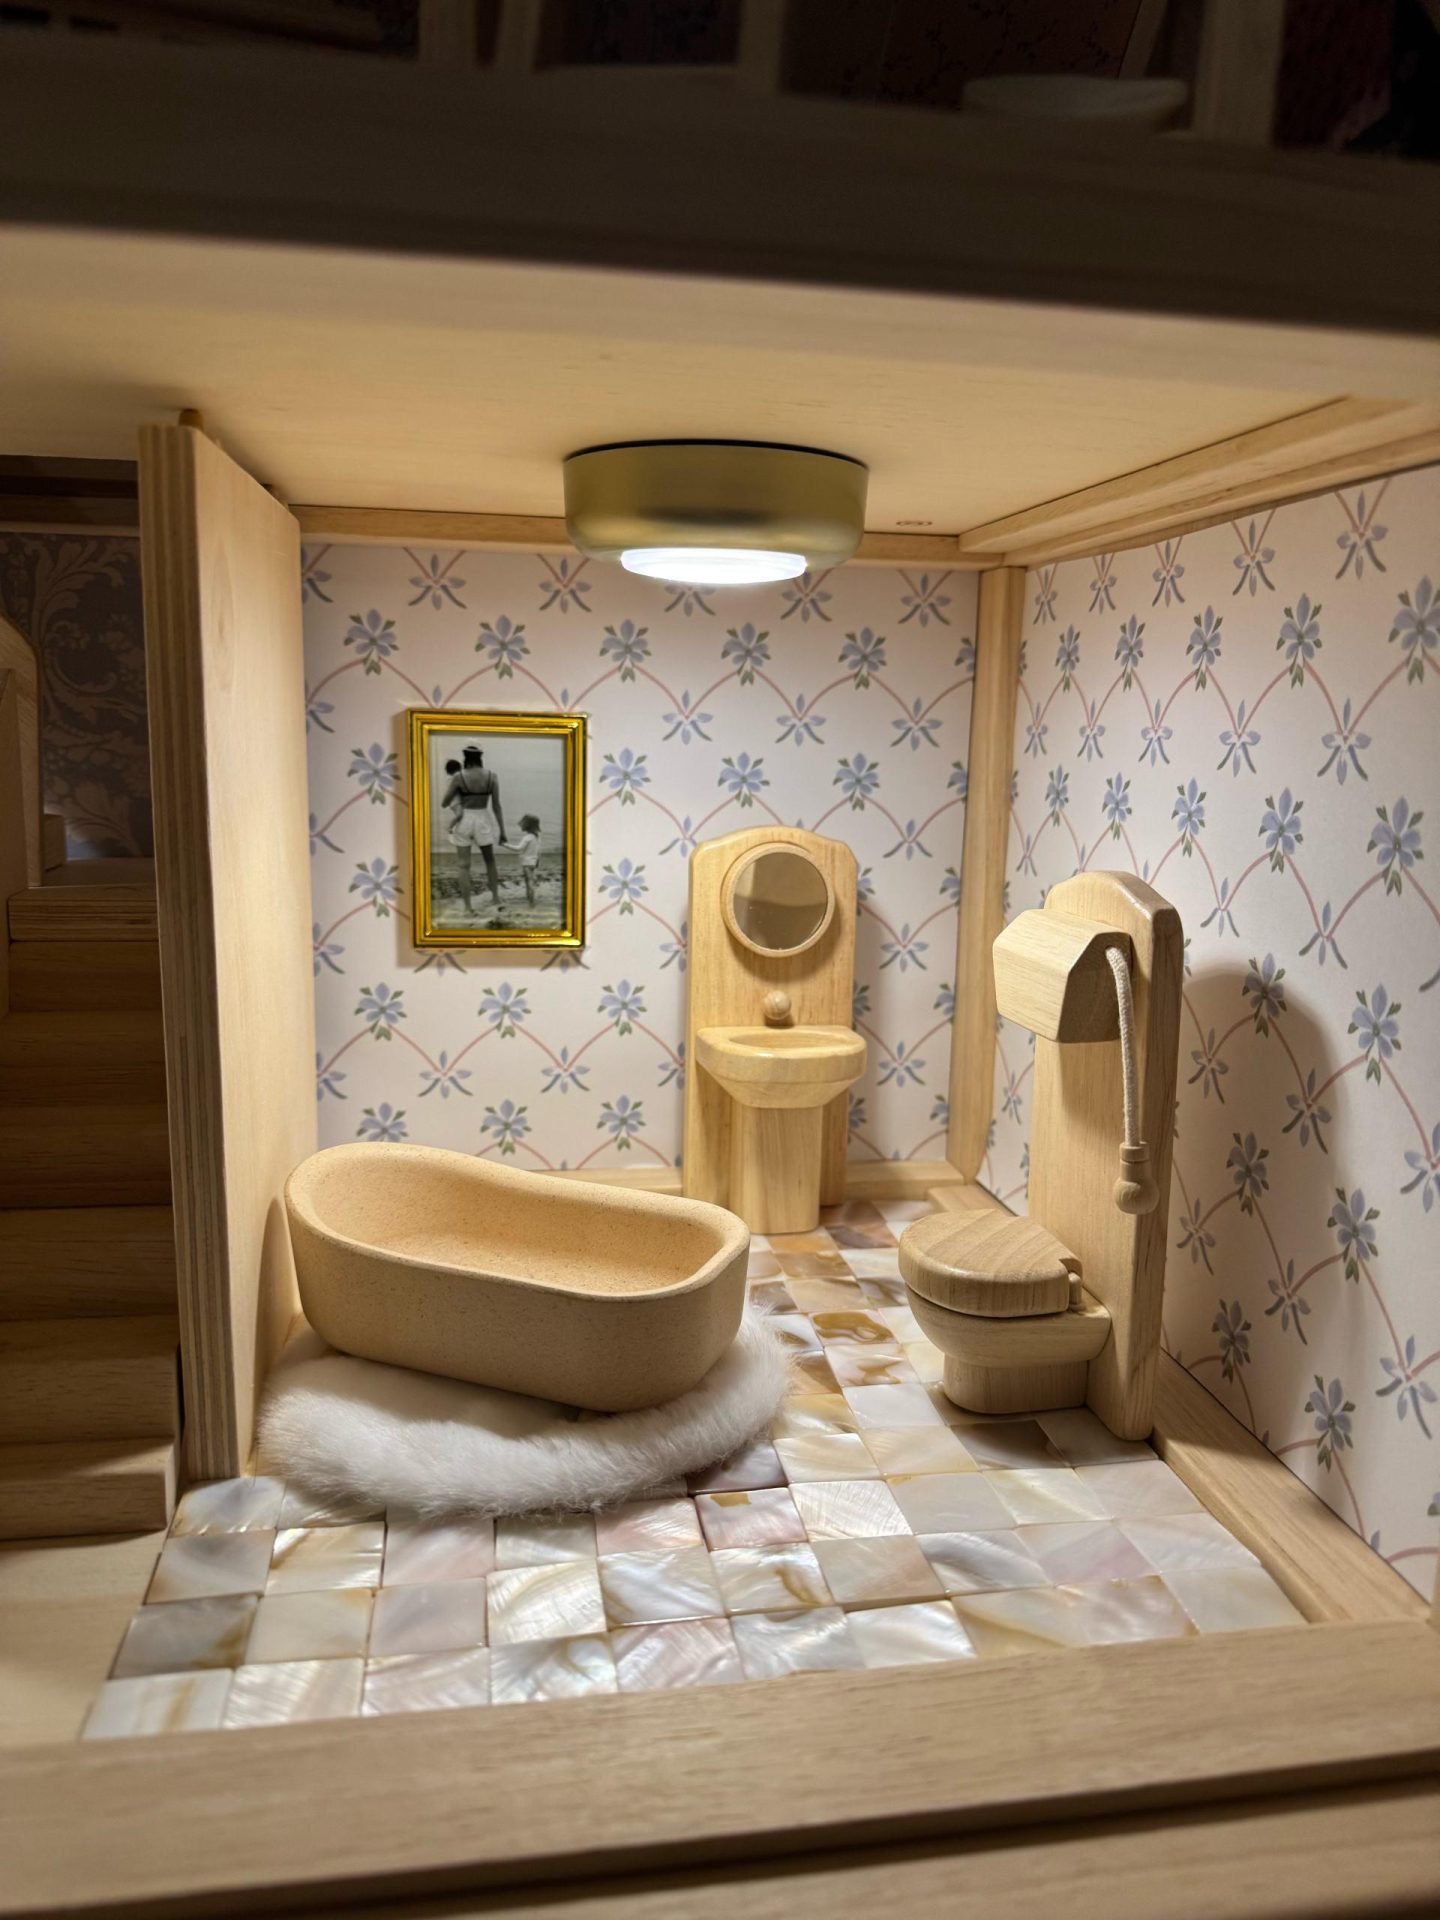
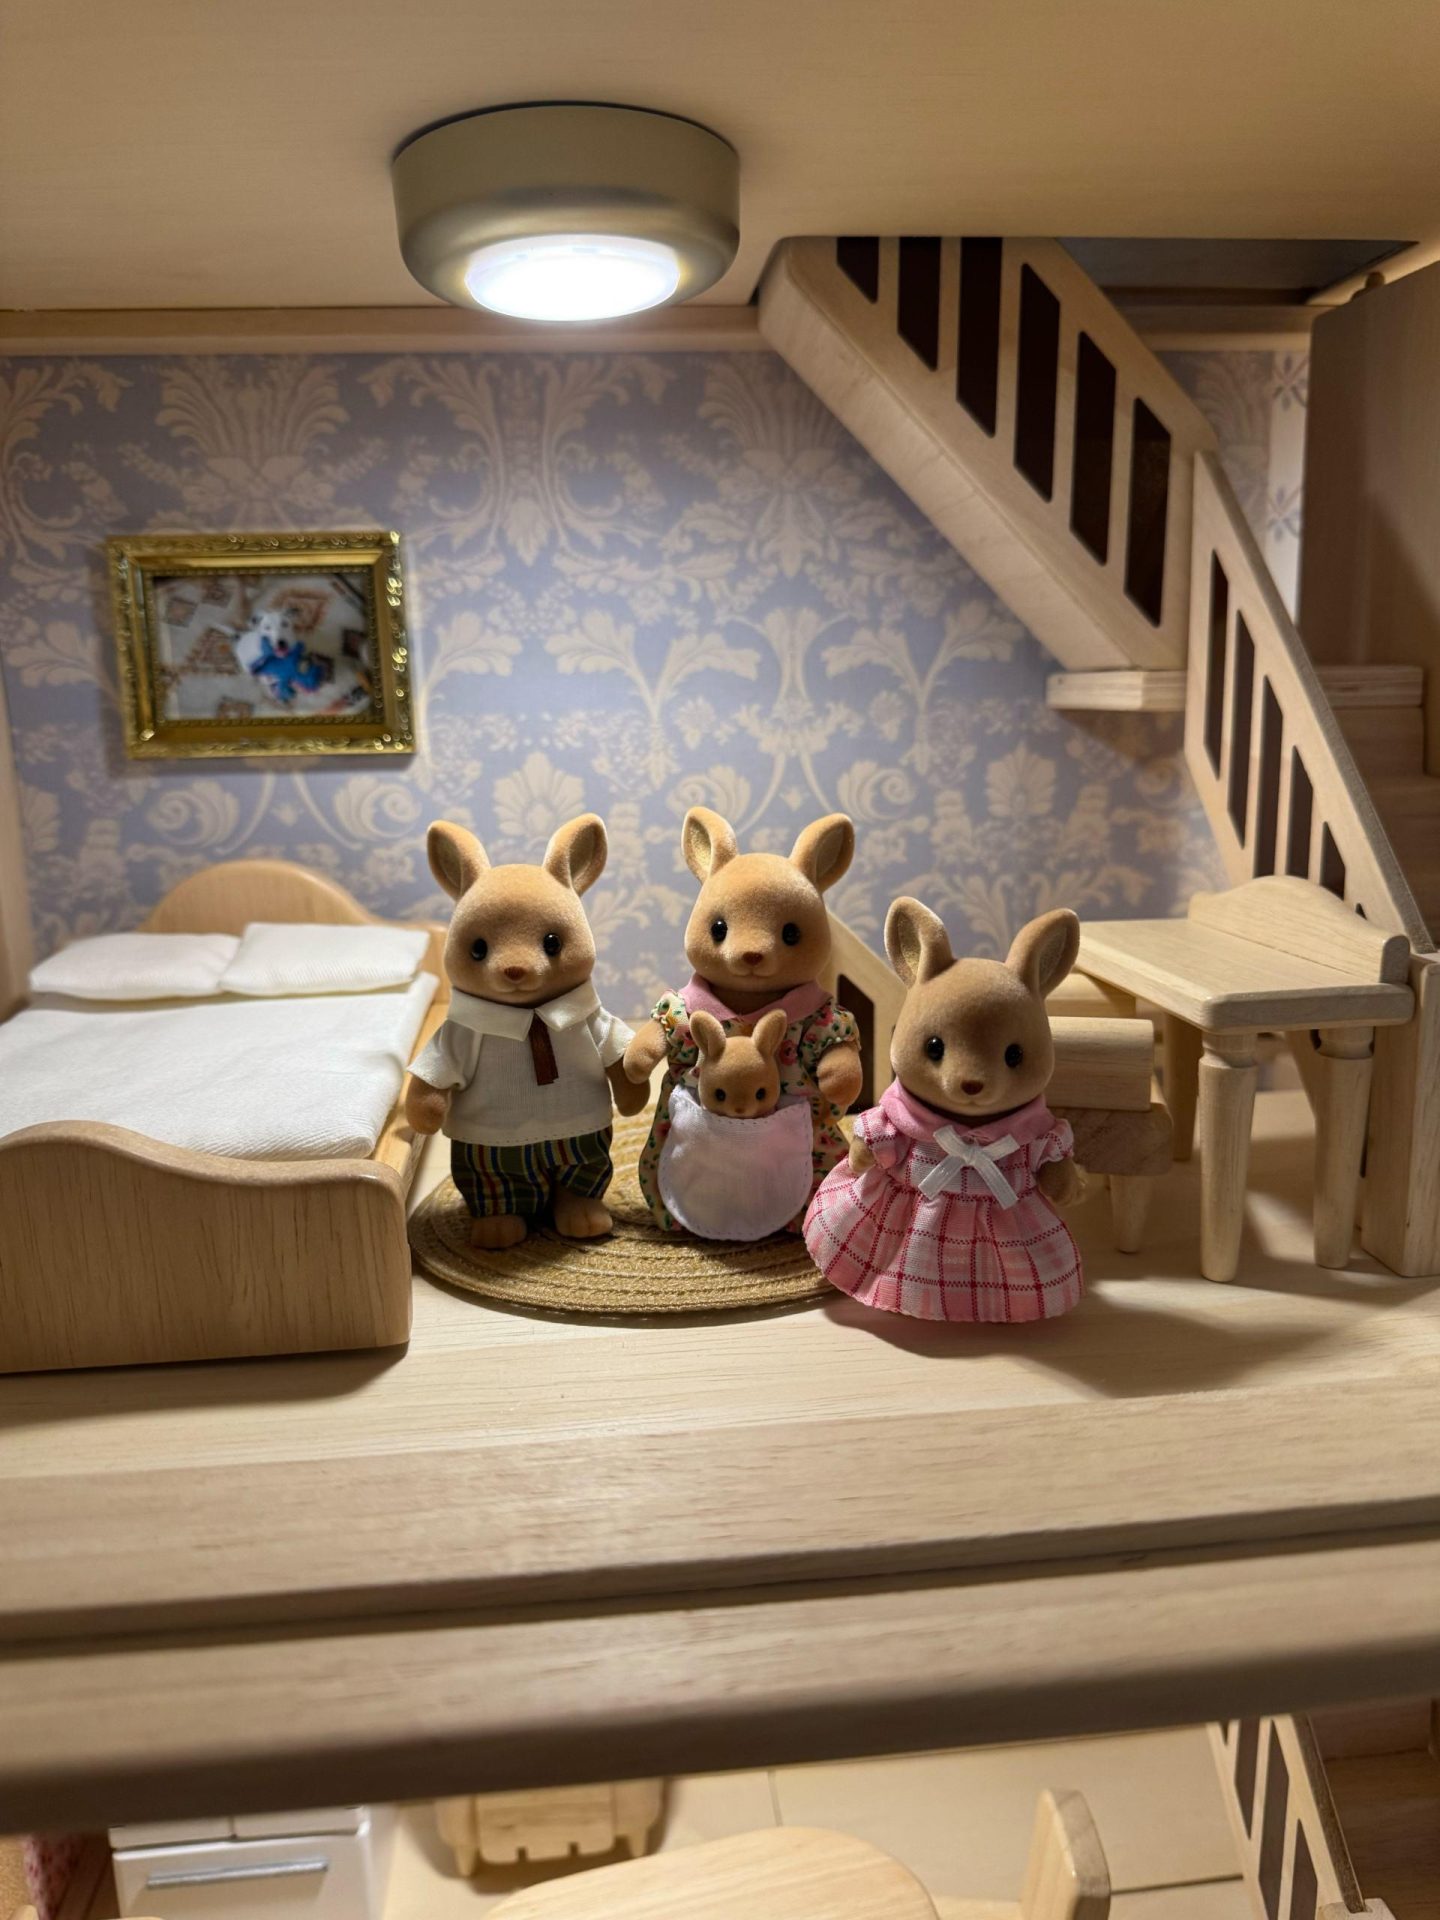
Justin found it to be an easy build and it didn’t take him very long to put it together. My goal for the makeover was to incorporate additions that would be beautiful, but durable above all else. I chose to elevate it and give it a cottage vibe by using wallpaper, framed photos and rugs with some fun tile in the bathroom.
- My technique for cutting the wallpaper to size was to hold it up where I wanted to put it, fold it where it needed to be cut and then cut a little bit at a time until it was the right size.
- I secured the wallpaper with scrapbooking glue tape because it’s sturdy while still allowing for the option to pull the paper off and redo it at any time.
- For the patchwork wallpaper, I used small pieces of different patterned paper (which comes this way in the pack I linked) and taped it piece by piece onto scrapbook paper.
- I secured the picture frames with hot glue and the photos I used to fit the frames are wallet-size.
- For the tile floor, I cut a piece of scrapbook paper to size and Elmer’s glued each tile on individually to fit the room. This was fun to do!
- The lights completely elevated the house for such little money. This is a must-do, in my opinion! I went with gold, warm-toned lights so they look like light fixtures. I can’t rave enough about these. Both of my girls love turning them on and off.
- Most of the 1:12 scale dolls I found online did not impress me. Though slightly smaller than 1:12 scale, Calico Critters work so well in this dollhouse and fit nicely on the furniture. I chose the cute kangaroo family.
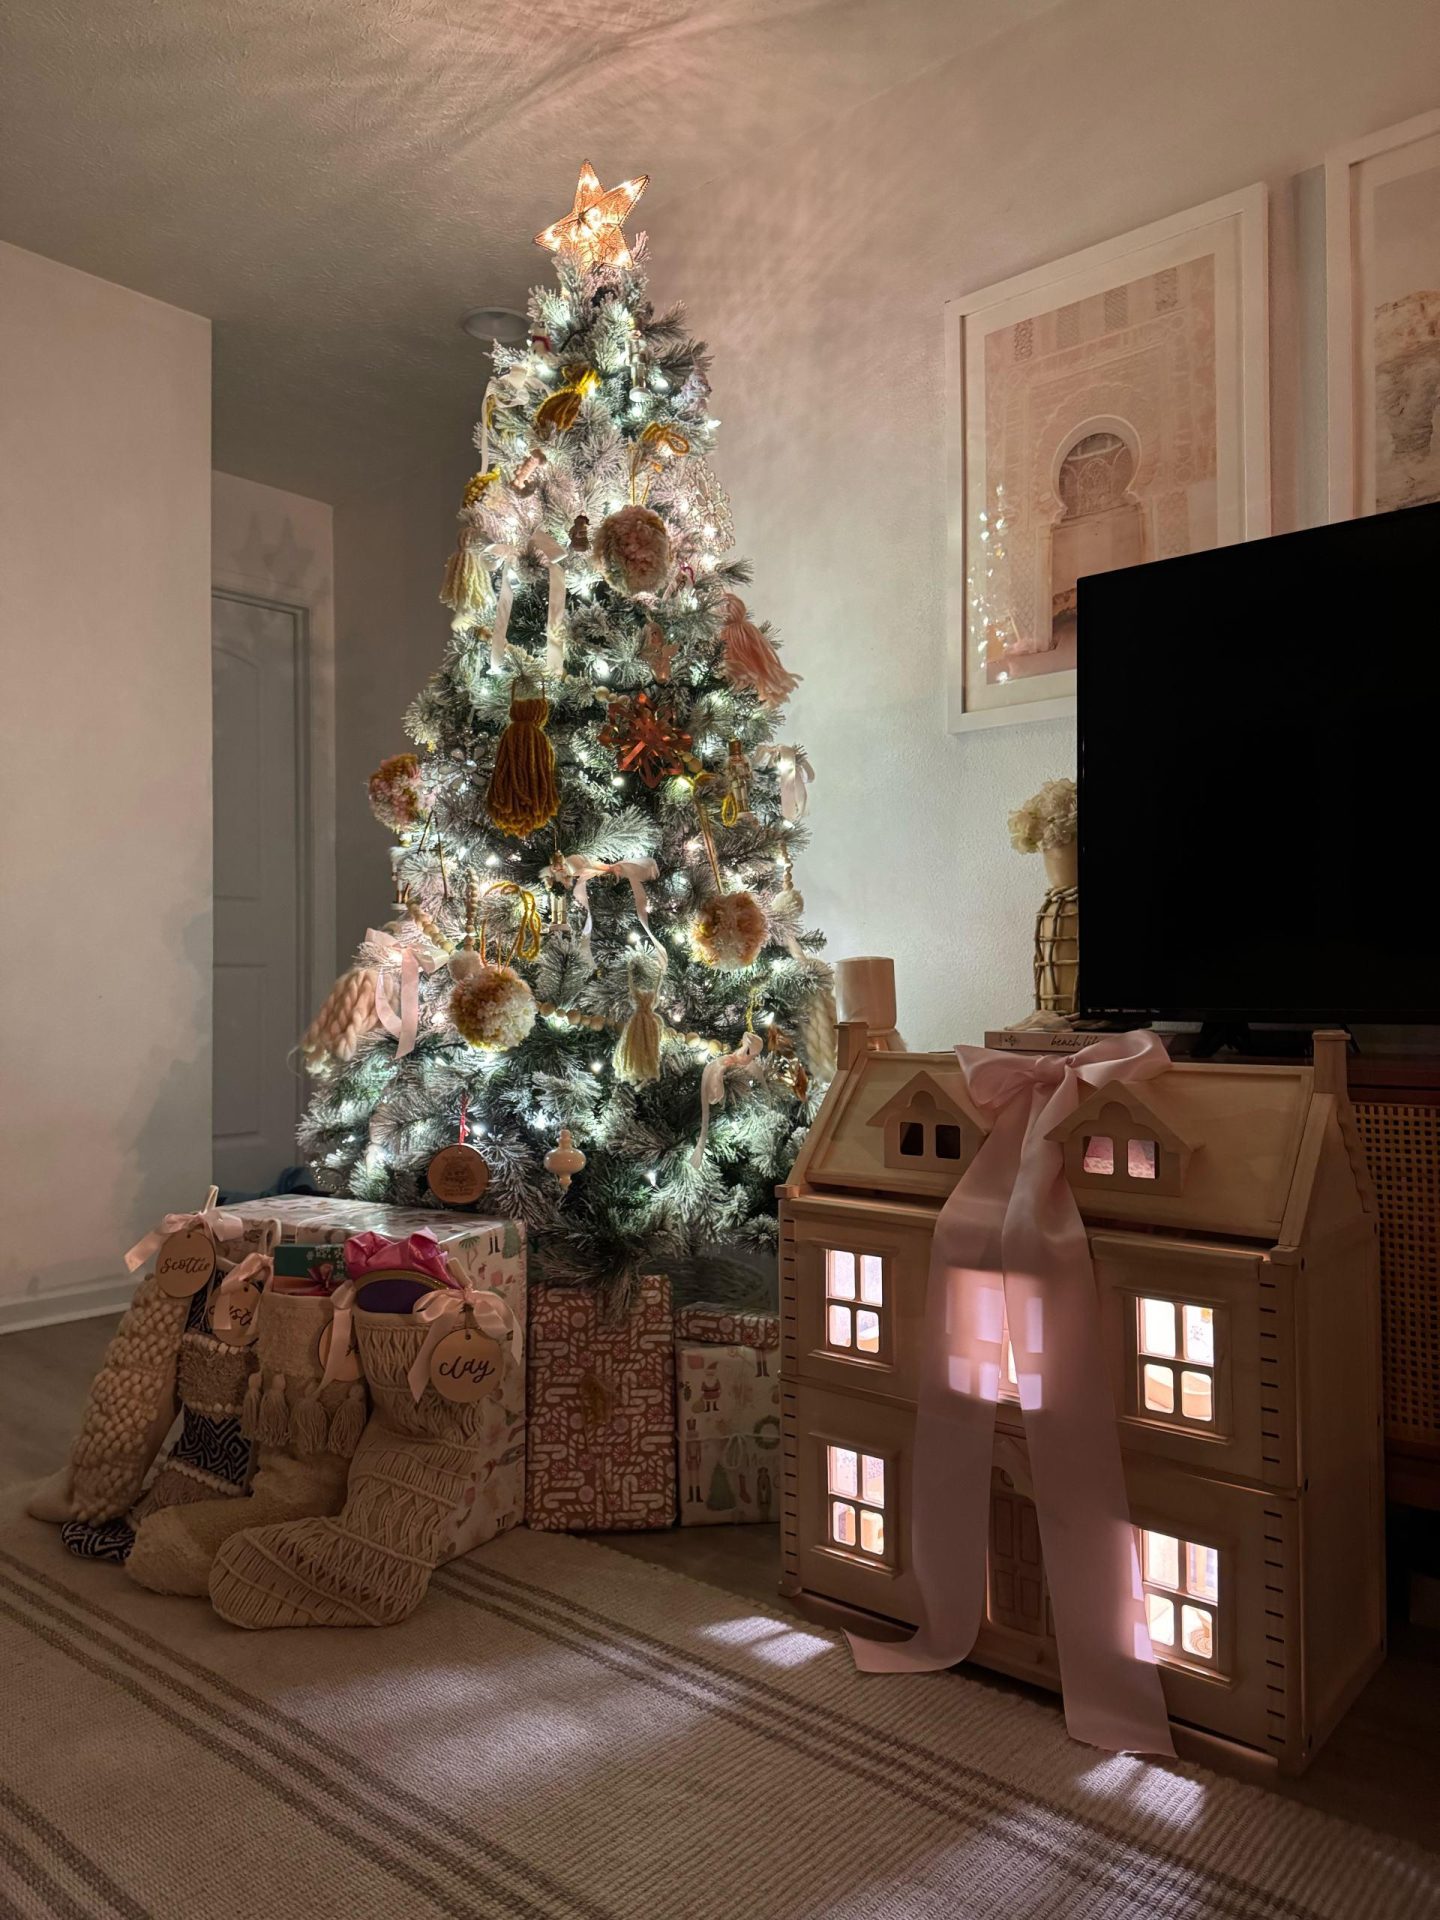
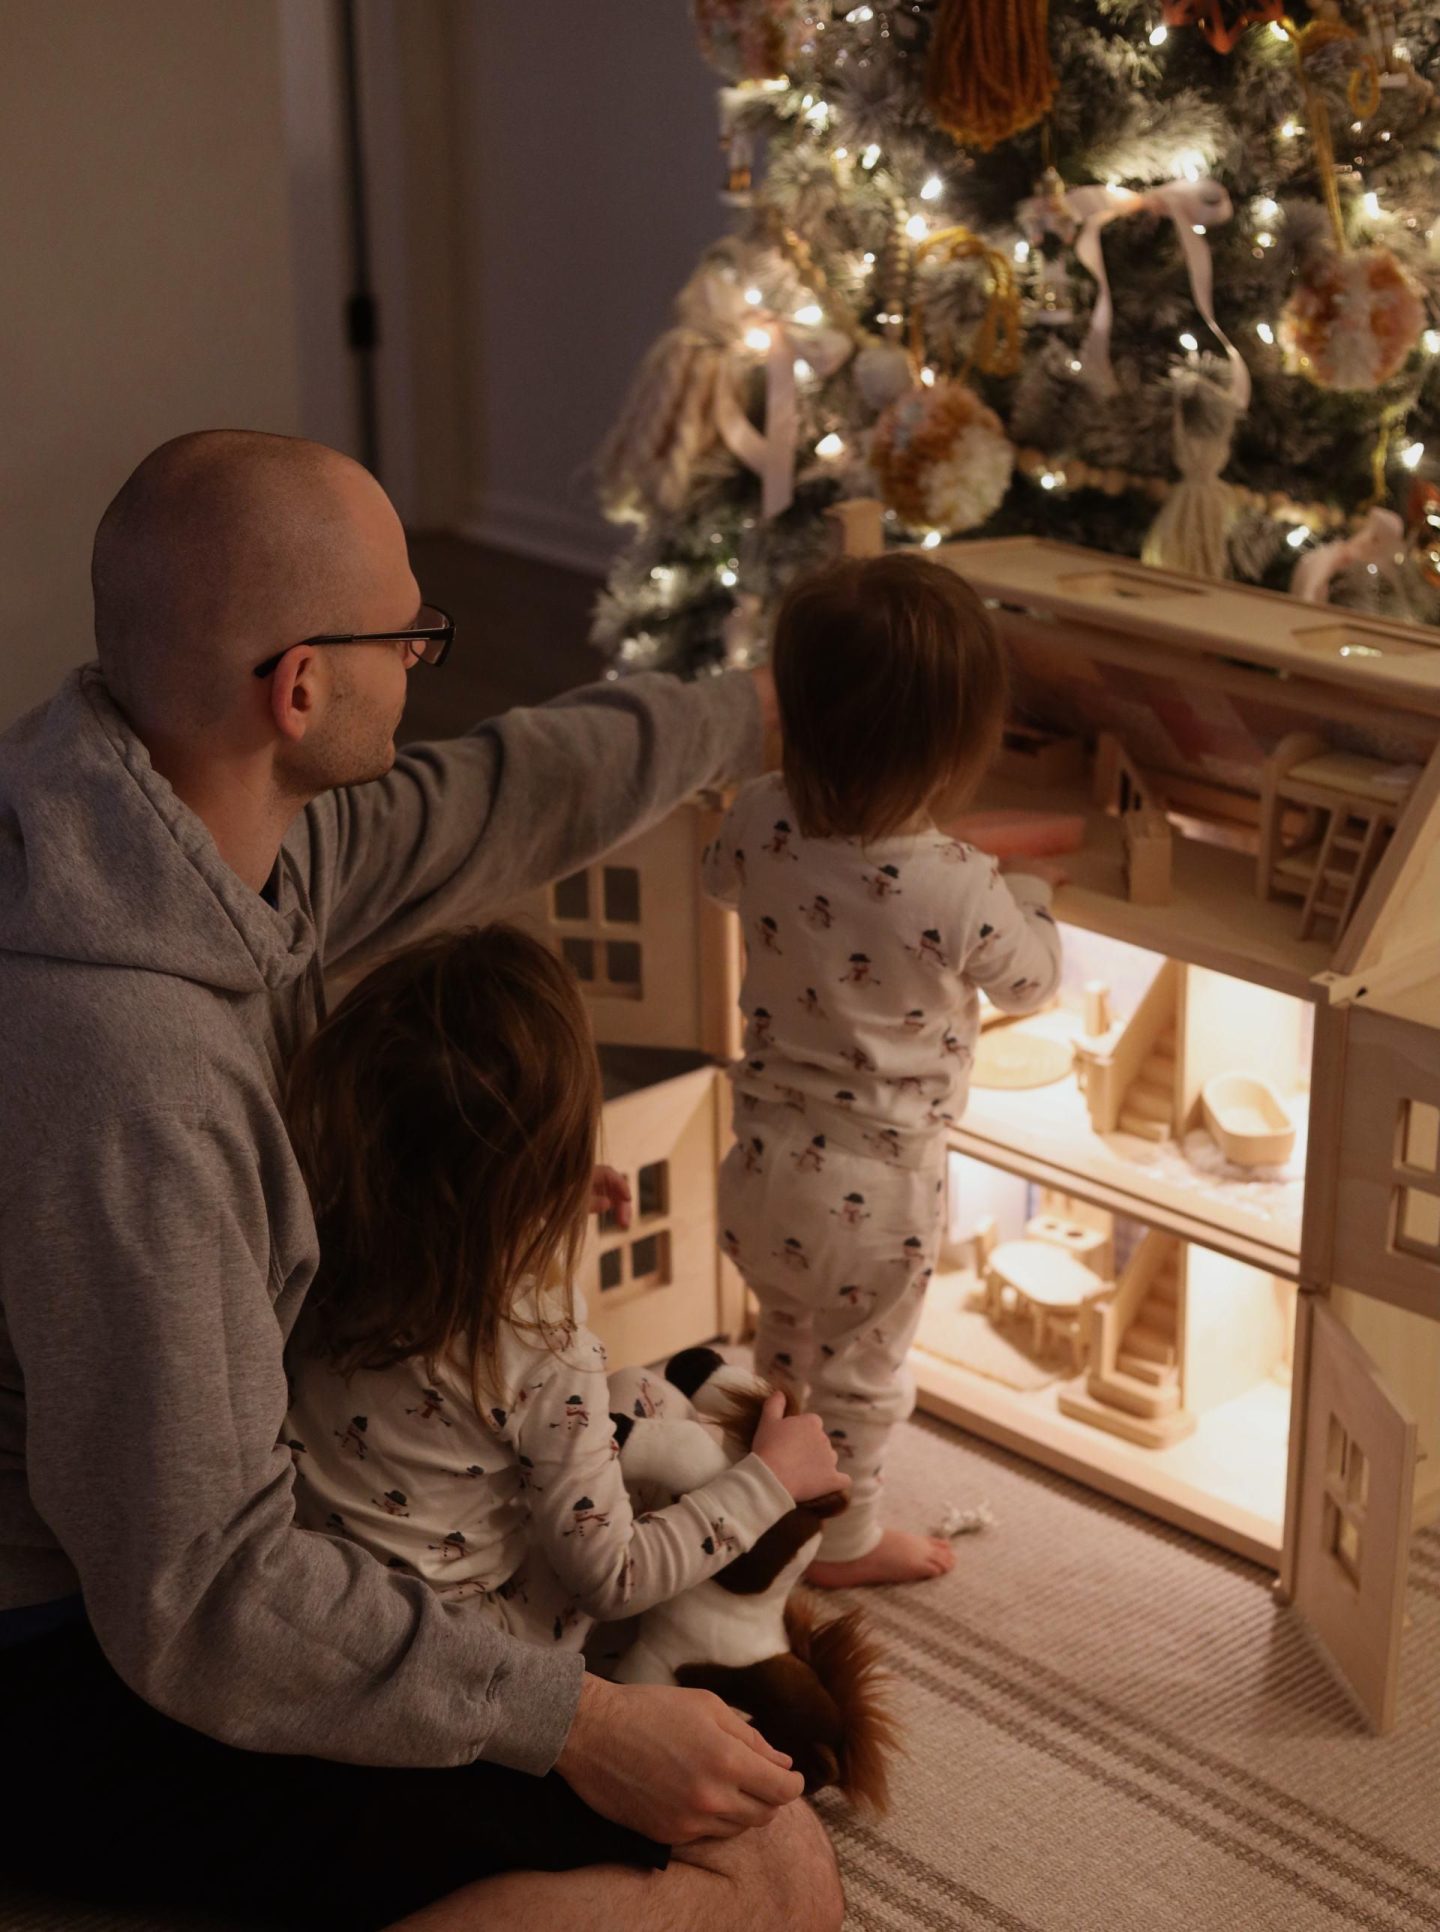
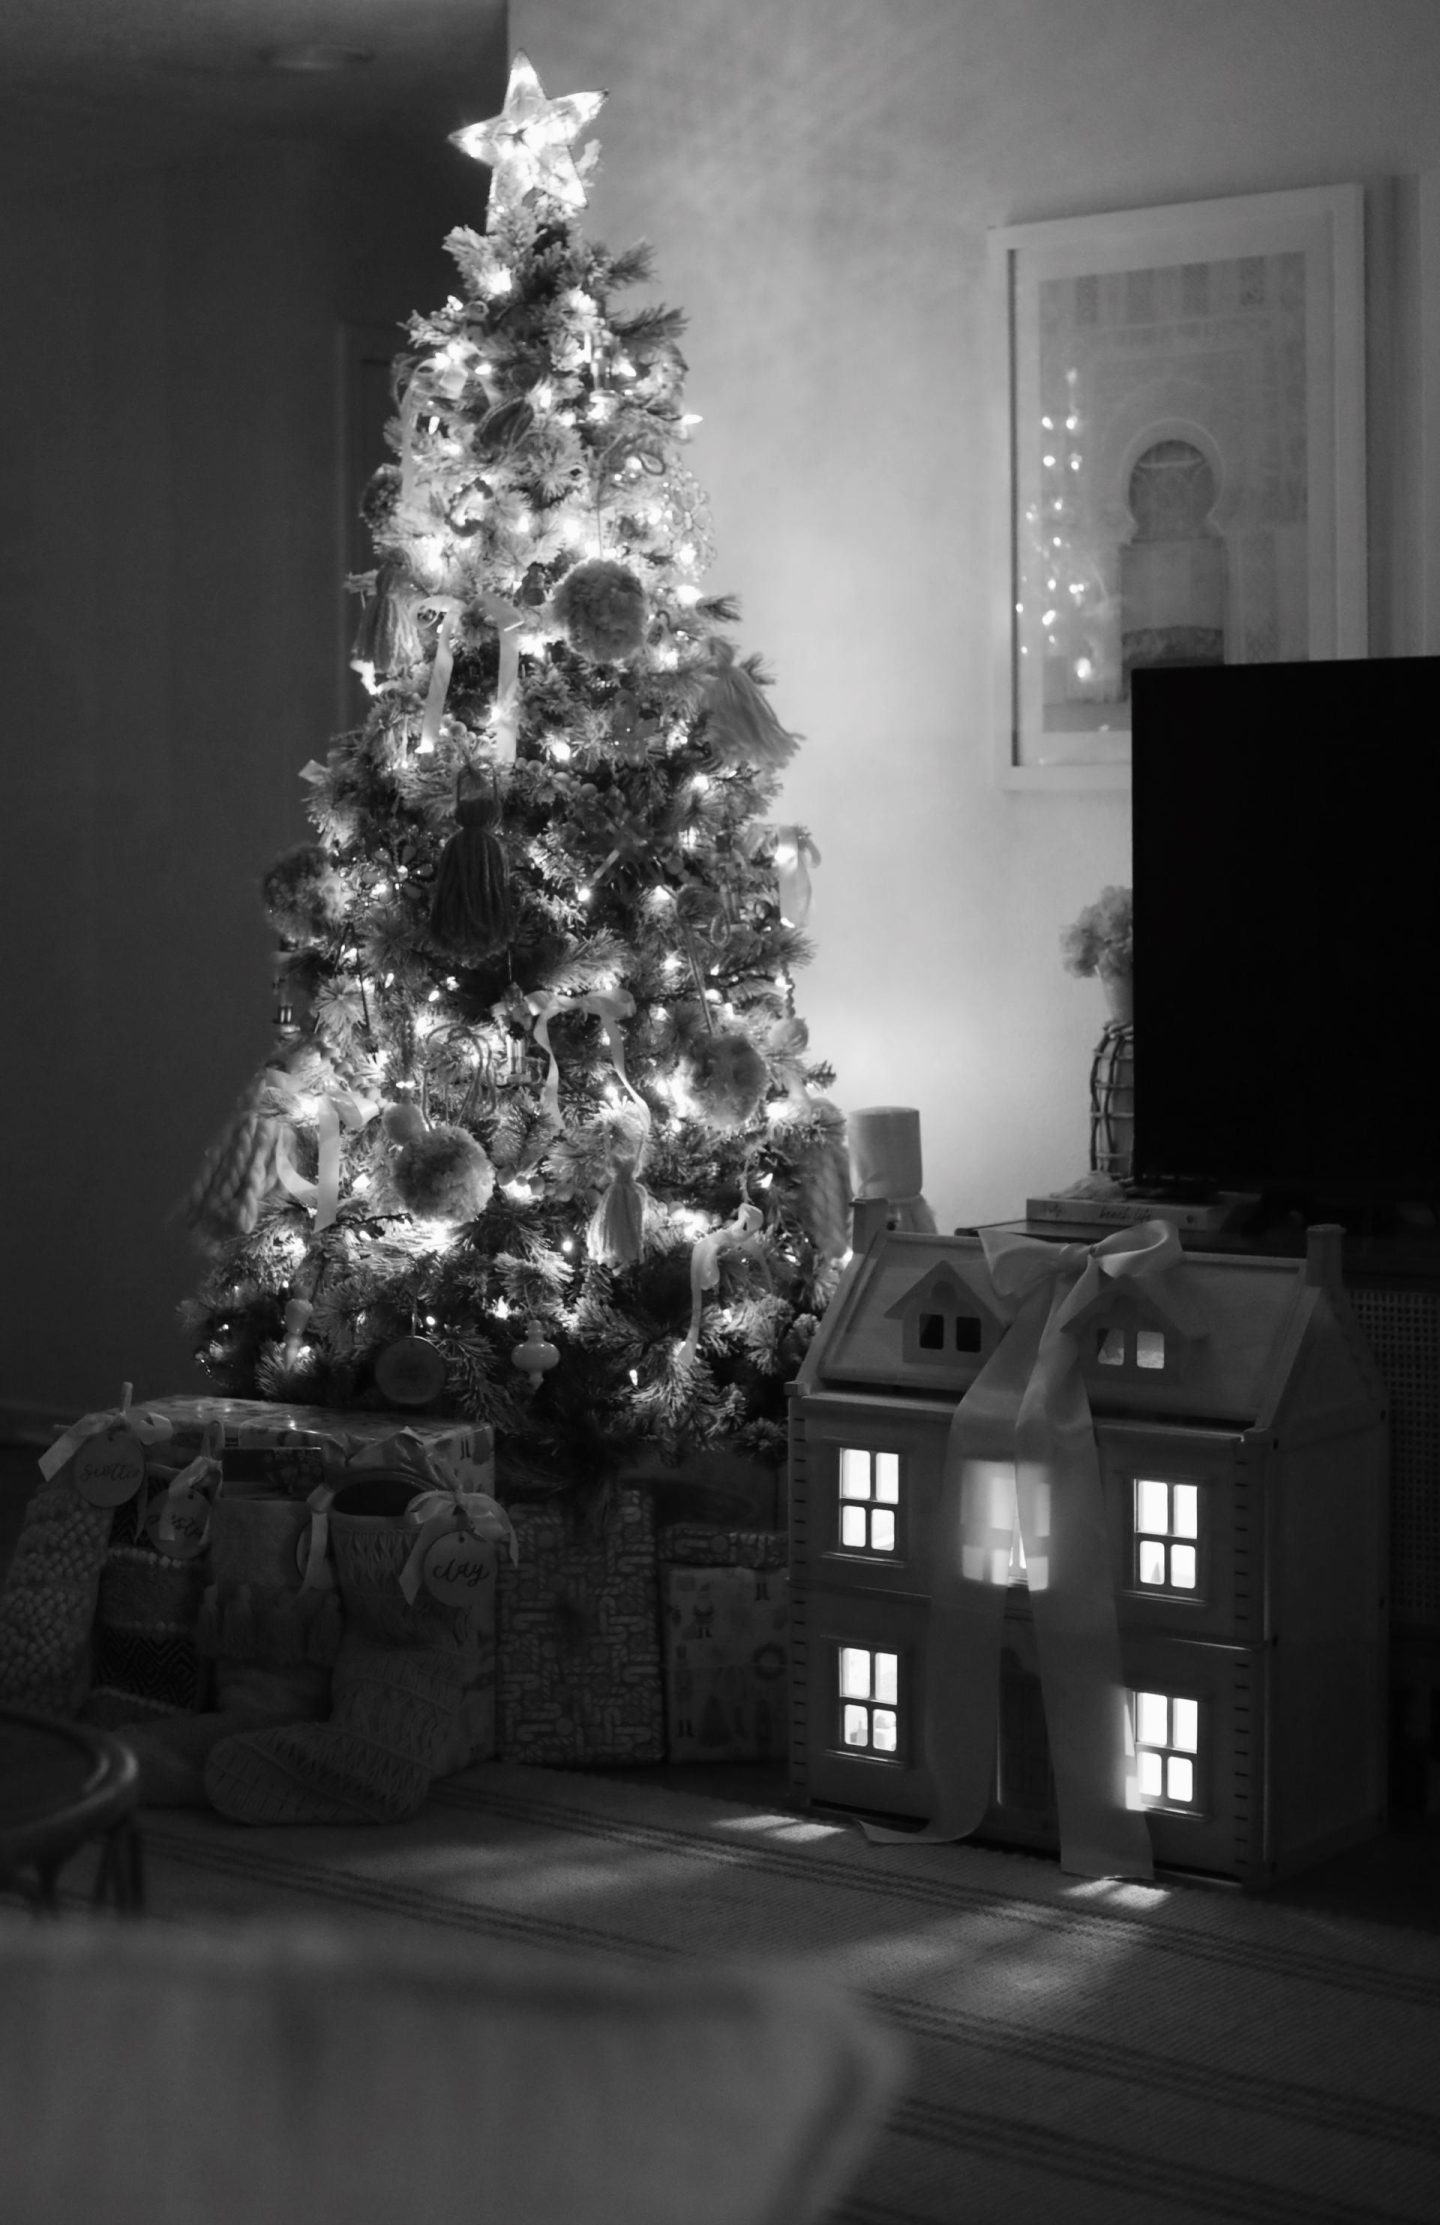
- Lastly, I tied a big pink satin bow on it to surprise them on Christmas morning!
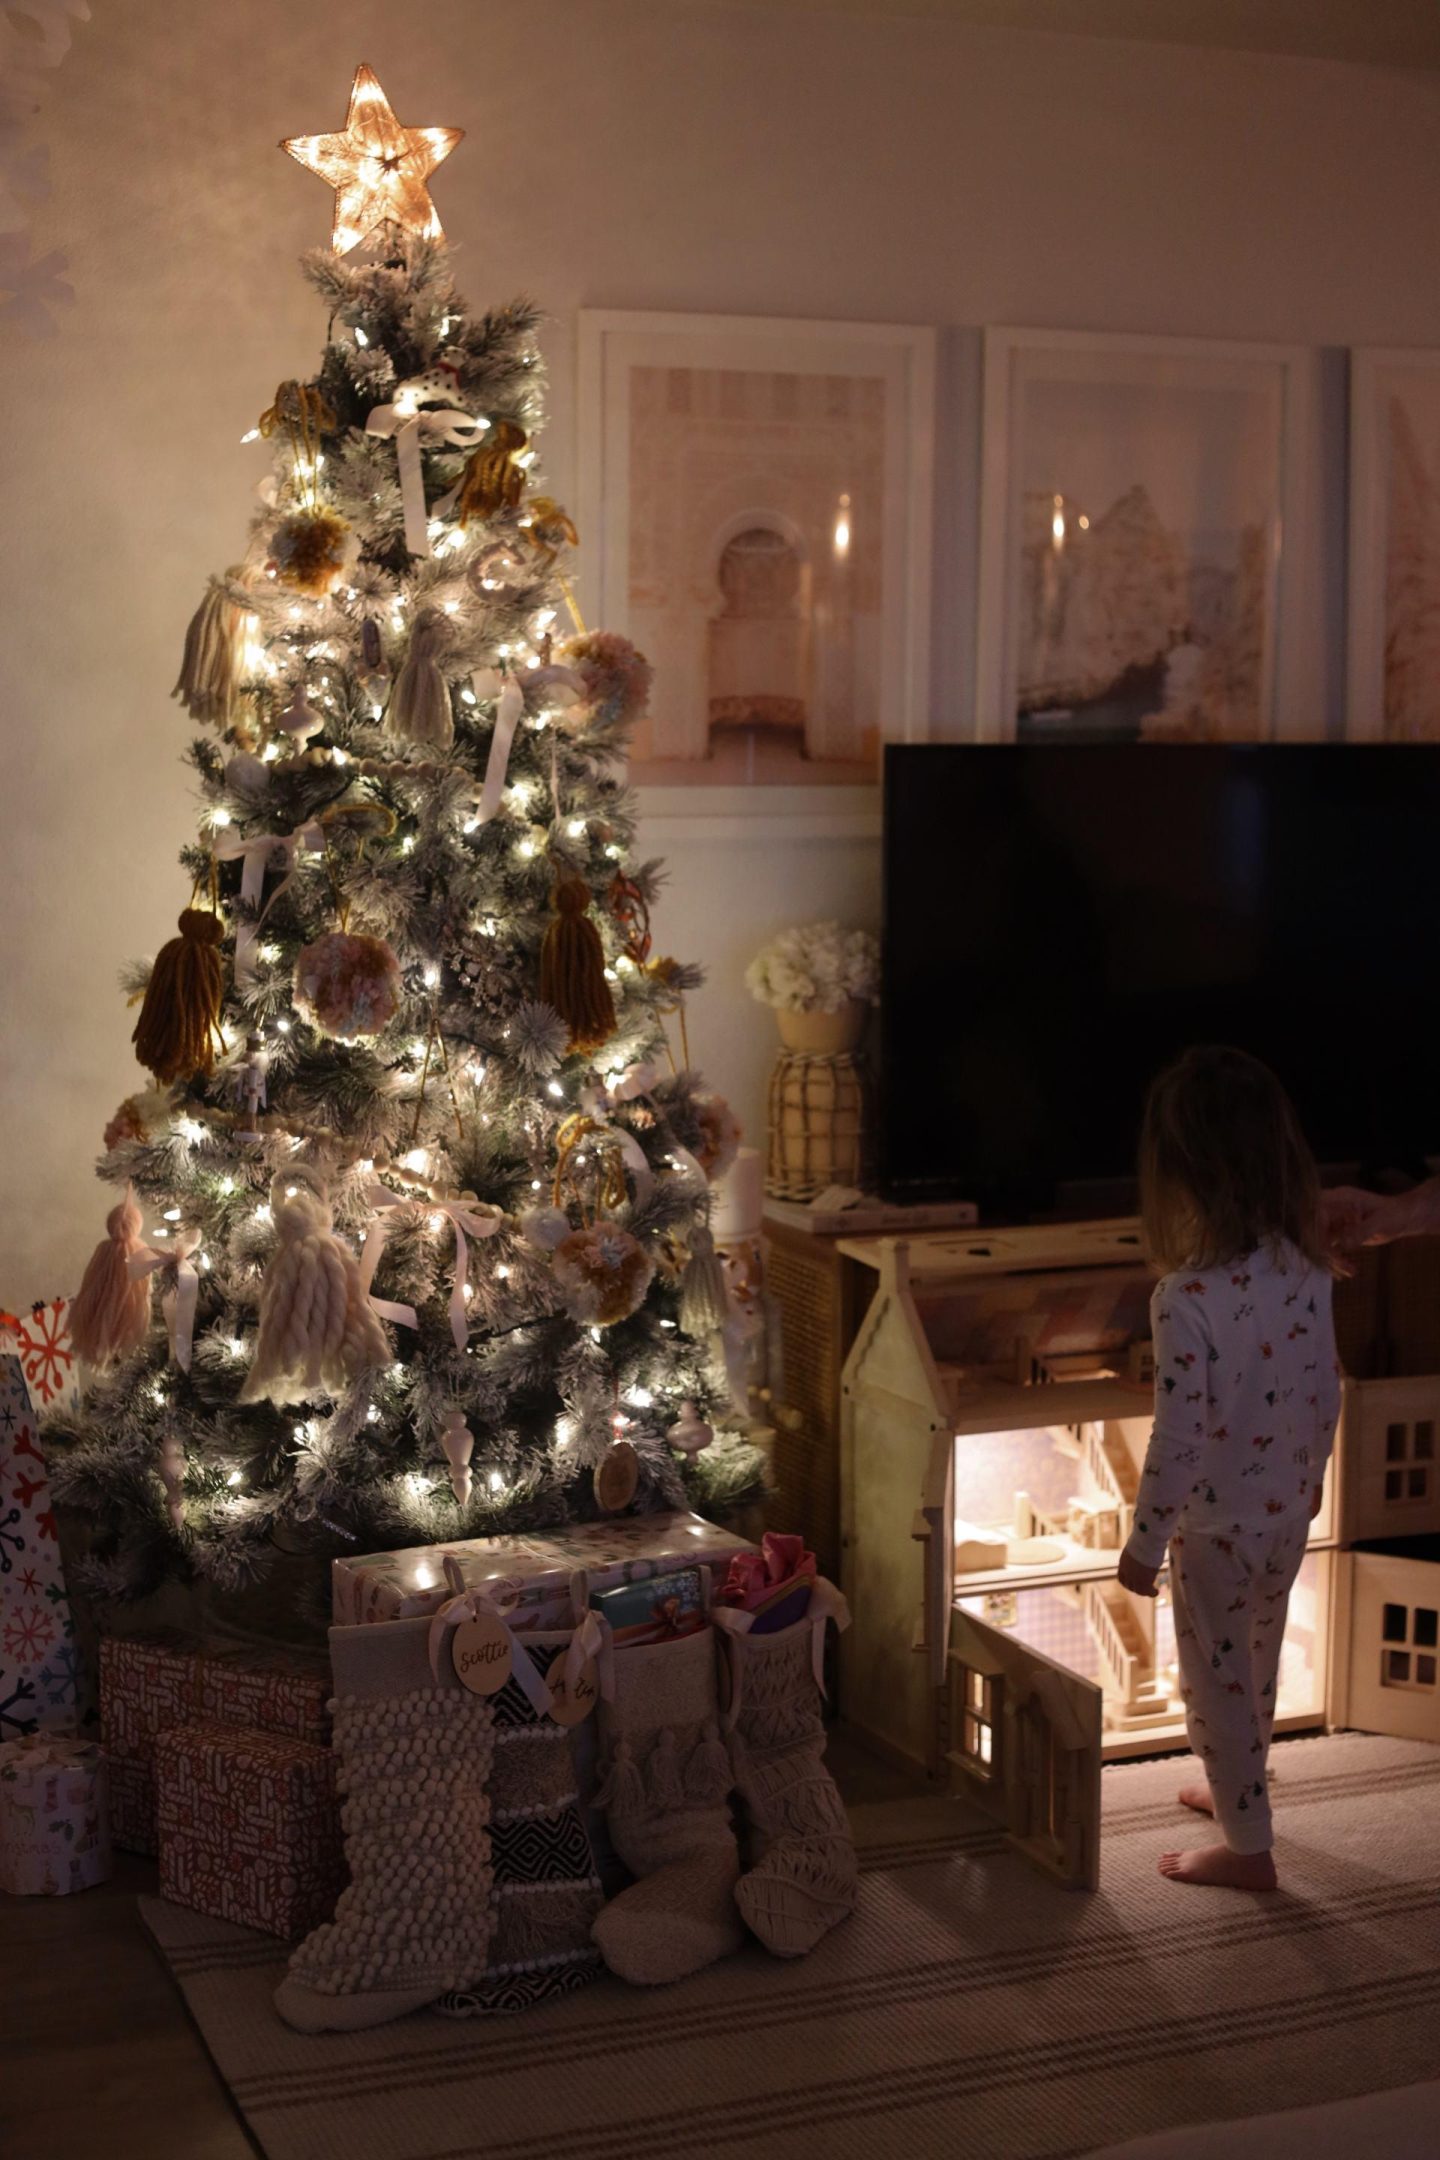
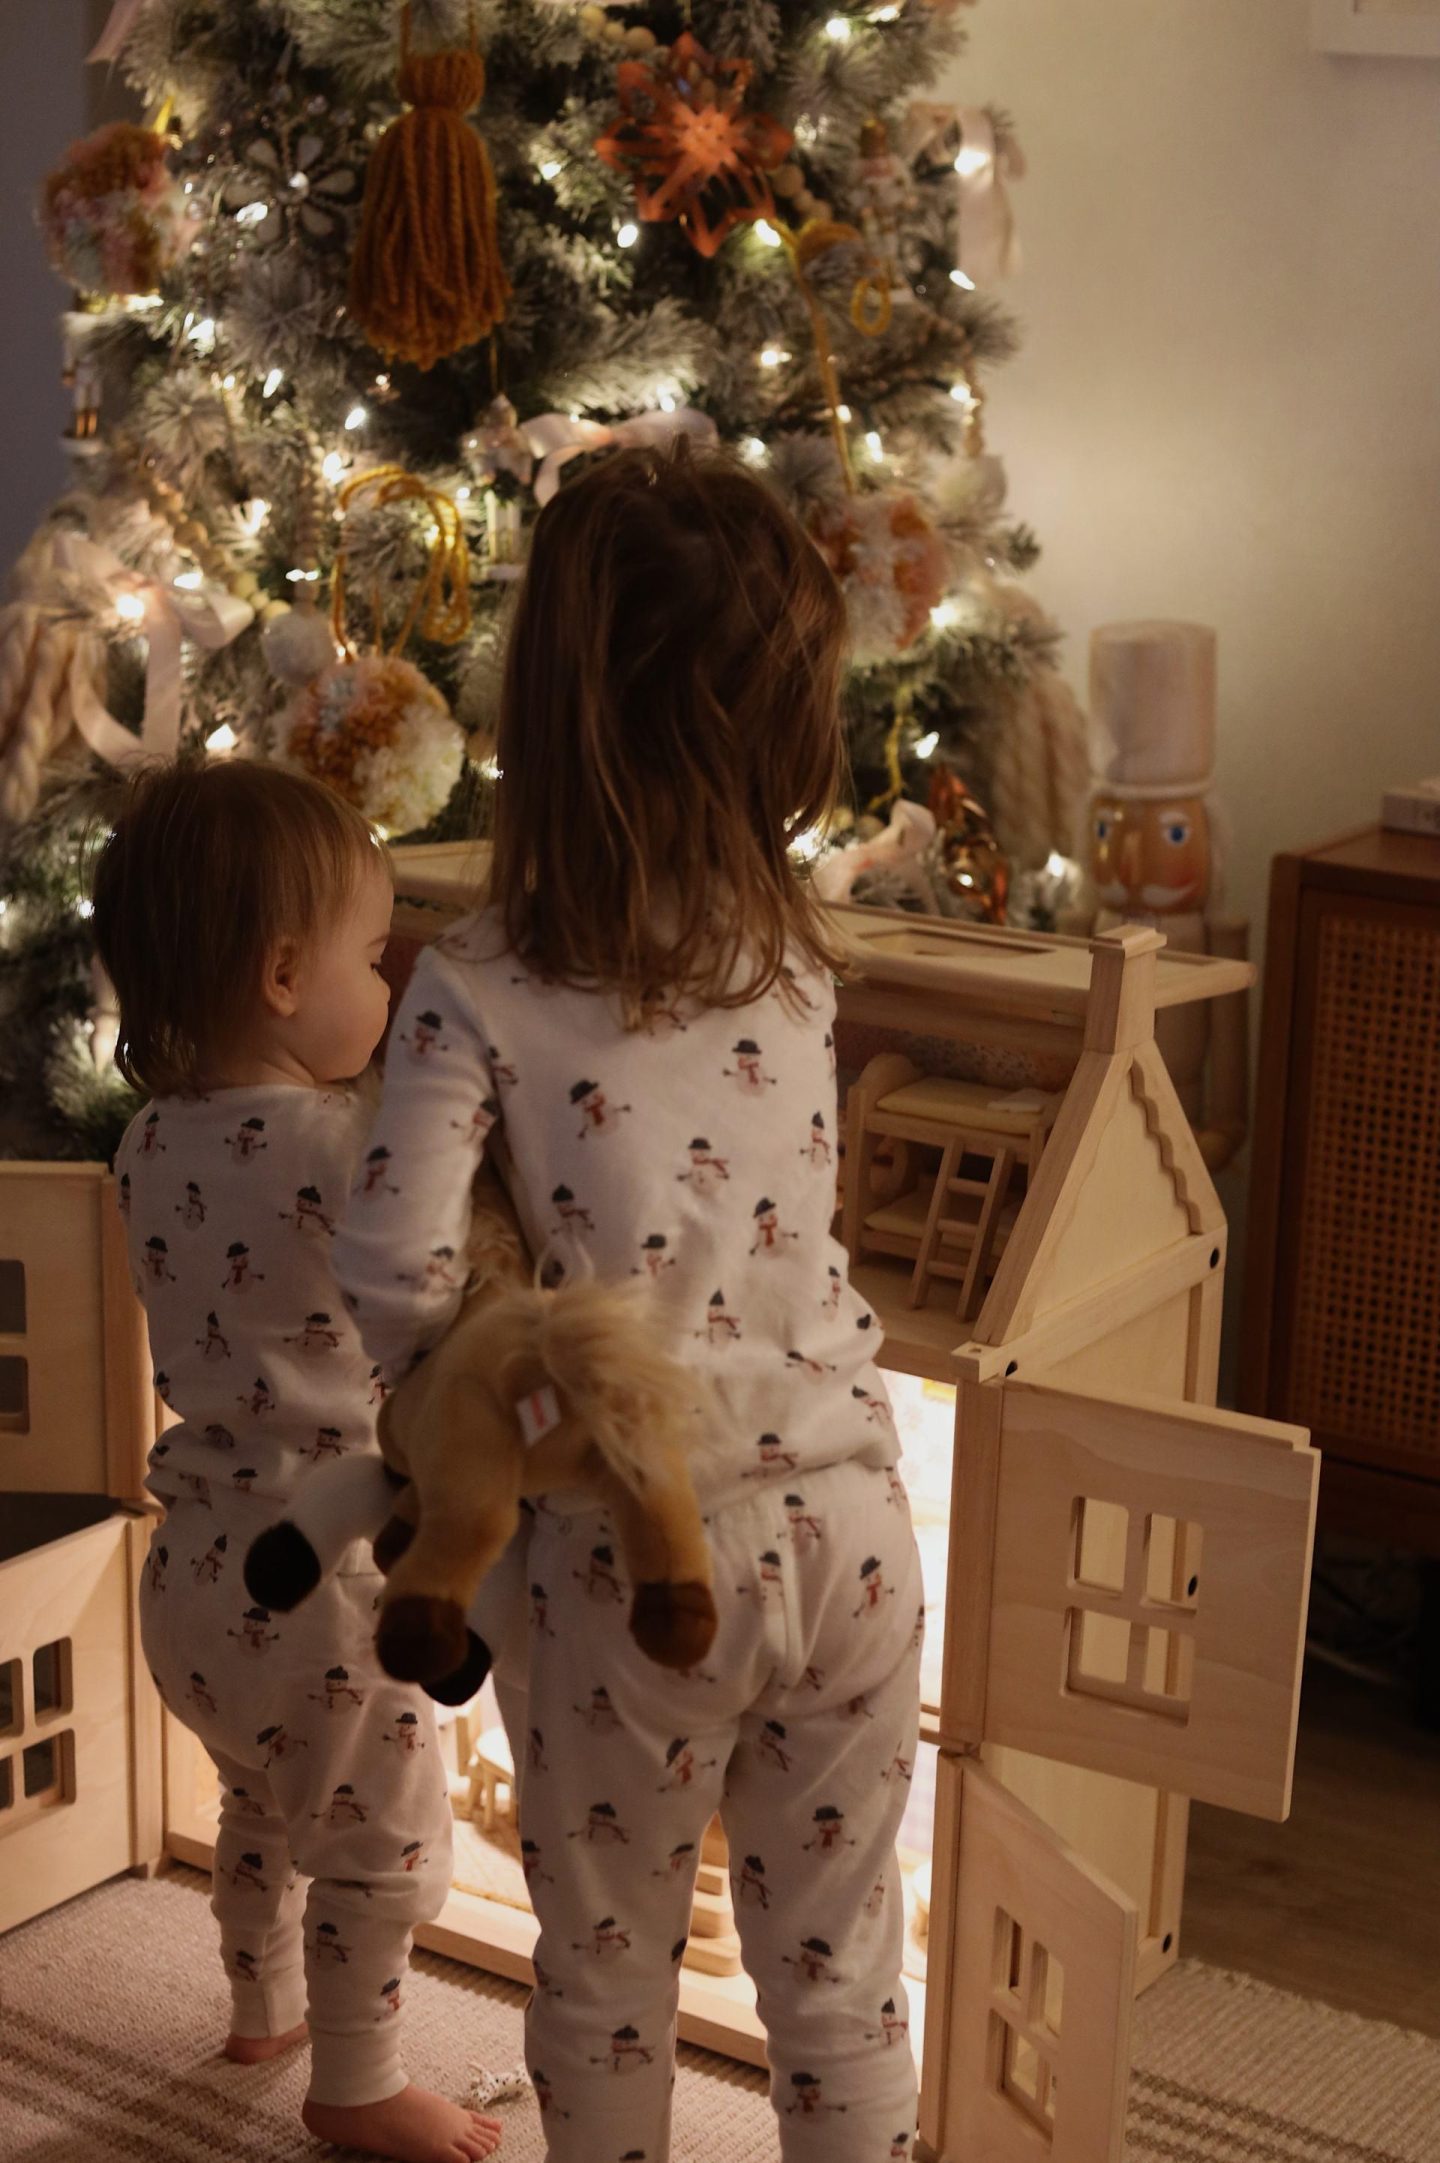
In conclusion, the dollhouse is gorgeous and perfect in every way! I couldn’t be happier with the makeover results. Clay was so surprised and in love with it instantly, laying in front of it and staring at it all Christmas Day. She told me countless times, “mommy, thank you so much for the dollhouse!” She plays with it so much and is so gentle with it (and Scottie isn’t too rough on it either). I see this being a well-loved and cherished item in our home for years and years. If you’ve been wanting to do a dollhouse project like this, it’s 100% worth it!
SHOP
Additional items:
