Pull Through Wrap Around Braid
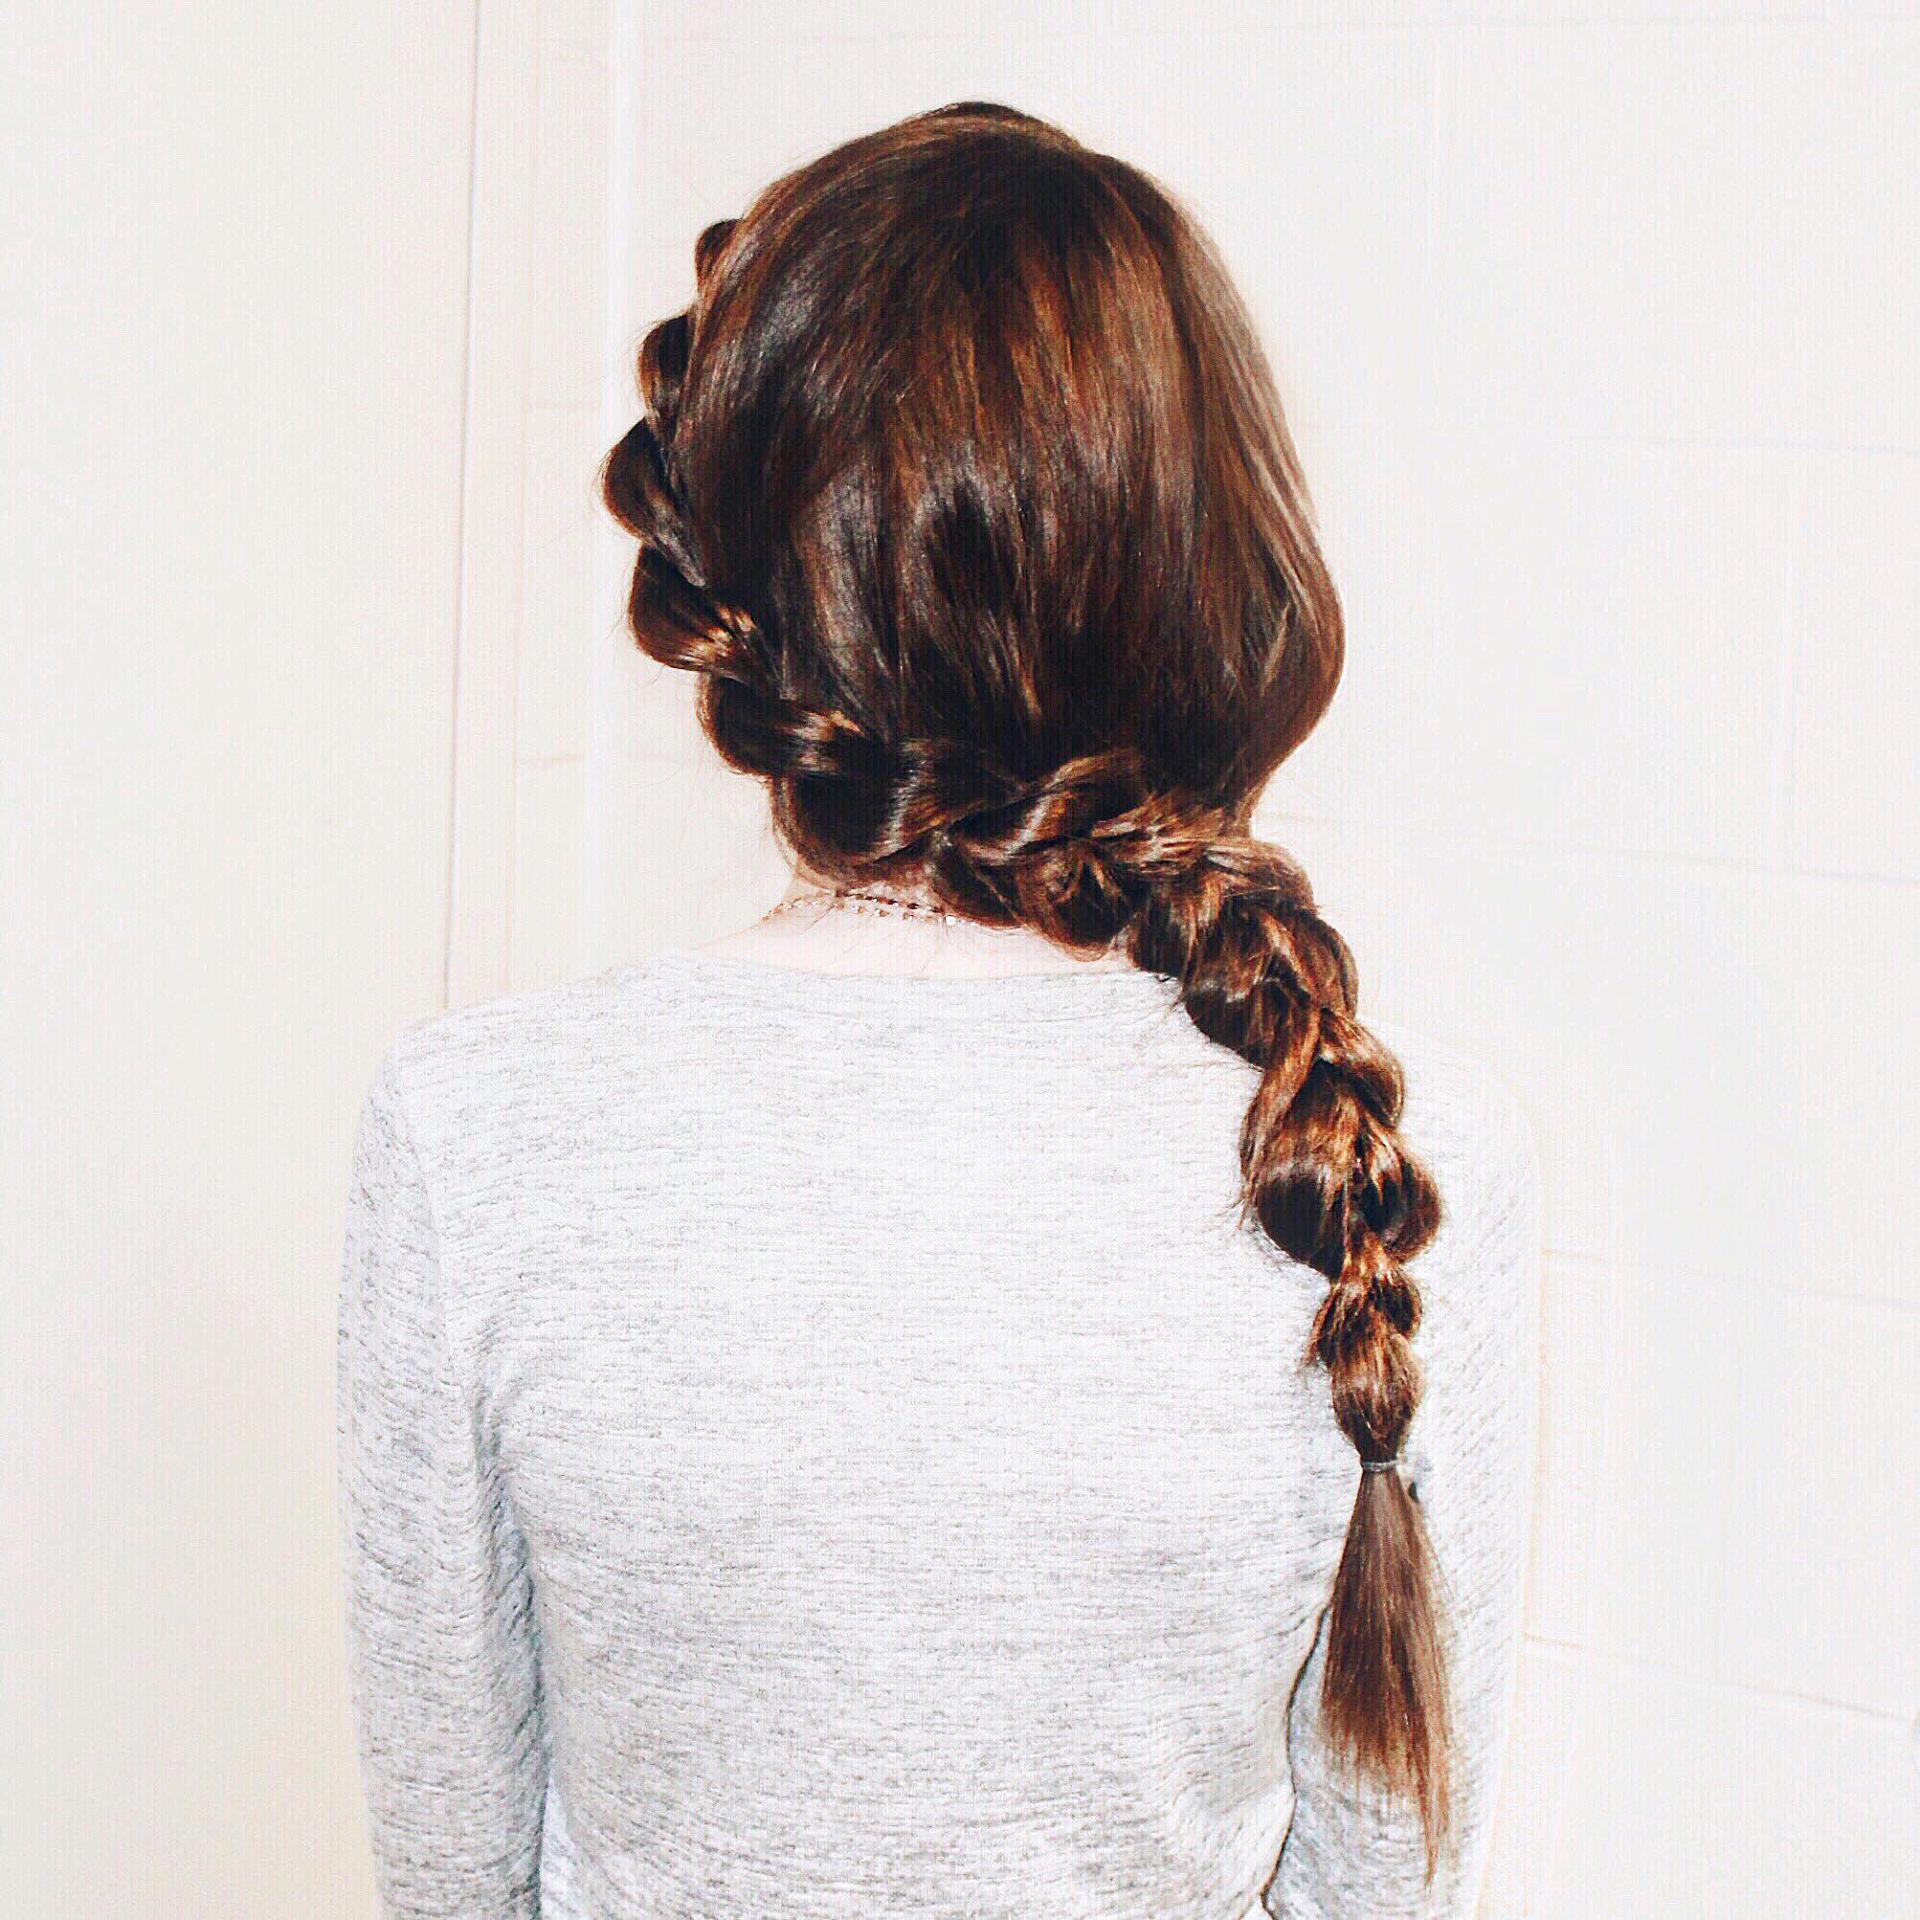
I’ve worn this hairstyle twice and I absolutley love it! I was actually able to get it pretty close to perfect on my first try, which I was pumped about. For this braid you are going to need a lot of elastics, especially if you have long hair like me. Anyone with shoulder-length hair or longer will be able to recreate this!
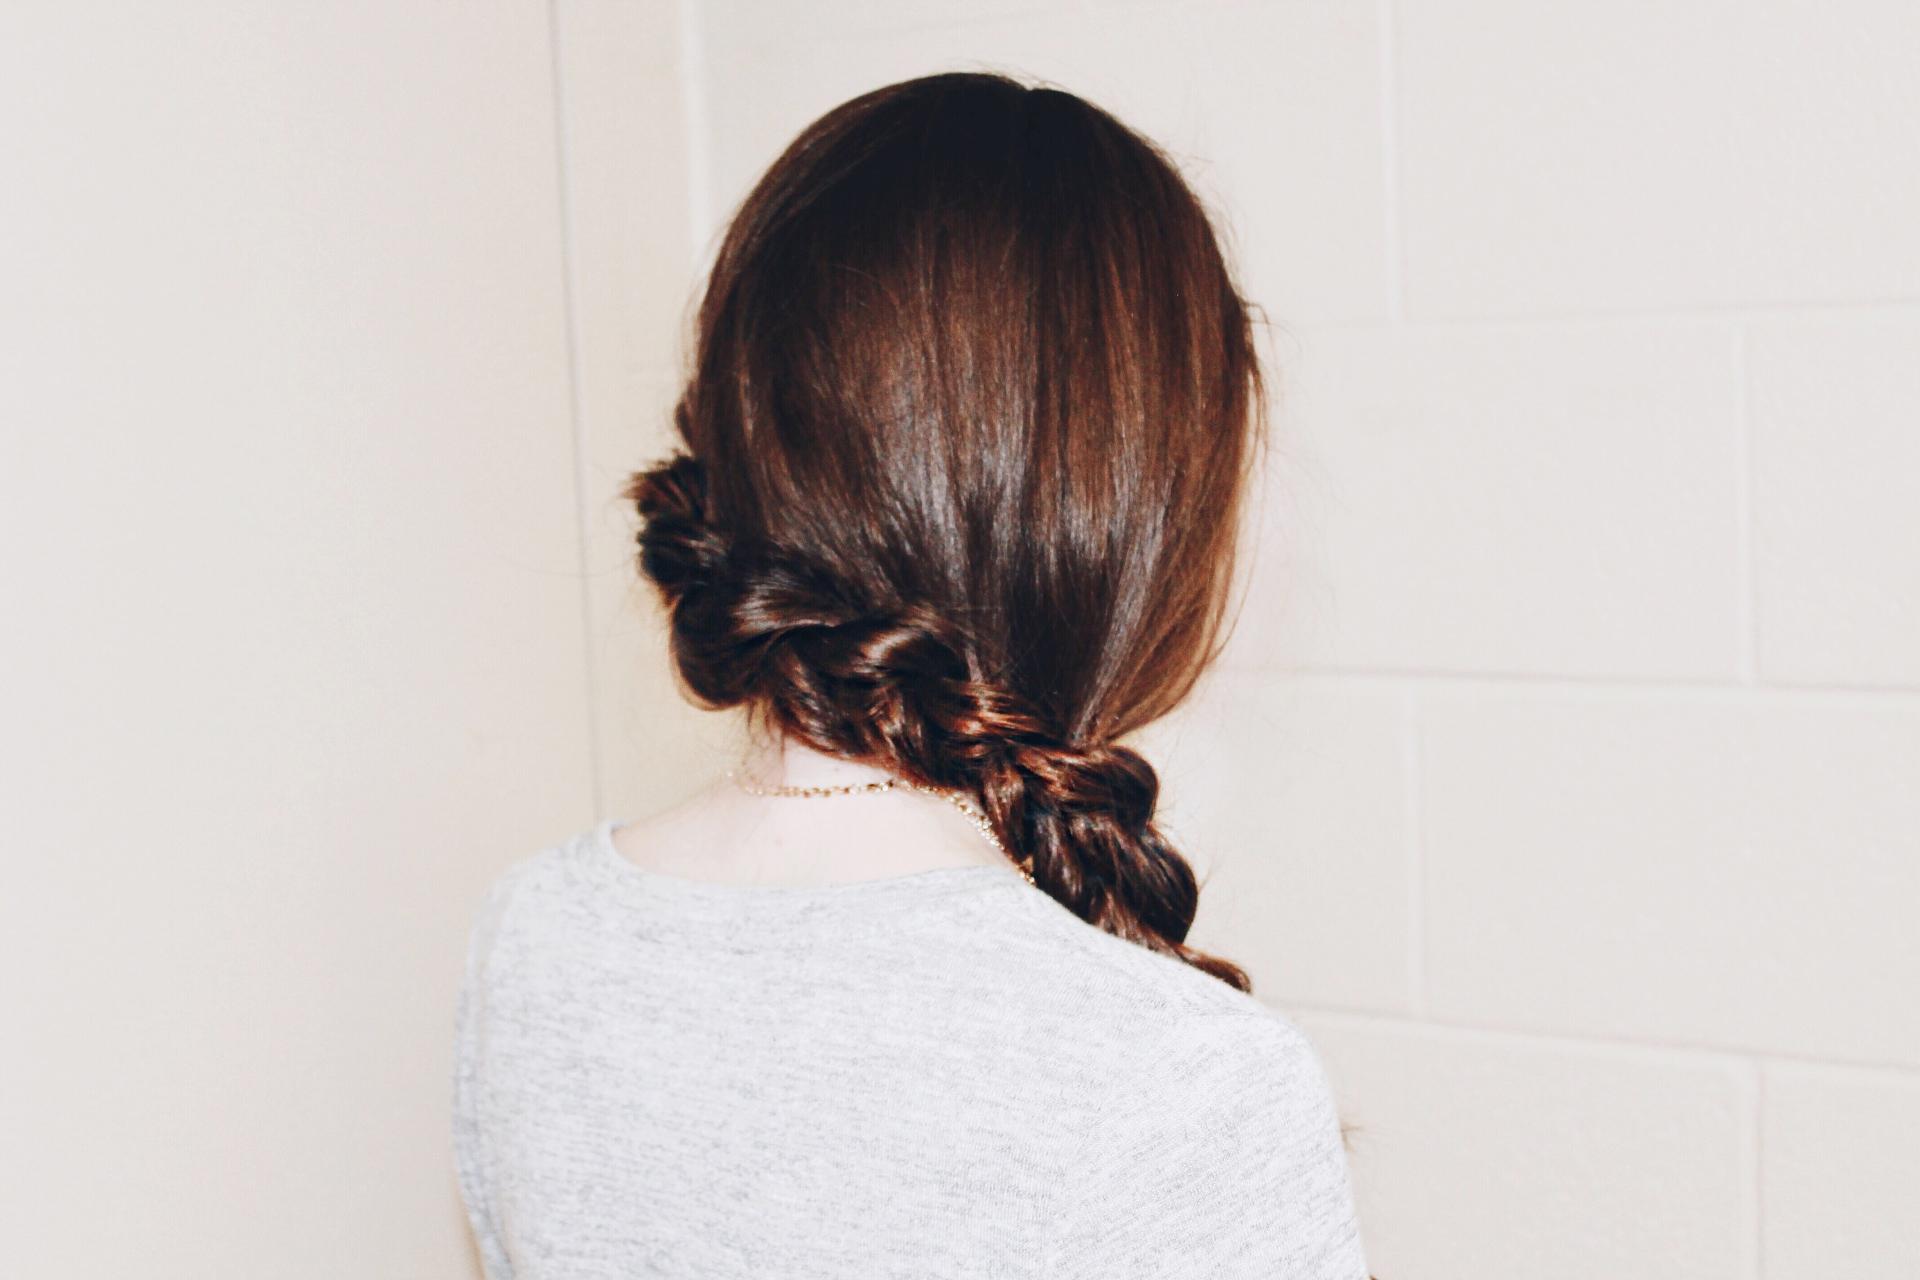
To create this braid, begin by parting your hair to the side. Gather a small section (about 1/2 inch) at your part and tie it off with an elastic close to your roots. About 1-1.5 inches below that elastic, attach another elastic on that same section of hair. Then split the hair between the two elastics in half to create a little hole, then pull through a section of hair underneath it. Then tie off that hair with an elastic, and do the same thing — be sure to pull through the hair you tied off previously as well.
Continue this all the way around your head until your run out of extra hair to add in, then just use the two sections you have left to repeatedly pull through each other until you reach the end of your hair. Secure it with an elastic and you are done!
Begin at one end of the braid and hold the elastic below the hair down while you pull apart the pieces a bit to add volume and texture — you can always go back and pull apart more, so start with a little bit at a time to avoid pulling too much and ruining the braid. Add hairspray to ensure it stays in place all day.
Click here and here to watch tutorials on how to do pull through braids if you need more help!
Tag me in your pictures (@abbysaylor) if you recreate this look! I’d love to see it! 🙂