My Drugstore Self-Tanning Routine with Jergens Natural Glow Instant Sun Mousse
Self-tanning is a key step in my beauty routine for a few reasons. I feel like a tan makes me look healthier and more glowy, and it also makes my makeup blend into my skin so much more seamlessly. Today I’m sharing how I prep, apply and maintain my tan with my favorite drugstore self-tanner, Jergens Natural Glow Instant Sun Mousse.
If you’re new to self-tanning, it can be intimidating. Honestly, I think it’s intimidating any time you use a new tanning product because they all look, feel and apply (not to mention smell, too) so differently. No one wants to look like an orange streaky mess, so finding the perfect formula in a flattering color is a key part of the process — and if it’s affordable, that’s even better!
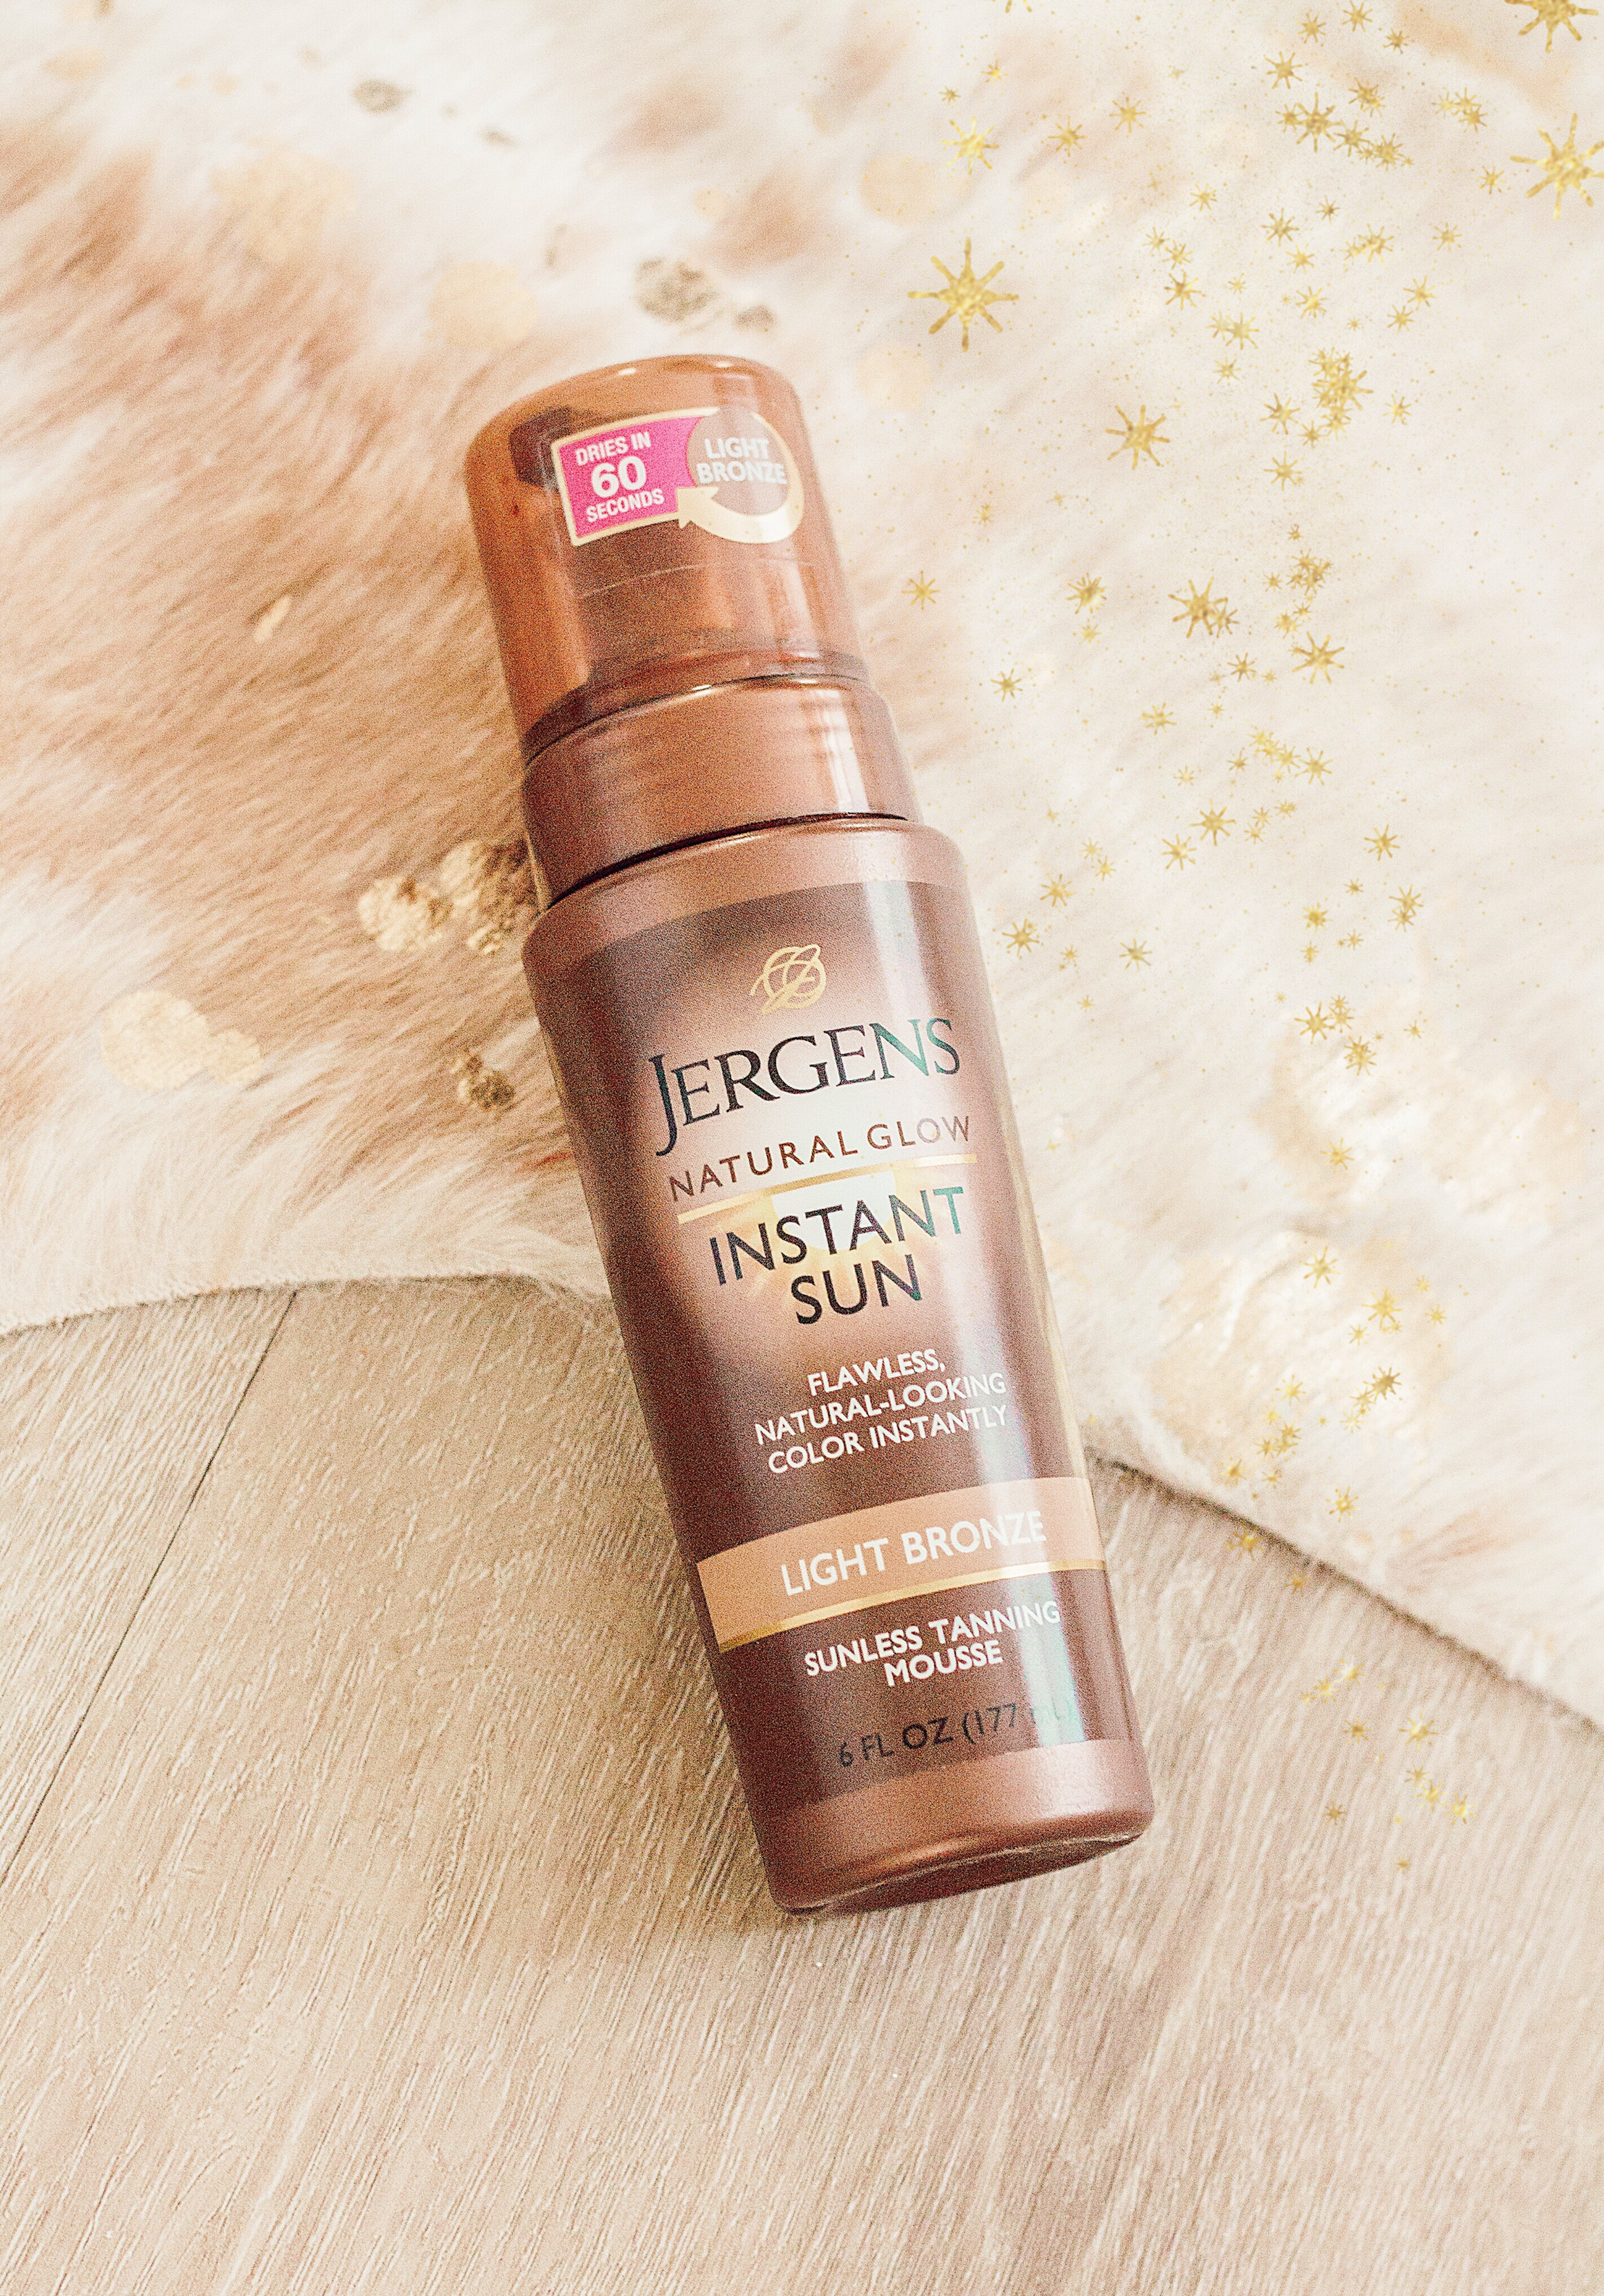
I’ve tried a few high-end and drugstore self-tanners over the years, but the Jergens foam product I’ve been using over the last several months has been my favorite so far. Not only is it a great price, but it’s easy to access (it’s sold pretty much everywhere — CVS, Target, etc.) and it comes in a couple different shade options. It’s also super buildable, so you can always layer on more to achieve the look you want. I’m very fair naturally, so I use the light shade and it’s perfect for me. The smell is really light and pleasant, and it’s not too sticky (though all tanners are sticky to some extent). So if you’ve seen me looking tan, here’s how I do it!
PREP
Shower, exfoliate and shave.
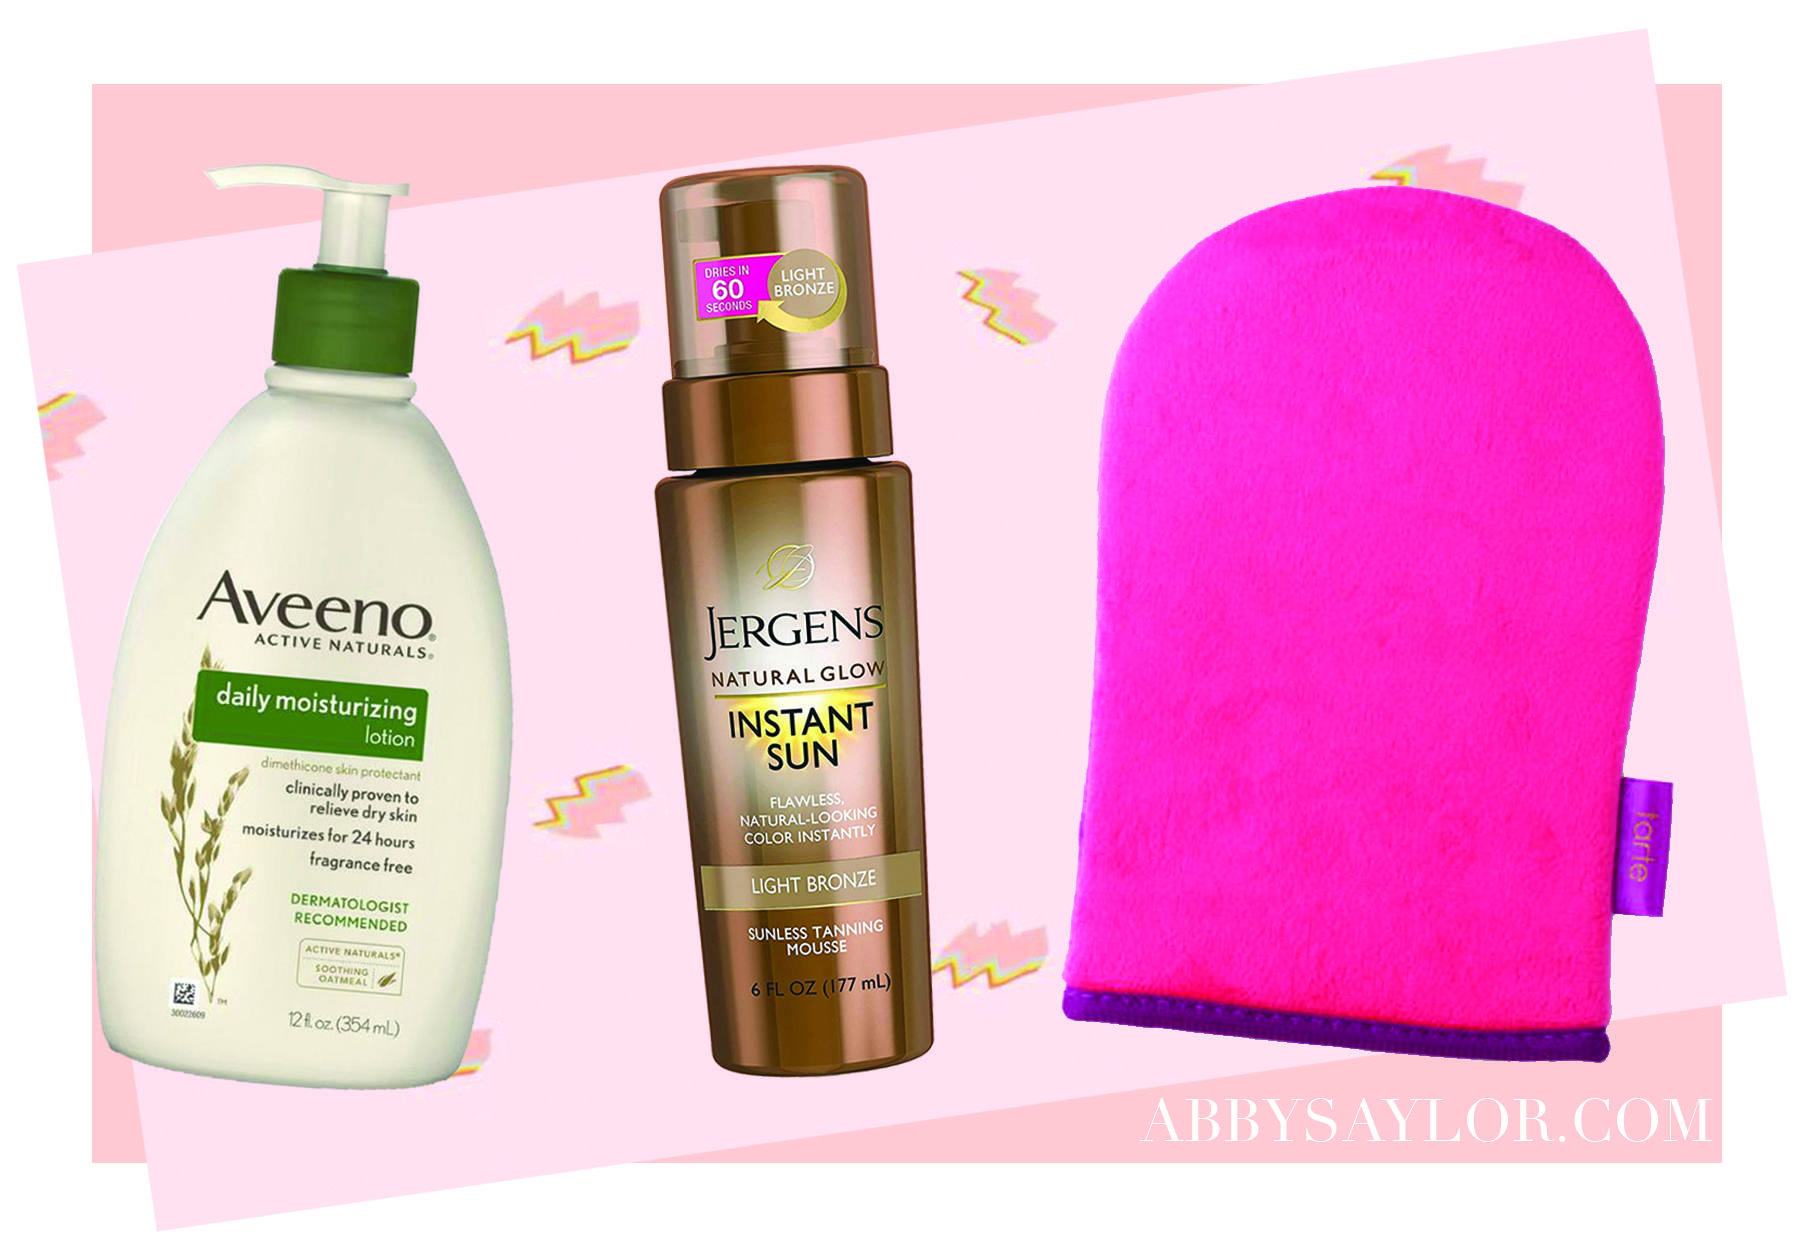
These are key steps in the preparation process to ensure your tan goes on smooth and even. I don’t use any products in particular necessarily, but lately I’ve been loving Aveeno’s gentle exfoliating body wash (linked below). I also love basic sugar scrubs that come in those tubs that you can get from any drugstore.
Make sure all makeup is removed.
Be sure to wash your face and neck thoroughly in the shower so the tanner won’t cling to it. Maybe go an extra step and exfoliate your face as well (I like the Olay Daily Cleansing Cloths). Though not everyone does, I do apply my self-tanner to my face and haven’t had any issues with breakouts or anything — so making sure all traces of makeup are washed away is an important step for me.
Allow your skin to dry a bit.
I wait at least 10 minutes or so after I get out of the shower to start applying tanner. I usually just throw on a robe and let myself air dry to make sure nothing is going to smear against wet skin.
Apply lotion in key areas.
Next, I apply a small-average amount of body lotion to my feet, hands, elbows and sometimes a little on my knees too. I also remove my wedding rings.
APPLY
I use a mitt from Tarte to apply my tanner and I highly recommend it. Not only does it prevent you from getting unwanted tanner on your palms, but it applies the tanner so smoothly and airbrushed looking. You can get mitts from lots of places, so maybe check Amazon as well.
I always start with my legs/feet and work my way up. I don’t focus too much on the amount, more-so making sure everything is covered evenly. This tanner does have a tint to it, which makes the application process so much easier since you can see exactly where you’re putting it. Be sure you’re in a well-lit room as well — I always do mine at my bathroom vanity so I can see myself in the mirror.
I suggest putting a half pump of product on your feet and hands to avoid them getting too saturated with color. Those are definitely the two areas you want to be the most careful with. When applying it to your hands, be sure to bend your fingers like you’re gripping something so you can get in the creases of your knuckles. Be sure to wipe it between your fingers and on the sides of your hands as well.
After I finish, I let it air dry for a few minutes before getting dressed, but I will say that this tanner dries probably the fastest out of any other tanner I’ve used. I go to sleep in loose pants and a baggy t-shirt, then I wash off in the shower after eight hours the next morning. I take a quick shower and gently wash myself with body wash using my hands.
Do keep in mind that there is a learning curve when applying self-tanner, so don’t be discouraged if it doesn’t look the best the first time around! It takes practice to get used to how it works and trust me when I say I’ve had my mess ups. Just keep trying!
MAINTAIN
After taking time out of your week to tan, you want it to last as long as possible. Here are my best tips:
- Limit your shower time
- Apply body wash with your hands gently in the shower (no washcloths or loofas)
- Pat yourself dry with a towel when you get out of the shower, don’t rub
- Apply lotion regularly, especially in the morning, before bed and after showering
I reapply about 1-2 times a week and I’m set! Do you self-tan on a regular basis? What are your favorite self-tanning products? Thanks for reading & enjoy the rest of your day!
These are such good tips! I definitely want to try this at home now, I am so pale!
Thank you! Self-tanning has changed the game for me, truly! It’s crazy how much better I feel during the week after just 10 minutes of tanning 😂🙌🏻
I love jergens and aveeno lotion so I’ll have to try this out!
Briana
https://beyoutifulbrunette.com/
Me too! Let me know if you end up liking the tanner! 😊
I’ve been wanting to try a tanning routine so bad! So happy you posted about this. How long does a bottle of it last you?
YAY! I’m so glad, Tori! These tips help me a ton for getting an even tan. That’s a good question — if I had to guess, I’d say I get maybe 10 tans out of each bottle? I repurchase every couple months I think.