DIY Stained Light Wood Dresser: Urban Outfitters Amelia Dresser Inspired
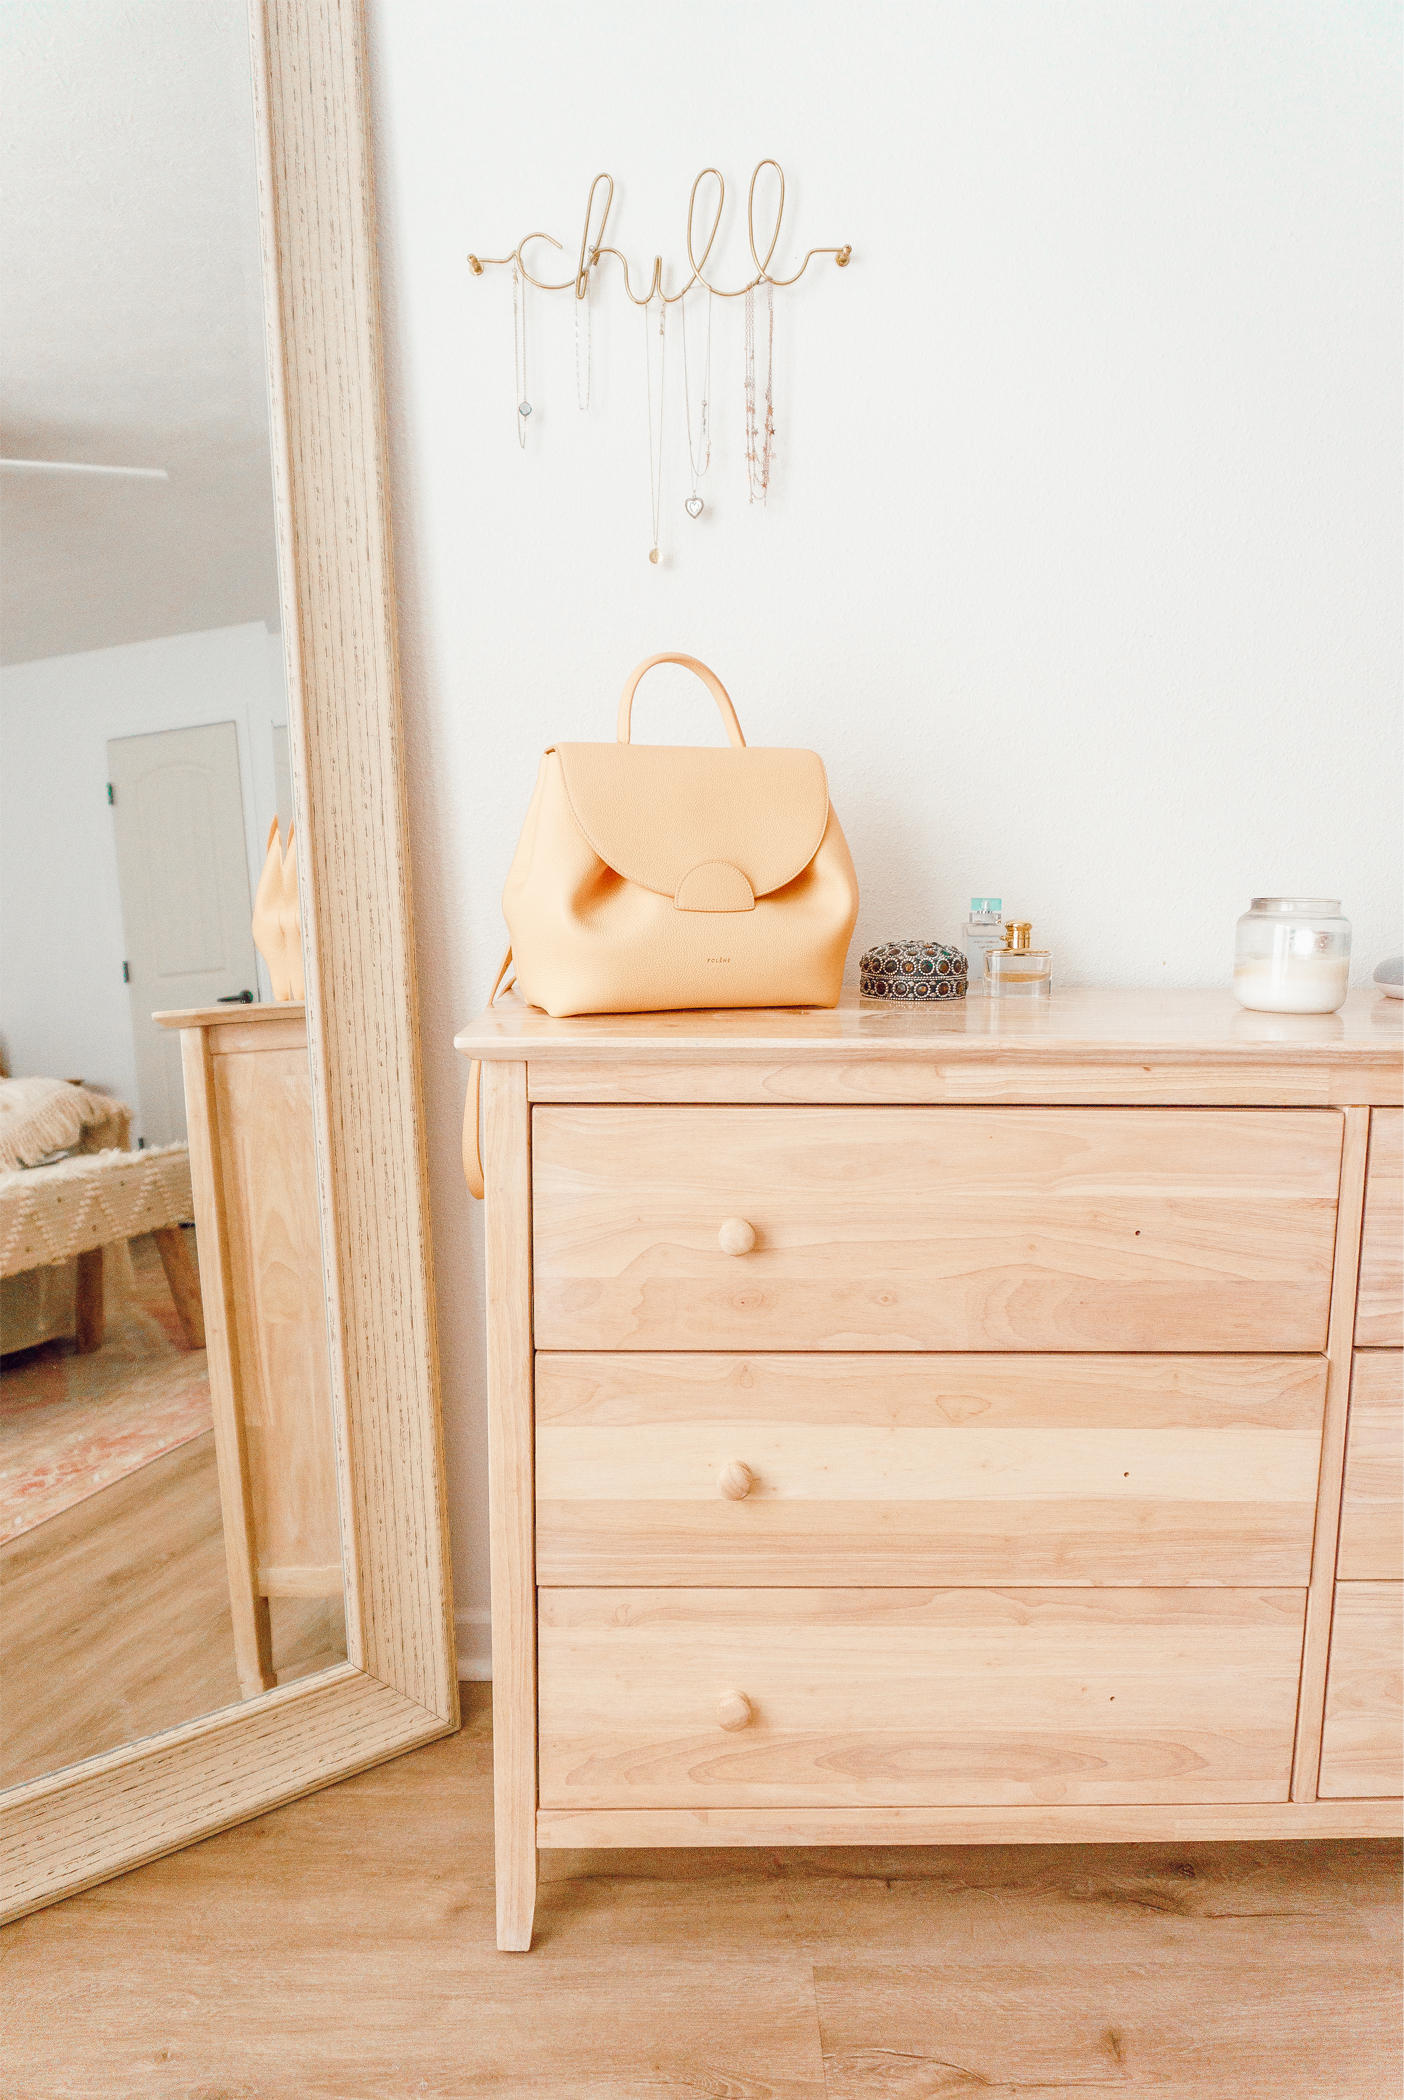
As a complete home decor addict, I’ve been wanting to swap out our white dressers that I’ve had since childhood for something that was light wood, horizontal and big enough for my husband and I to use. I immediately lusted over the Amelia dresser from Urban Outfitters, but when I found out it was going to be close to $1,000 with shipping (can you say hell no), I decided to try to remake it myself! Because I had so much success with it, I wanted to share the process with you guys. Keep reading for how I transformed a $300-400 dresser with some white stain.
WHERE I GOT THE DRESSER
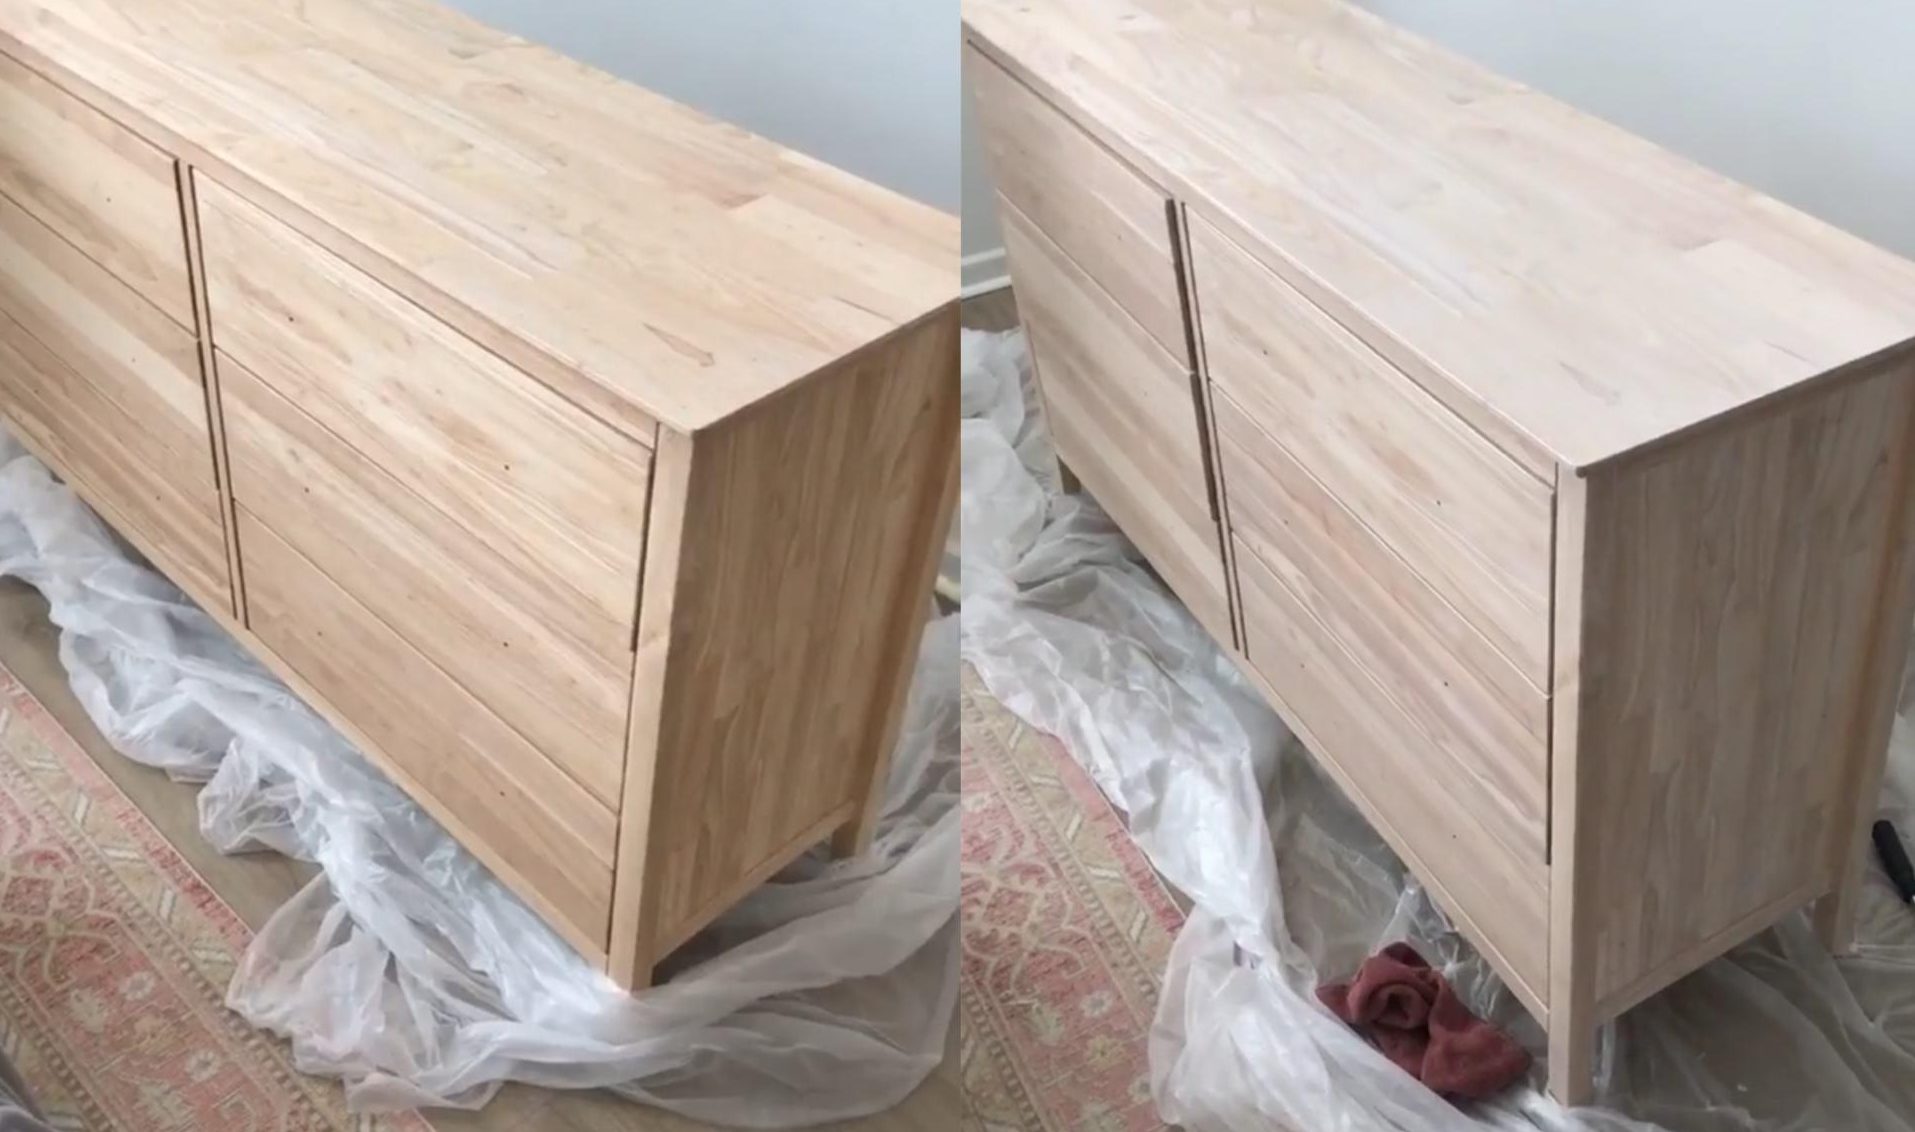
After quite a bit of searching and debating what to get, we decided on this Brooklyn 6-Drawer Unfinished Wood Dresser from Home Depot. I actually found it on Wayfair first, then my mom sent me the link to an identical one on Home Depot’s website for $50-60 cheaper! I also found a 25% off coupon through Honey AND we had a gift card, so we only ended up only paying $333 for it. Already, it’s less than half the price of the Urban Outfitters Amelia dresser — which is a huge win in my book! I linked what I believe is the same one at a couple other stores below in case the Home Depot one is out of stock.
WHAT YOU NEED
- Minwax Wood Finish Satin Simply White Oil-based Interior Stain — you’ll only need one small can and trust me, you’ll use hardly any of it!
- Purdy XL Sprig Nylon- Polyester Blend Flat 3-in Paint Brush — or any other 3-inch or so staining brush
- Rags to wipe off the stain
- Plastic drop cloth or something to protect your floor
- Polyurethane with a satin finish to seal it
- Another 3-inch brush, or clean and reuse the other one
I’d only stained once before a long time ago, so I did a little research to figure out what I needed. We also bought conditioner because the instructions recommended it, but I was advised that it wasn’t necessary, so we skipped it and it turned out great — it’s likely just an extra step that you don’t necessarily need, especially if it’s a new dresser.
HOW TO STAIN IT
- Prep it, if needed — if your dresser is new, it should be ready to stain. Otherwise, you may need to wipe it down to remove dust (make sure it’s dry before you start staining) or sand it a bit to smooth it out.
- Apply an even coat of stain to one section at a time
- Wipe off the stain with a rag. I would let the stain sit (for example, after staining an entire drawer) before wiping it off or let it sit longer if you want it lighter. It will dry differently than it looks during the process, so it’s better to do a little at a time then to go overboard.
- Let it dry for several hours. To be safe, you can wait 24 hours, or do a second coat once it’s no longer tacky.
- After it’s dry and looks how you want it to, do a thin even layer of polyurethane on the entire dresser. This should give it a satin finish and will seal it.
MAKE IT YOUR OWN
To further customize it, add your own knobs for a look that’s unique to you. I did mismatch ones from Hobby Lobby on our old dressers for a bohemian eclectic feel, but I decided to go with dainty brass ones for this new dresser. These are the ones we plan to order and I’ll share a photo once we put them on! Alternatively, you could also spray paint the knobs the dresser comes with.
__________
That’s how I transformed our dresser! I hope you found this post helpful and now feel encouraged to recreate some home decor or furniture pieces you’ve had your eyes on. Thanks so much for reading and check back for another post later this week!