Brows 101
The beauty industry is buzzing about brows, drawing many of us into our local drugstores, Sephoras, and Ultas to find the perfect products to enhance our unique brows (or at least try to — am I right?!). Today I'm sharing with you some tips and tricks I've learned along the way — everything from grooming and trimming, to shaping and filling!
The first, oh-so-important thing to remember is that no ones eyebrows are the same, and you've gotta' work with what you have! Of course you can always try to grow your brows out to achieve the look you want, but your natural shape is something that you'll definitely have to keep in mind.
GROOMING + TRIMMING
For grooming and trimming, you need a good pair of curved cuticle scissors, tweezers and a spooley. My favorite tweezers are Revlon, which are pretty inexpensive, but work great! Brush the hairs of your eyebrow either up or down, and cut the hairs that hang over your natural brow line. Be careful not to cut too much at first, because you can always go back and trim more if need be. Make sure the scissors are curved downward toward your eye because this will allow the hairs to lay more naturally. I have really long eyebrow hairs that grow quickly, so I find myself having to do this frequently. I would suggest doing this at least once a month, or as often as you see fit.
SHAPING
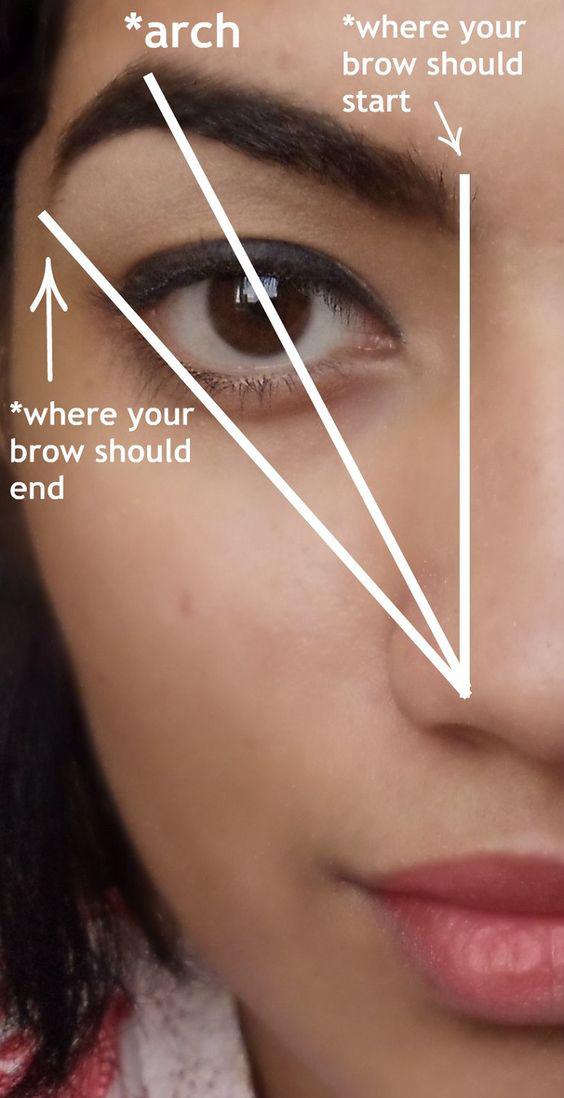
This is a tricky one, but these tips will help you shape with ease! You'll use your eyebrow pencil or brush as a tool for this, demonstrated in this diagram I found on Pinterest. This is a simple method for understanding where your brow should begin, where the arch should be, and where it should end. I'm still so fascinated by this and how helpful it is when I'm shaping my brows!

I'm typically one to get my eyebrows waxed, but during those in-between-appointment times where I need to do some shaping and grooming on my own, I use this trick!
FILLING
This is an art form, ladies. First, you need to find the right color for your hair. It's typically said that blondes should go two shades darker and those with dark hair should go two shades lighter, but I've found that to not always be true. I think it's always best to stick to your natural brow color, or go a bit darker if you have light eyebrows.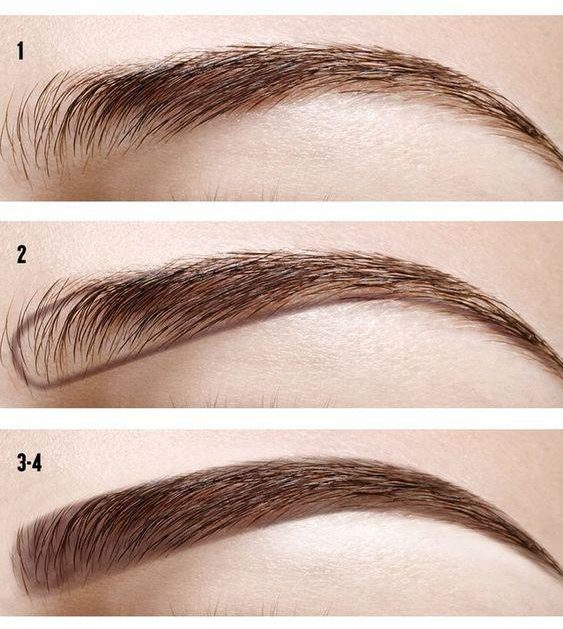
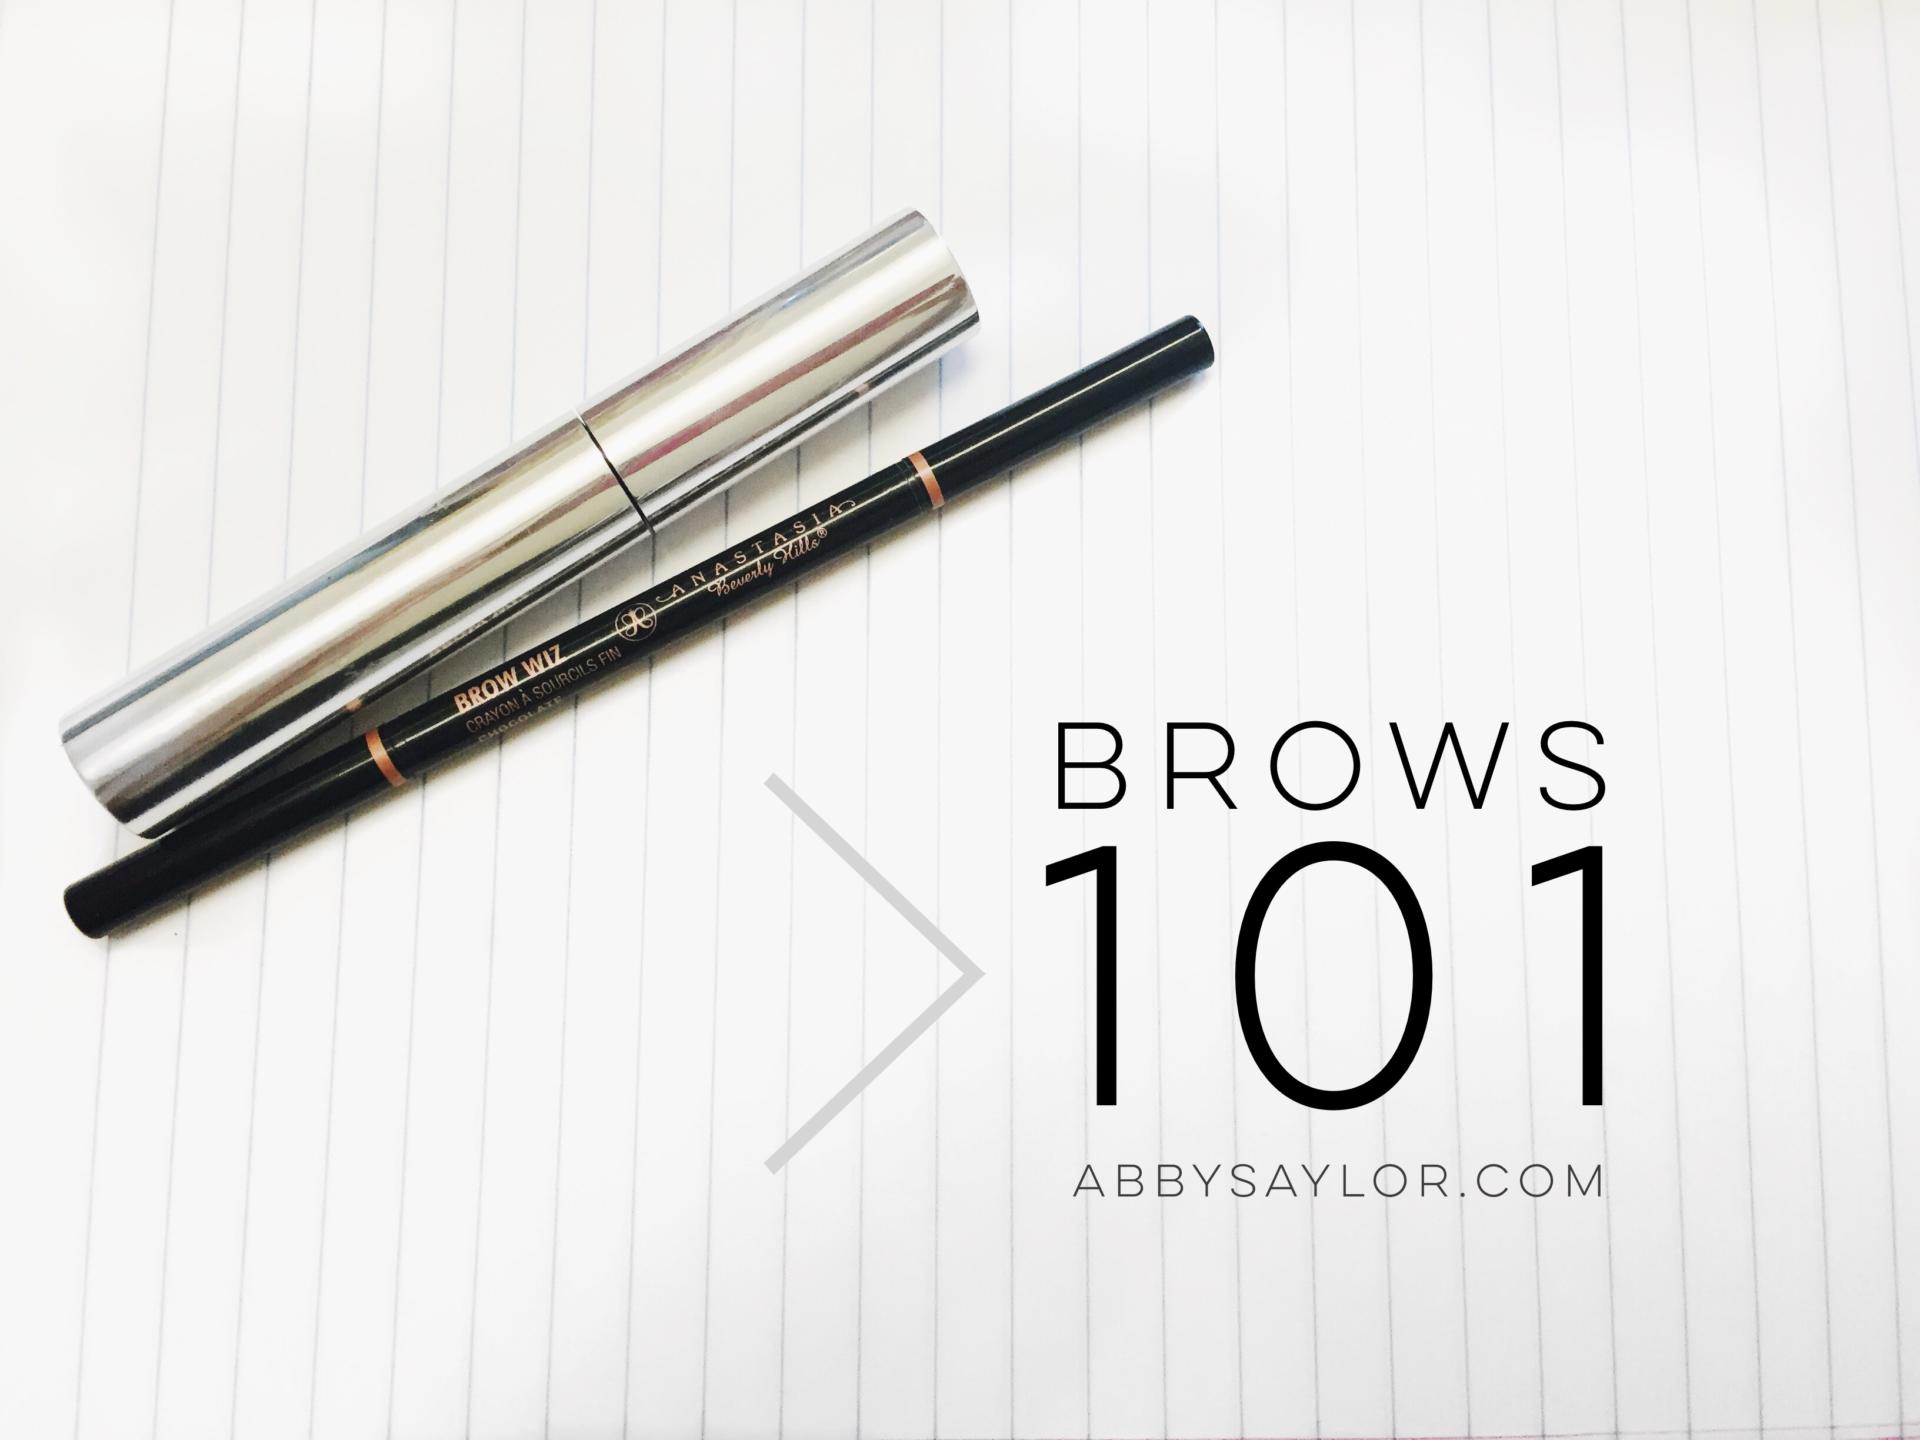
Second, you have to find your product of choice. You can use an eyebrow pencil, gel, or even eyeshadow for filling, but my favorite is a pencil — I feel that it gives me the most control and it allows me to easily make thin, hair-like marks. My favorite one is Anastasia Brow Wiz in the shade Chocolate. I have dark brows and this shade is absolutely perfect!

To start filling, begin on the inner side or your brow and create a thin line at the bottom and at the top. Then fill in the sparse areas — the center portion of the brow should be the darkest, fading out on the inner and outer edges. Blend the edges with a brow brush and seal them in place with brow gel. My favorite is Anastasia Brow Gel because it keeps my eyebrows in place all day without making them stiff! An alternative option is using a clear mascara.
__________
What are your favorite brow products? Leave me a comment and let me know your favorite tips and tricks!

These tips are great! When it comes to finding the right color for filling, I like to mix two shades together to get a better match for me. I’m still working on a good arch though!
Thanks Madison, I’m so happy to hear that you found this to be helpful! 🙂 Arches can be tricky, especially when some of us weren’t blessed with great natural ones (me!). Practice makes perfect! Thank you for reading — I hope you stick around!